Installing an IPS-screen in a NeoGeo Pocket Color
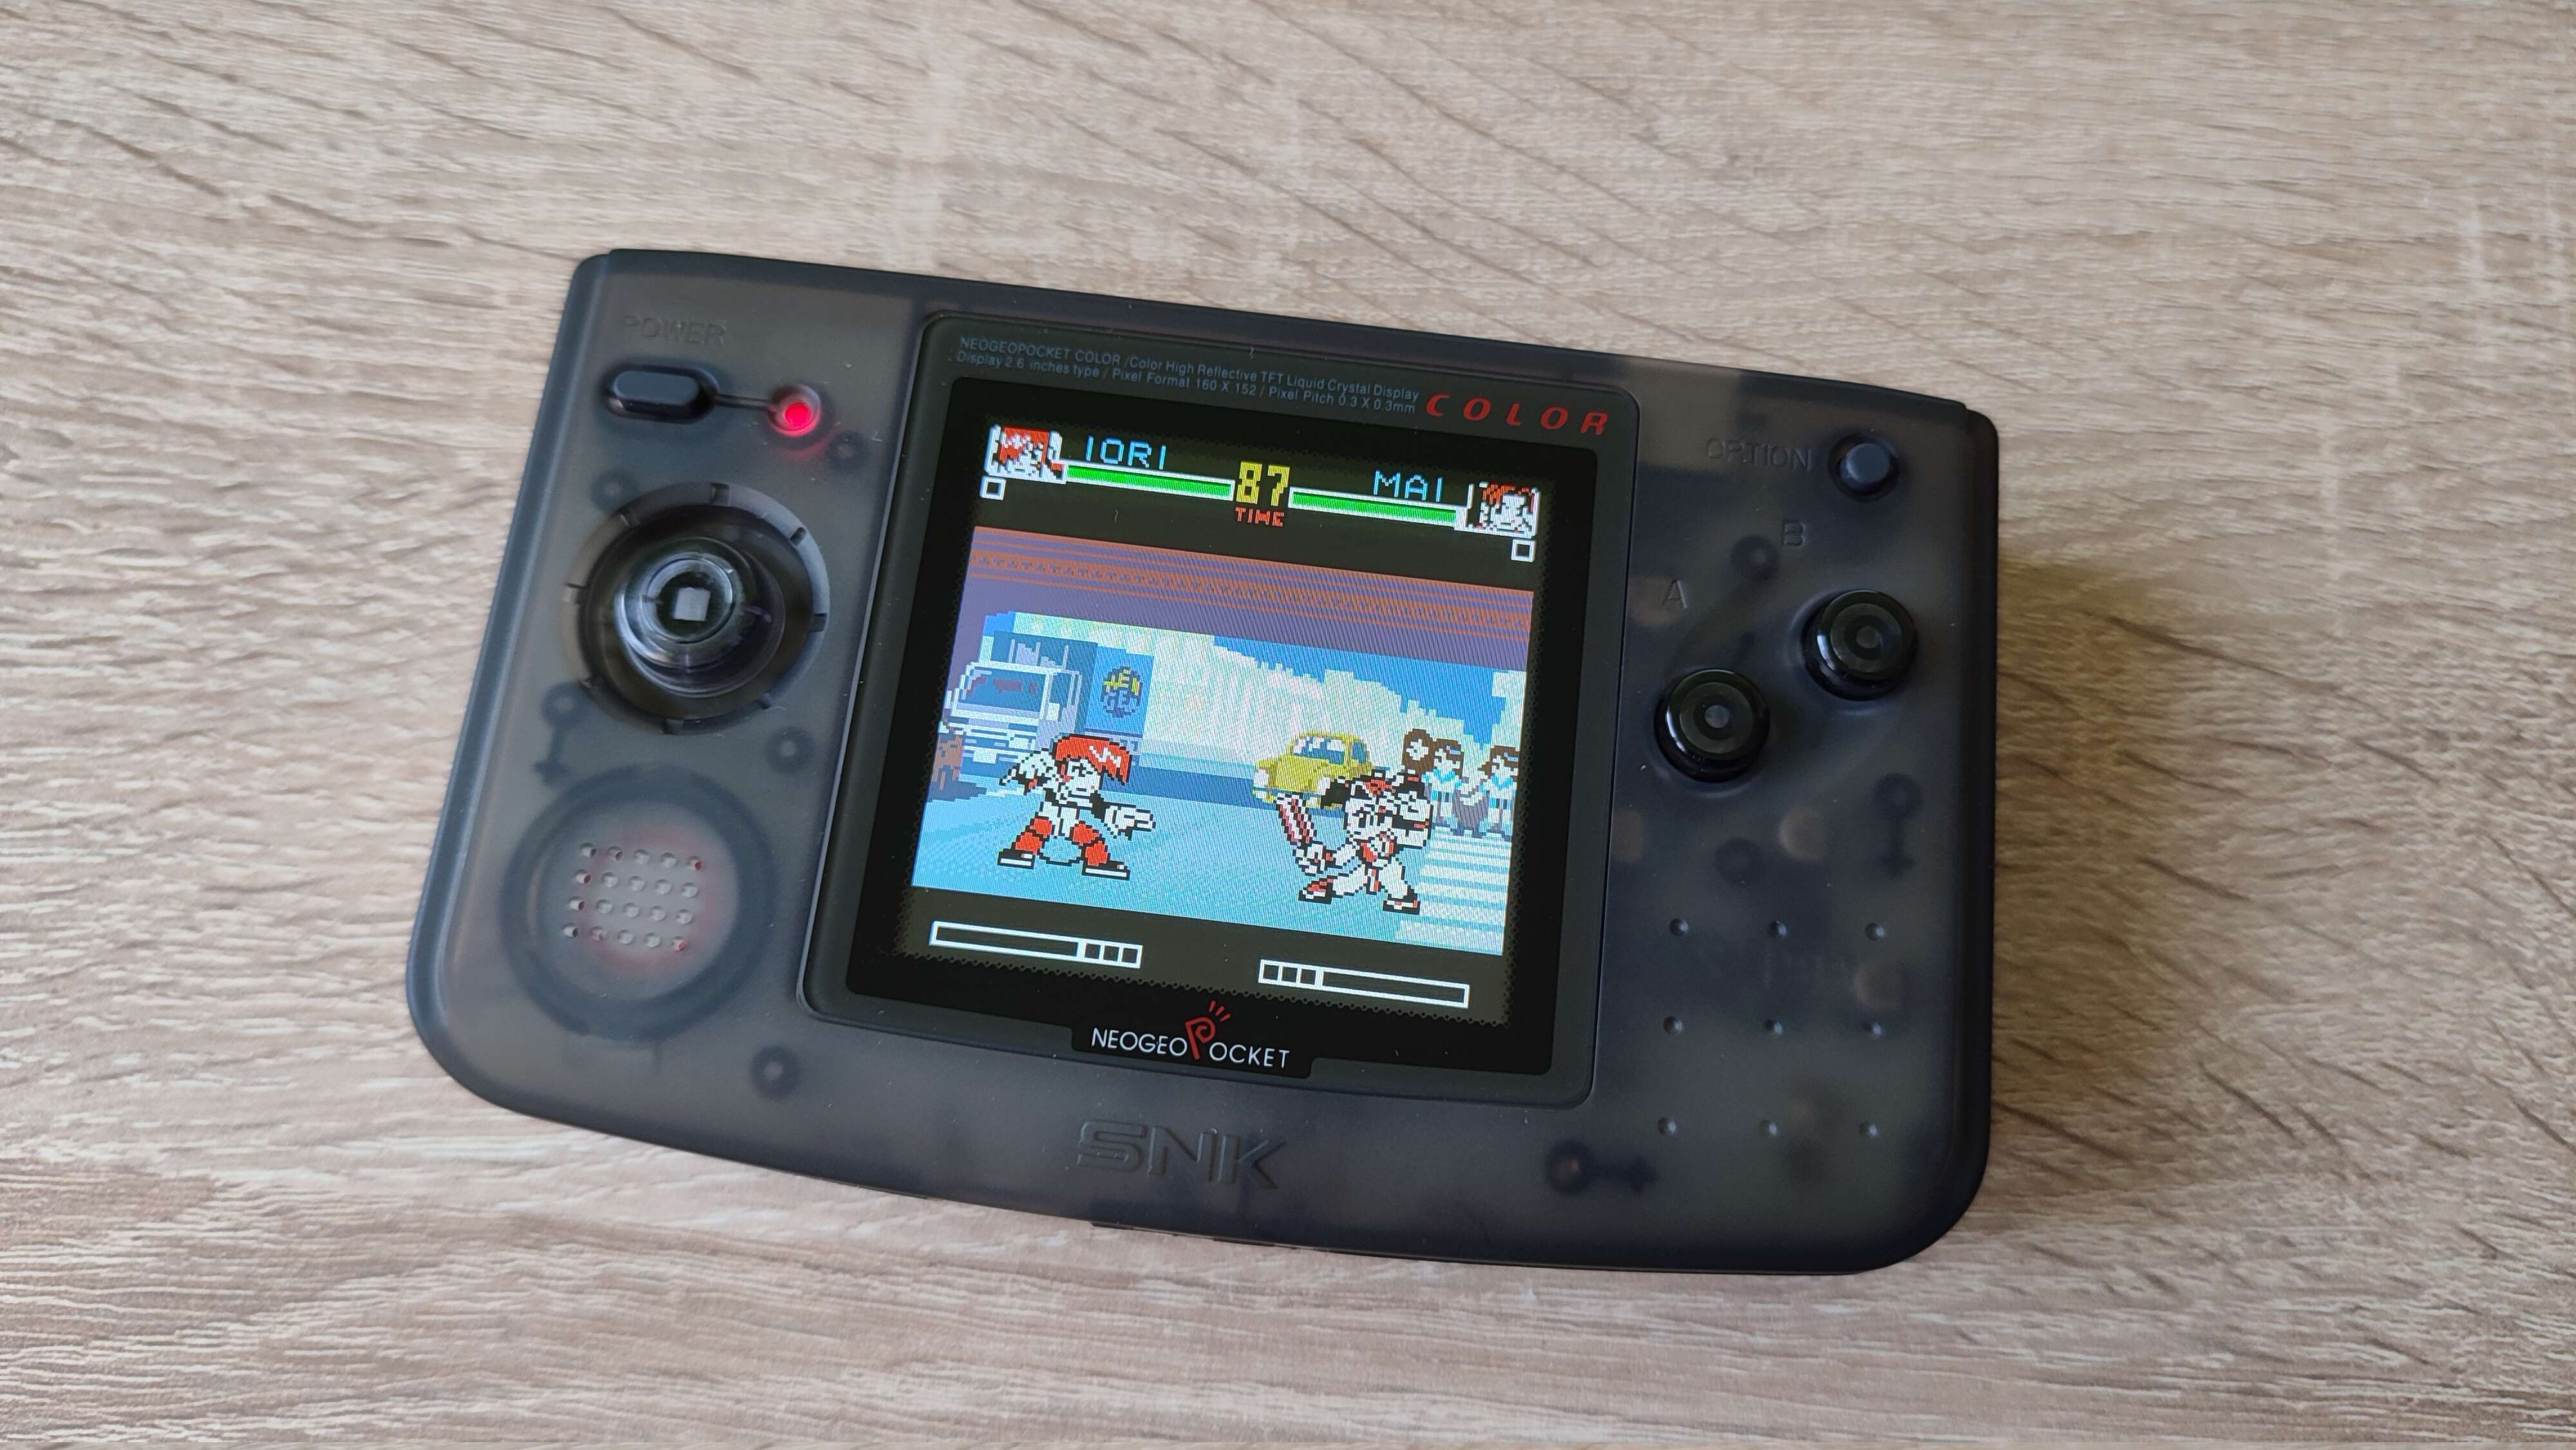
About a year ago I bought two rather obscure handheld consoles: a NeoGeo Pocket Color (NGPC) and a WonderSwan Color (WSC). Both were competitors to the GameBoy Color (GBC) and both lost. Due to their smaller popularity they are not as well known as the GameBoy and also command higher prices today, since there were fever of them produces. Also, neither the NGPC nor the WSC had a backlit screen, so in order to be used comfortably they need an IPS mod. Today I will write about installing a modern IPS panel in the NGPC.
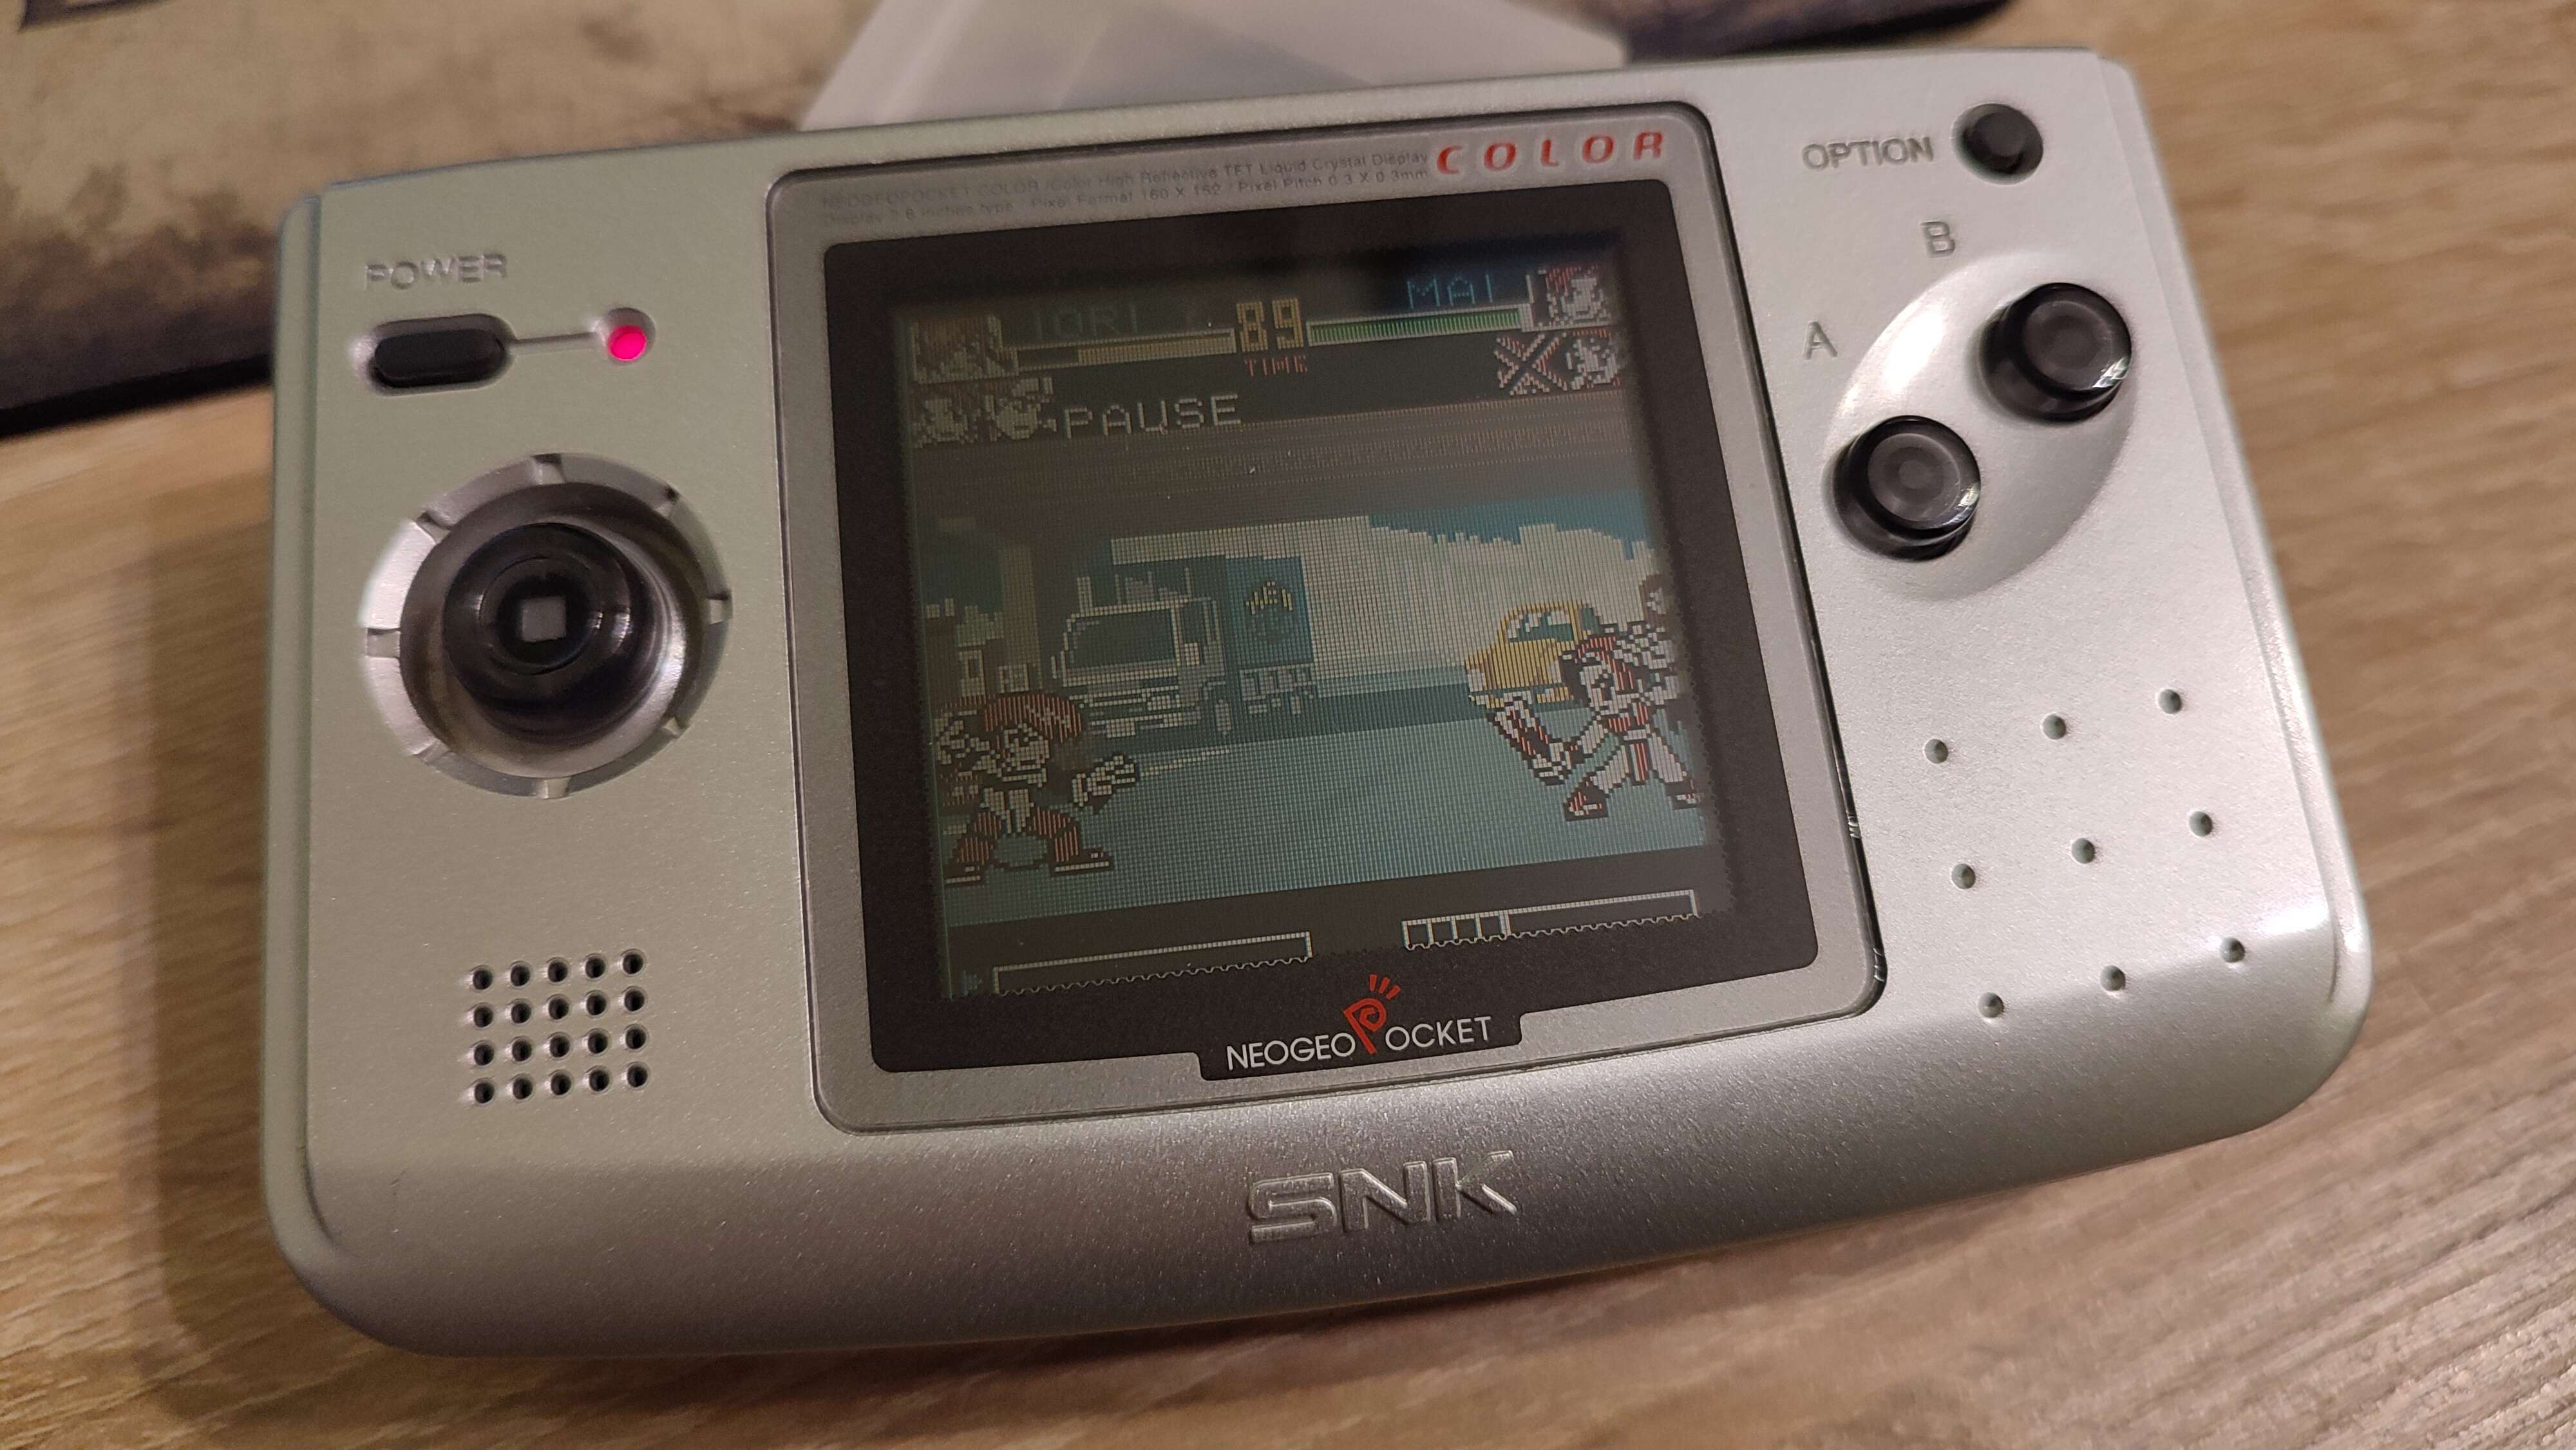
Before moving on there’s an important disclaimer. NeoGeo Pocket comes in three versions. There’s the original NeoGeo Pocket with a monochrome screen. It was on the market for about a year (1998-1999) and never officially left Japan. Then there is the NeoGeo Pocket Color that I will be talking about in this post. It was distributed worldwide, even if only for a couple of months, but mine is a Japanese unit. Finally, there’s a smaller version of NGPC, officially known as the New NeoGeo Pocket Color. These days people commonly refer to it as NGPC Slim. Due to smaller size NGPC Slim is more difficult to mod.
About the mod
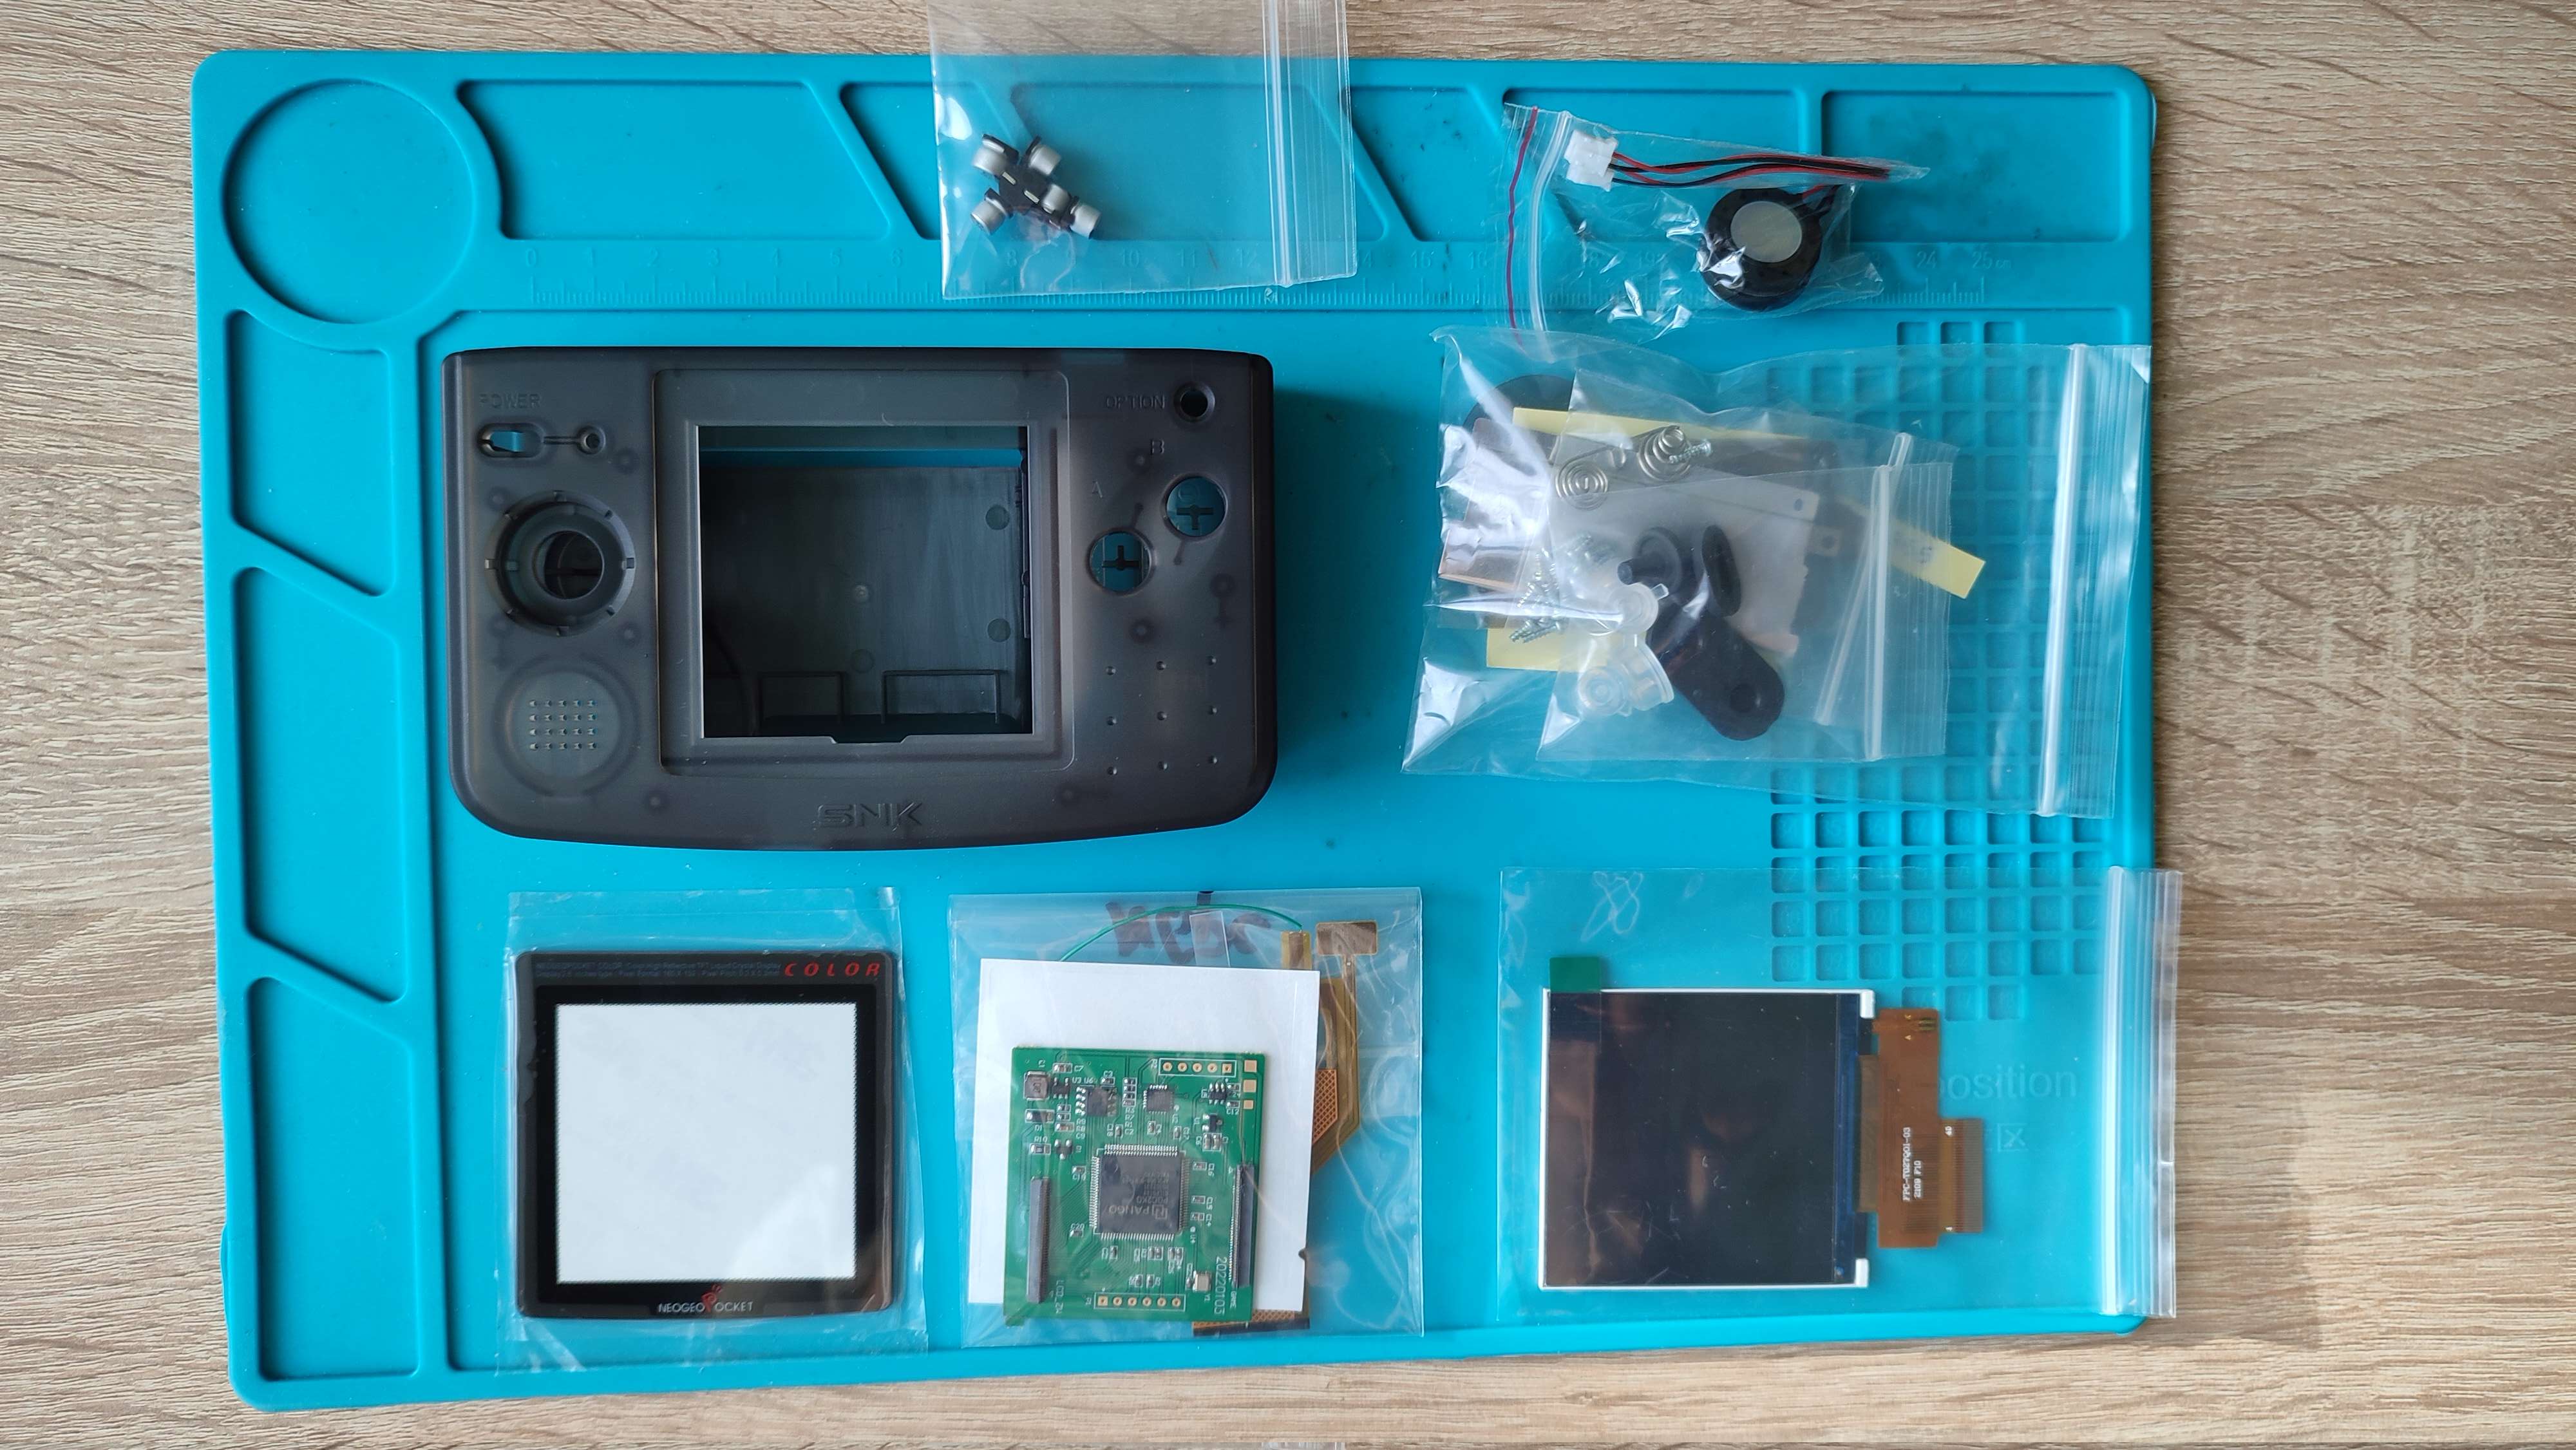
When modding the GameBoys I usually rely on parts from FunnyPlaying. However, they only offer mods for the GameBoys. Looking at the online retro communities it seems that when it comes to the NeoGeo Pocket people tend to order from the Cloud Game Store on AliExpress. And so I bought from them an IPS panel mod as well as a new replacement shell. The choice of shells isn’t great to be honest. I went with a transparent black shell and also ended up installing original black buttons from my console, instead of clear transparent ones that came with the kit. Moreover, both the IPS panel and the shell are noticeably more expensive than in case of the GameBoys.
Installing the screen
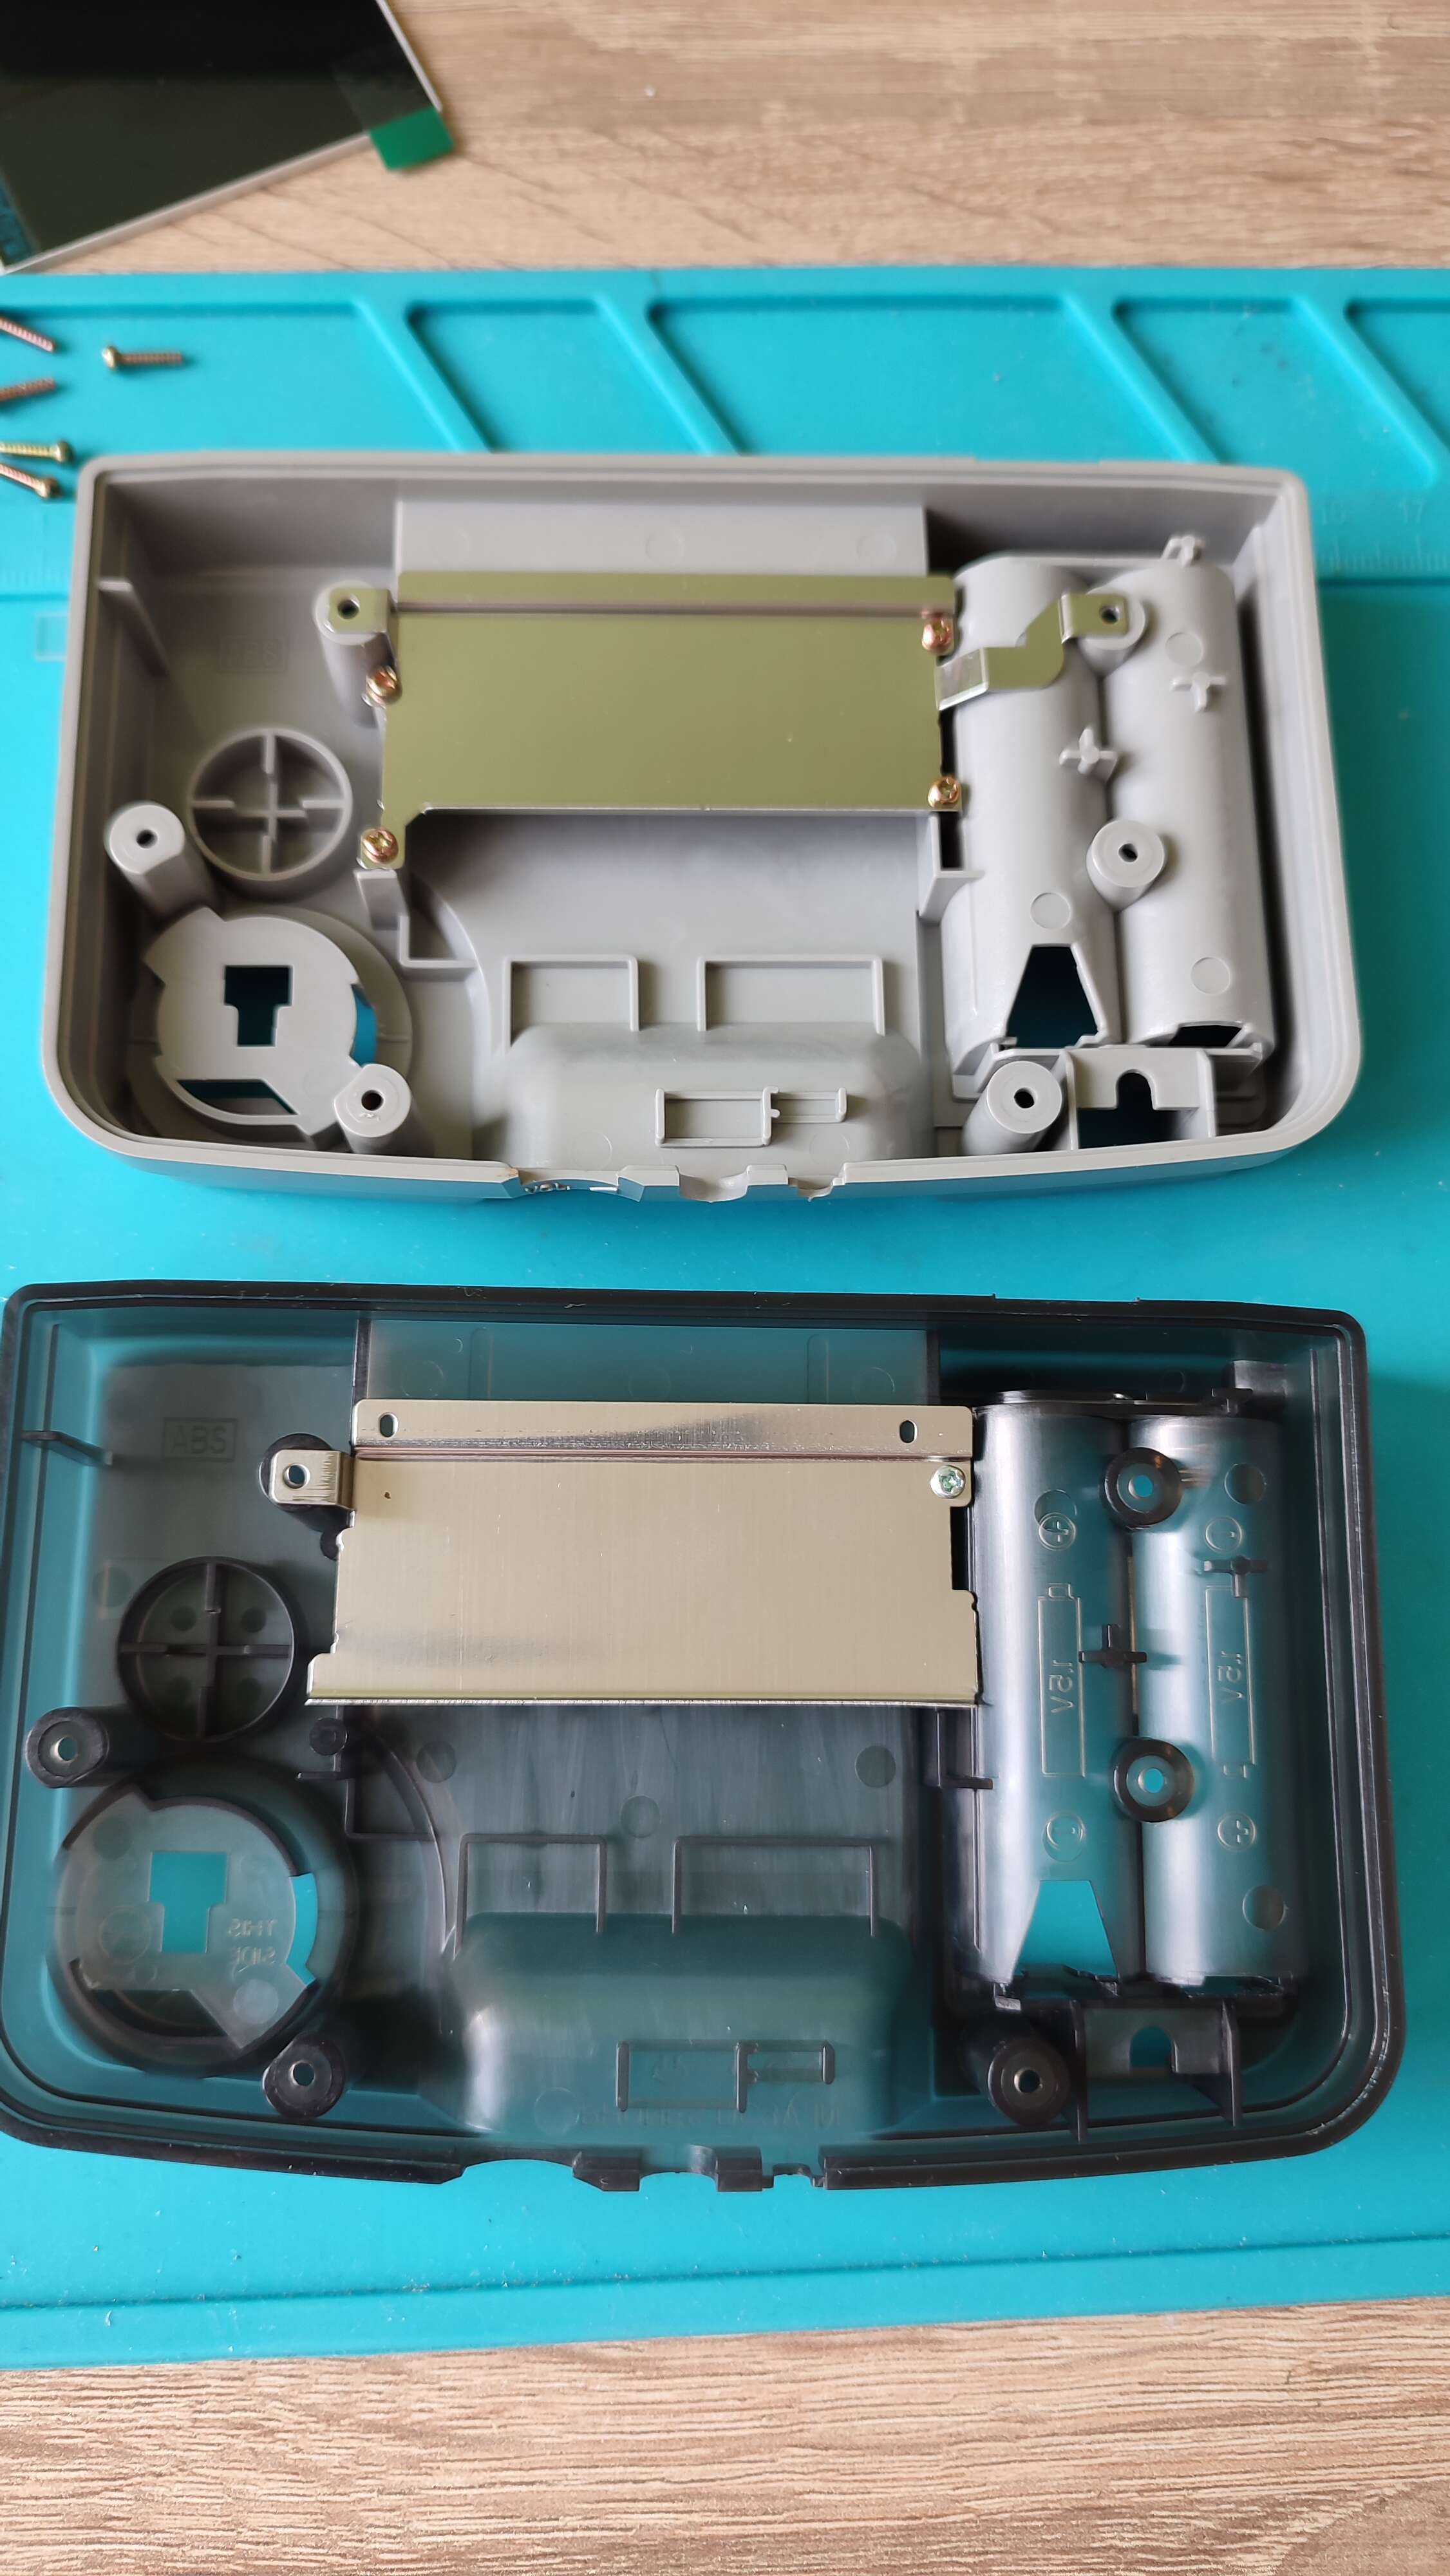
For the most part installation is straightforward. First step is disassembly:
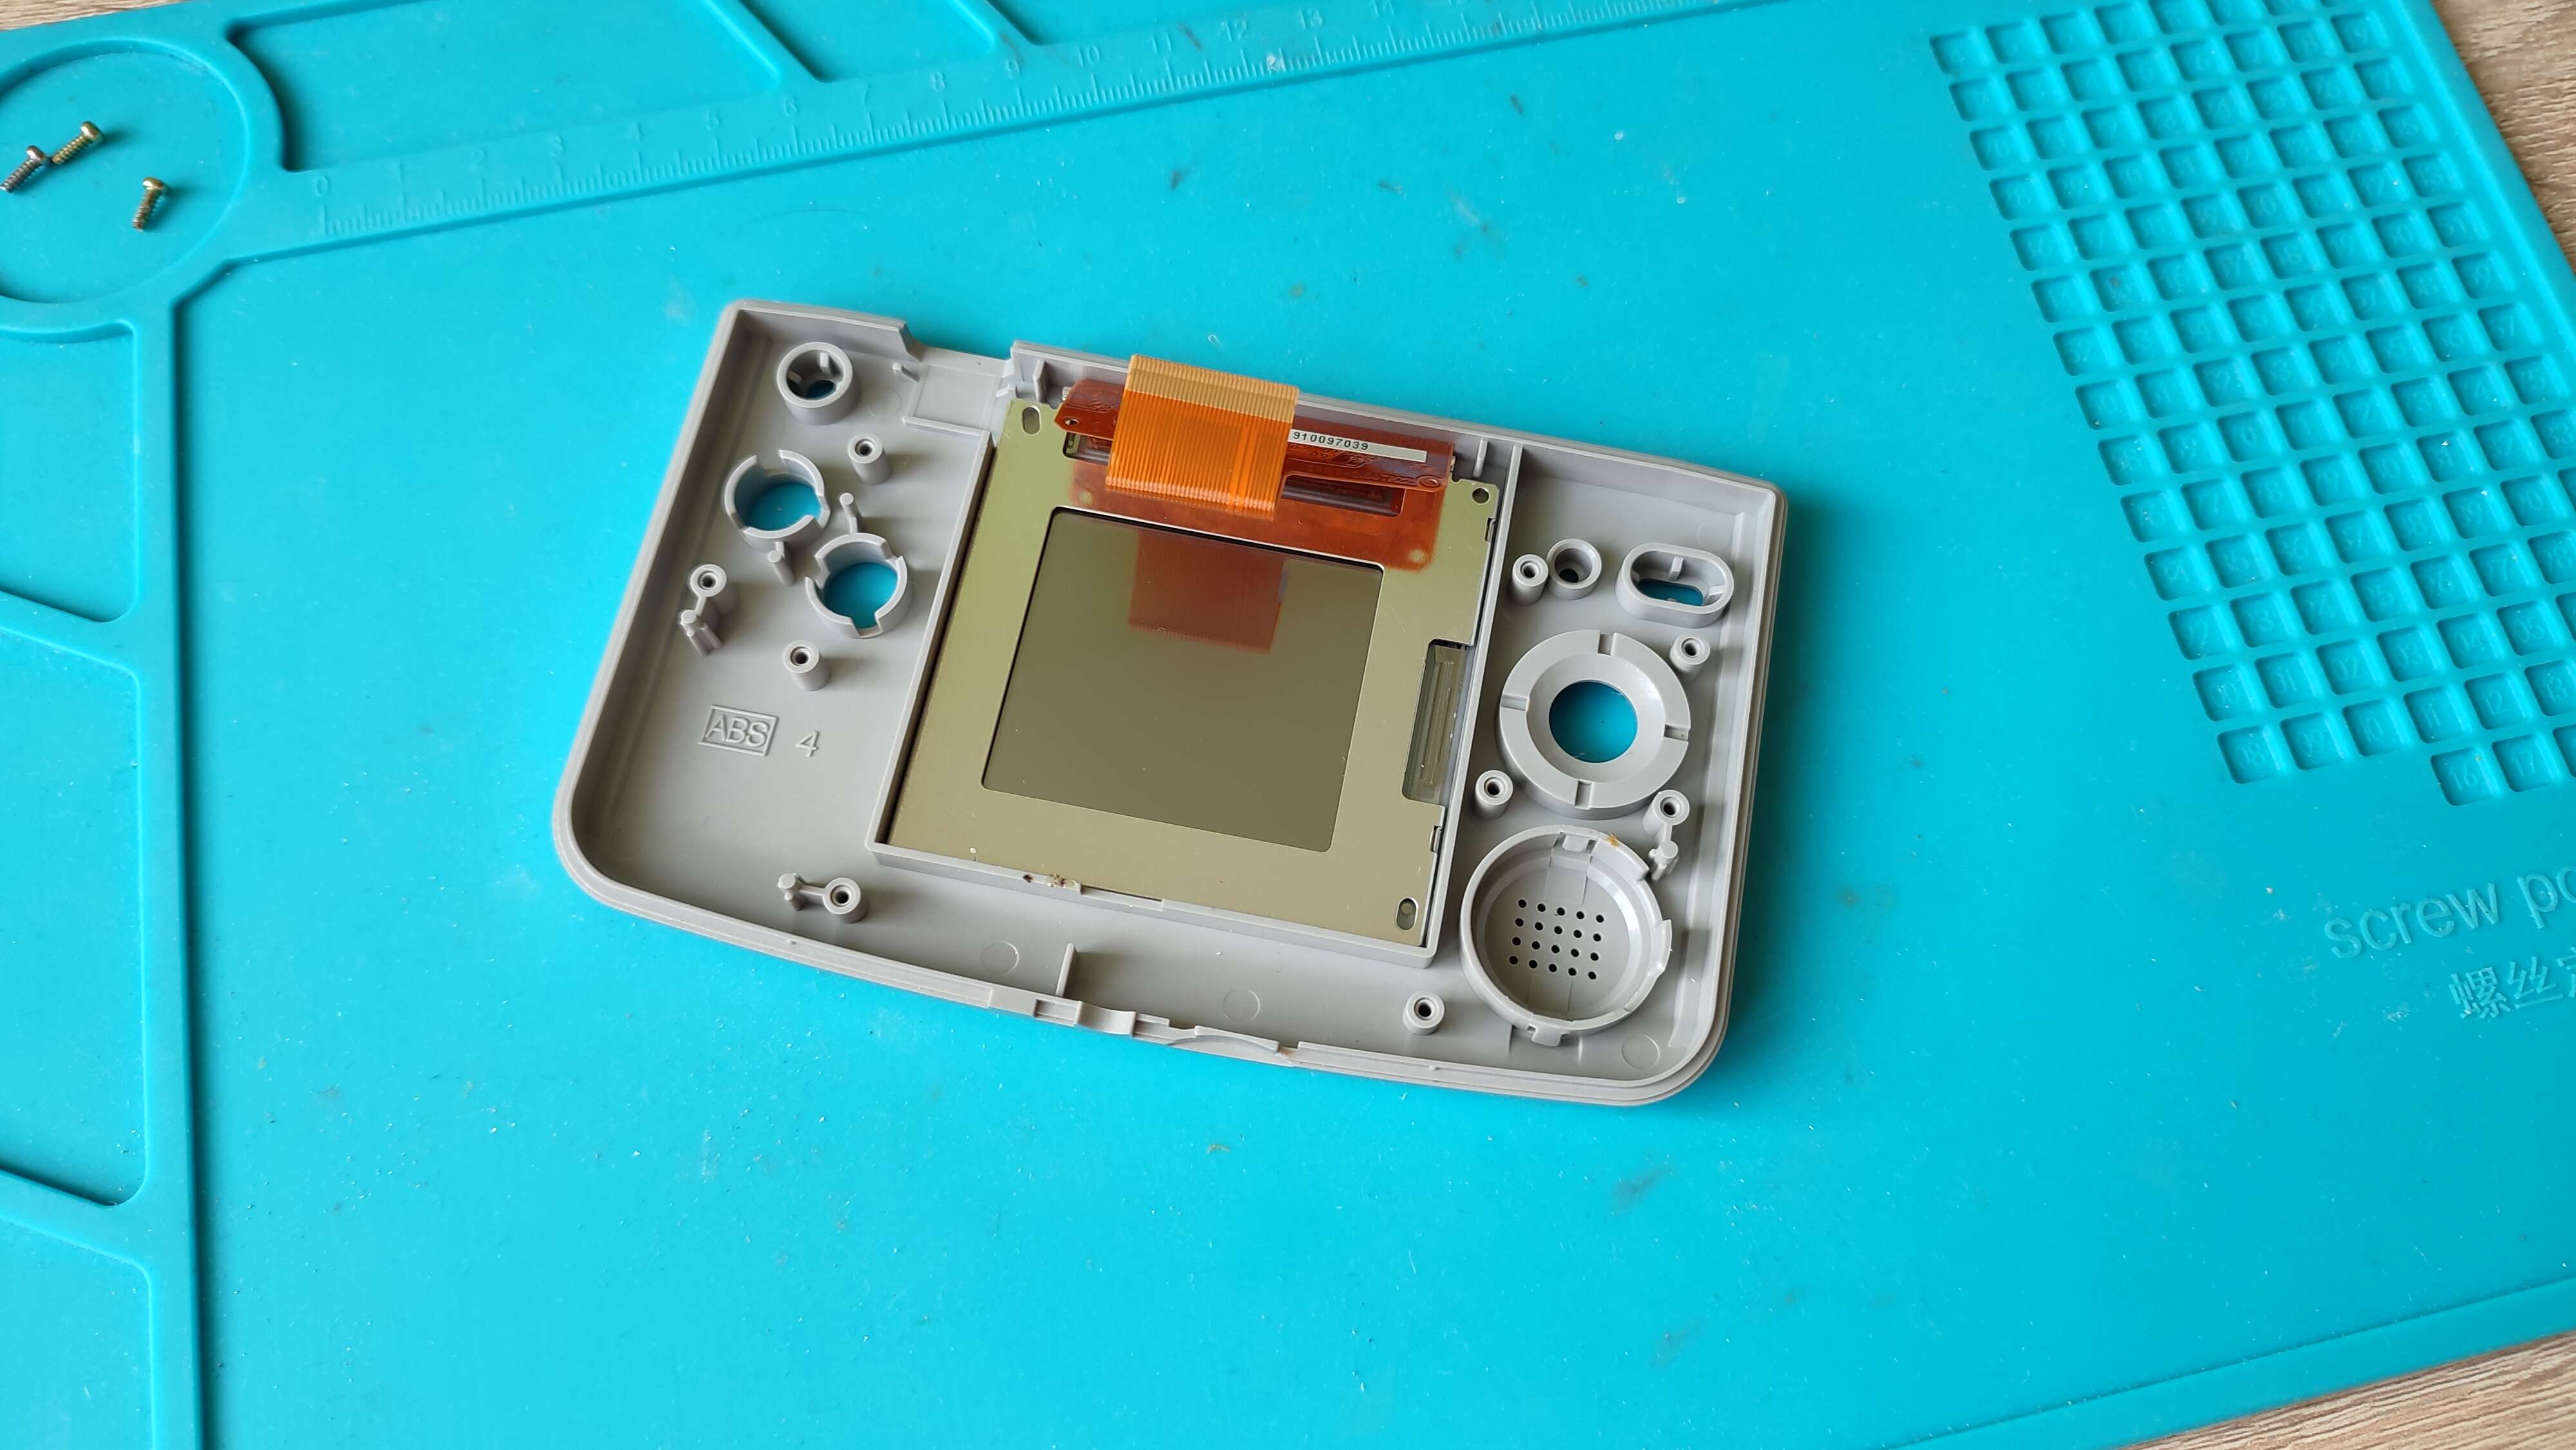
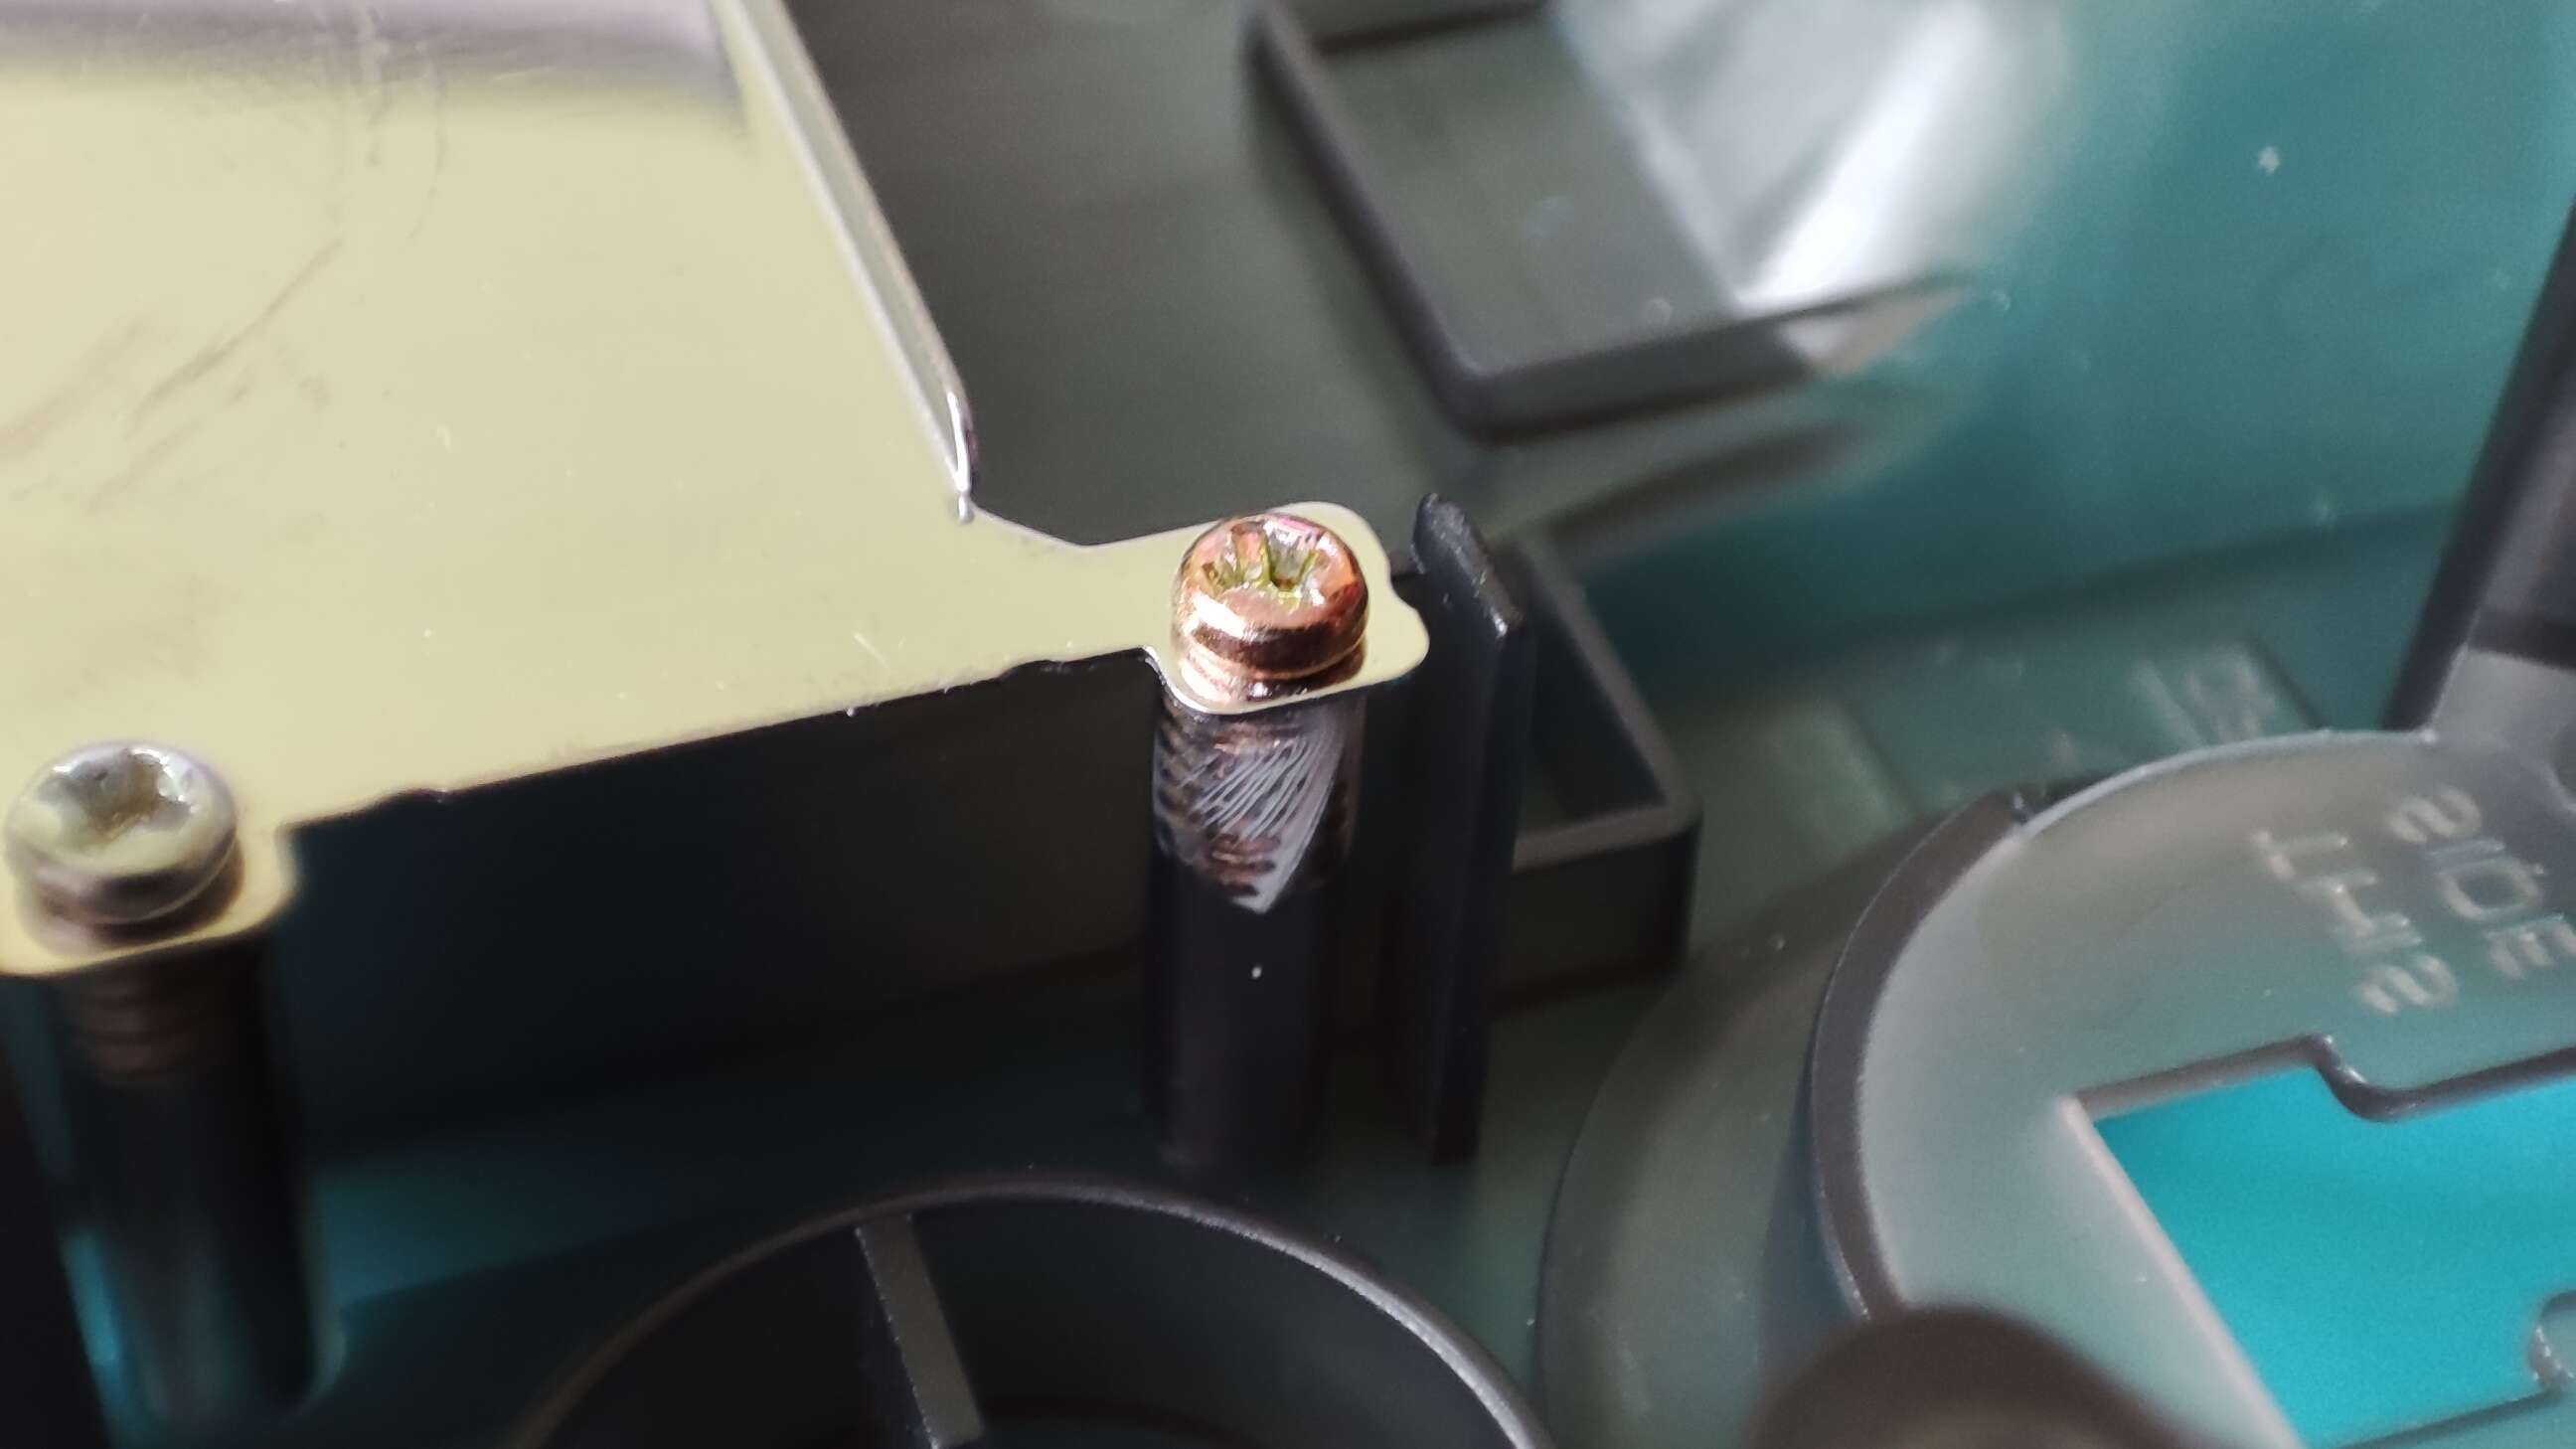
The first tricky bit is the metal cover separating the cartridge slot and the main board. The one that comes with the kit doesn’t fit the shell very well so I had to re-use the original one. However, reusing original screws was not a good idea, as the screw holes are significantly smaller on the replacement shell.
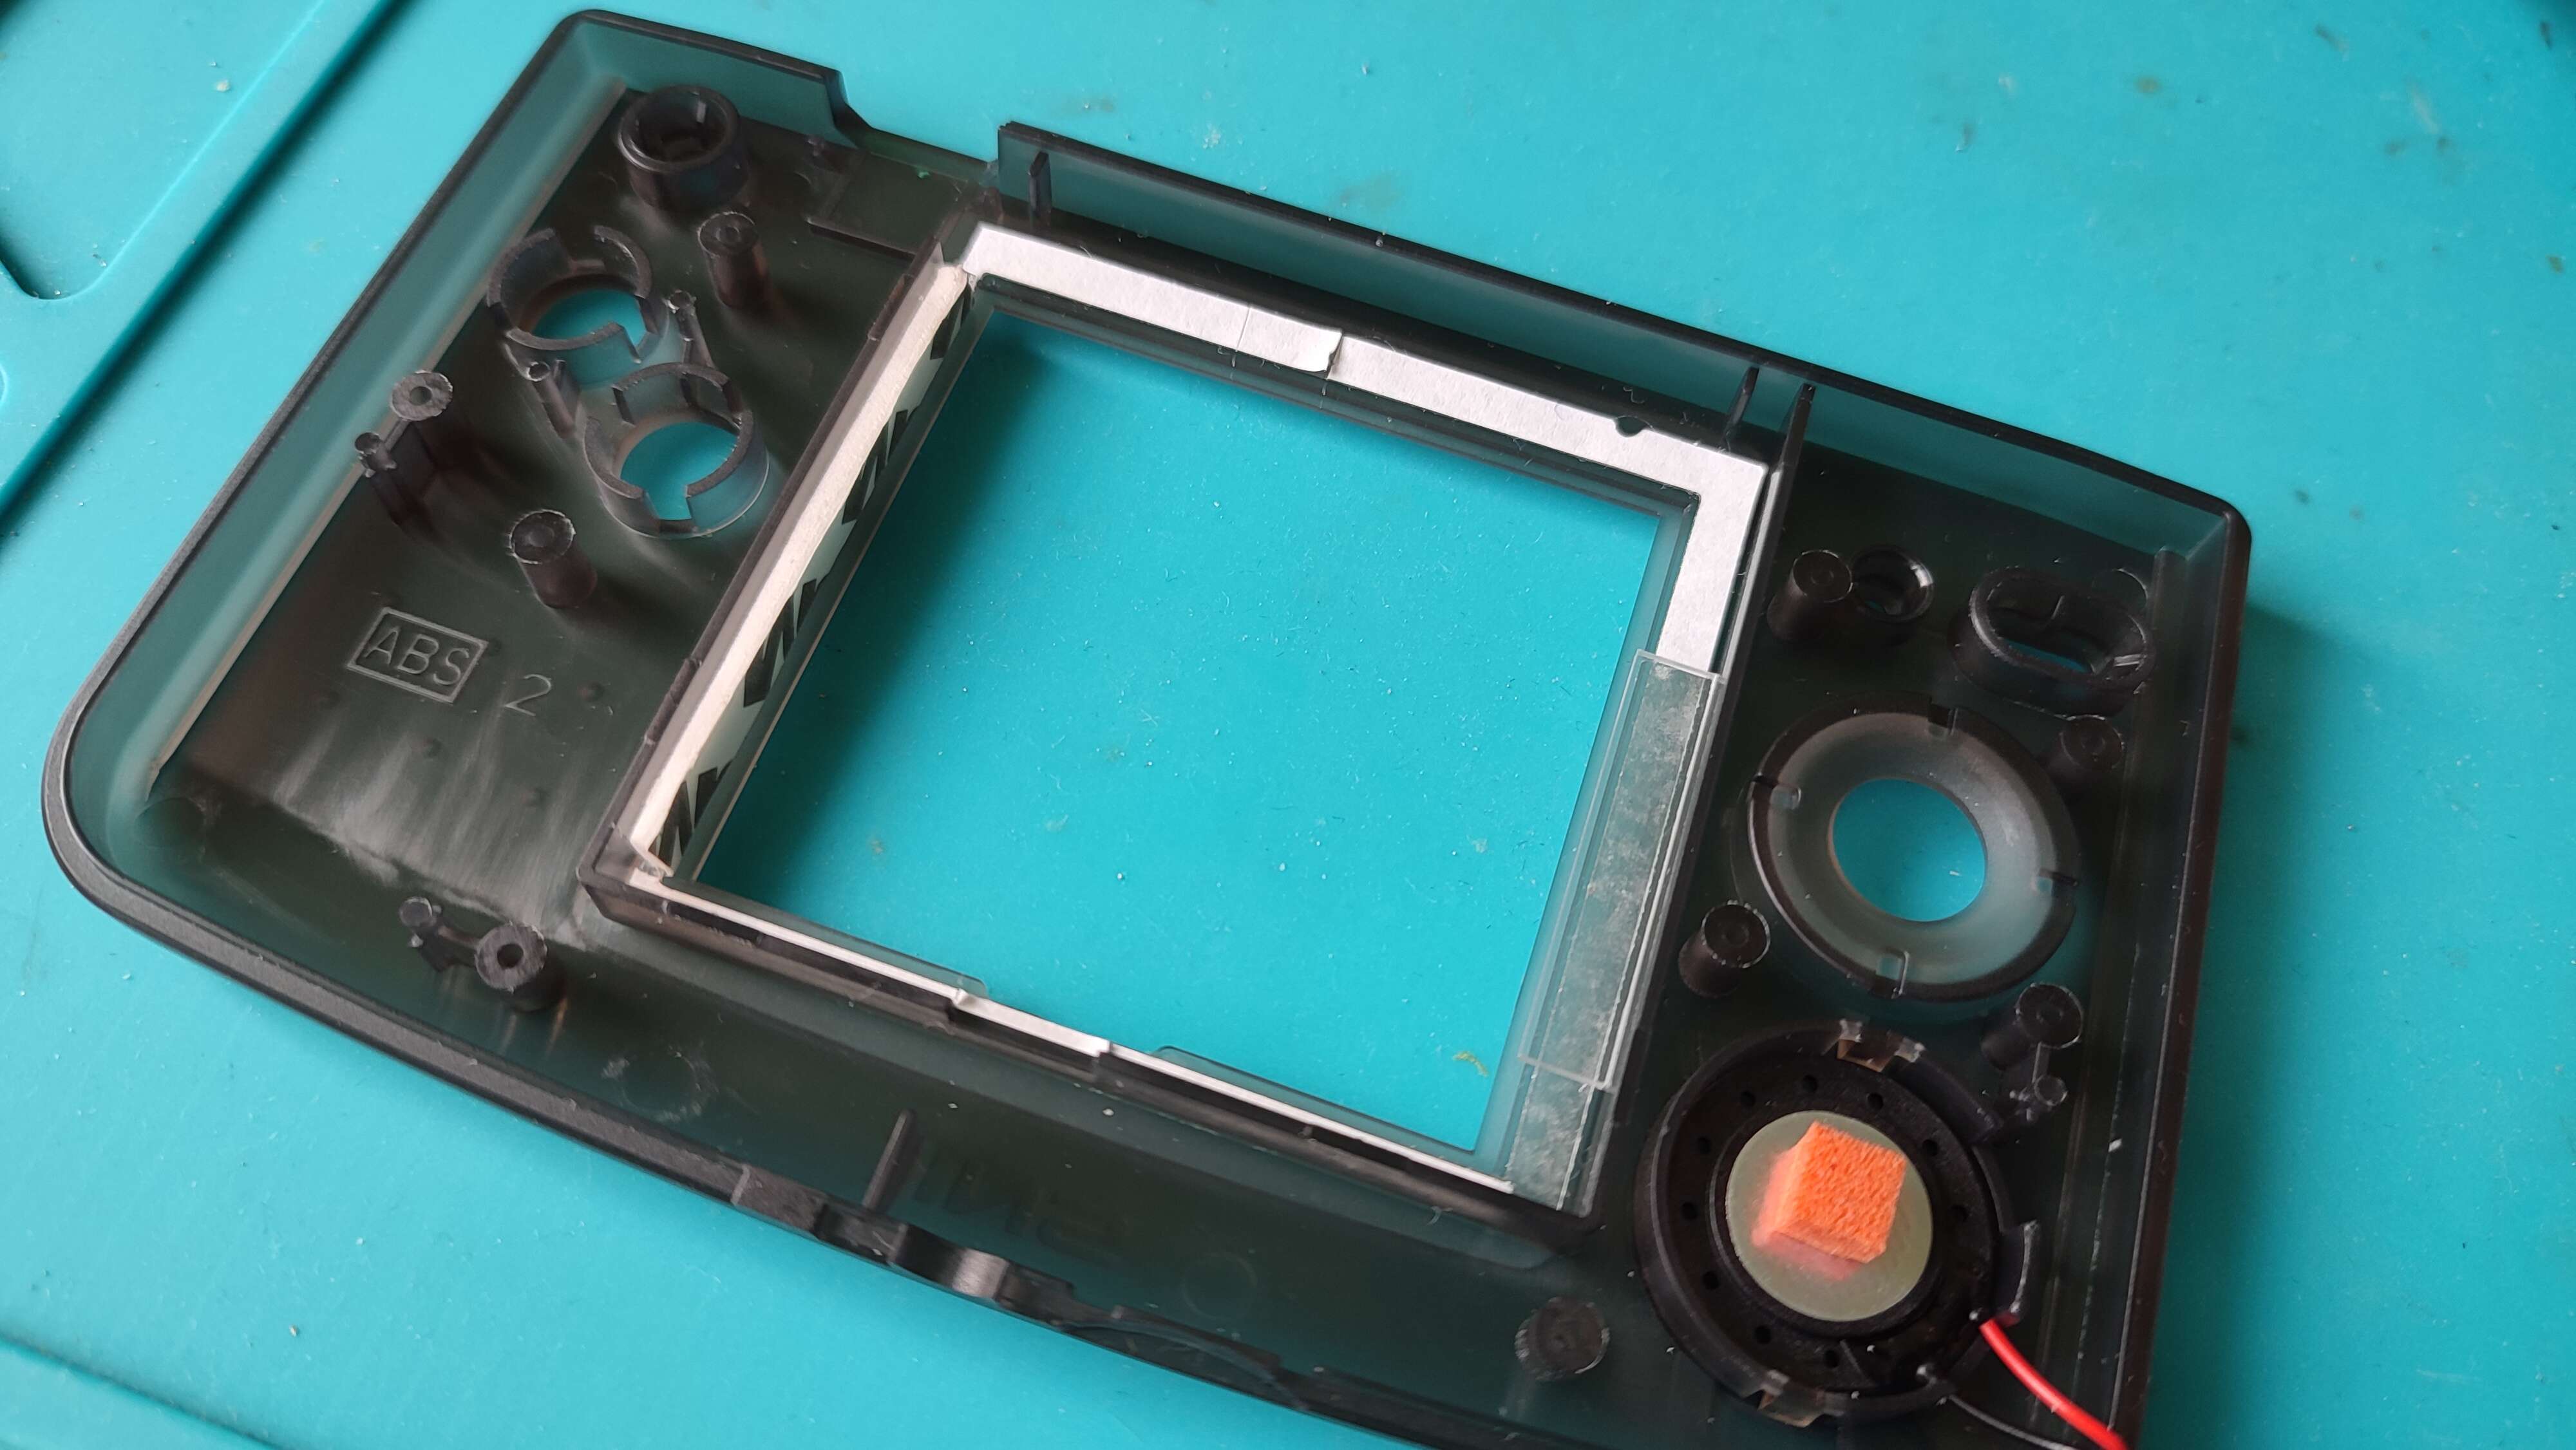
Installing the screen itself turned out to be tricky. There is no spacing bracket so one has to rely on a small plastic spacer and a piece of foam provided with the kit. This is far from perfect. There is also a dust seal to be used to permanently attach the IPS panel to the shell. However, the IPS panel is quite narrow and so it only attaches to the top and bottom of the seal, making it possible for the dust to come in from the sides. Also, at first I couldn’t figure out the orientation of the panel, since it’s nearly square is shape.

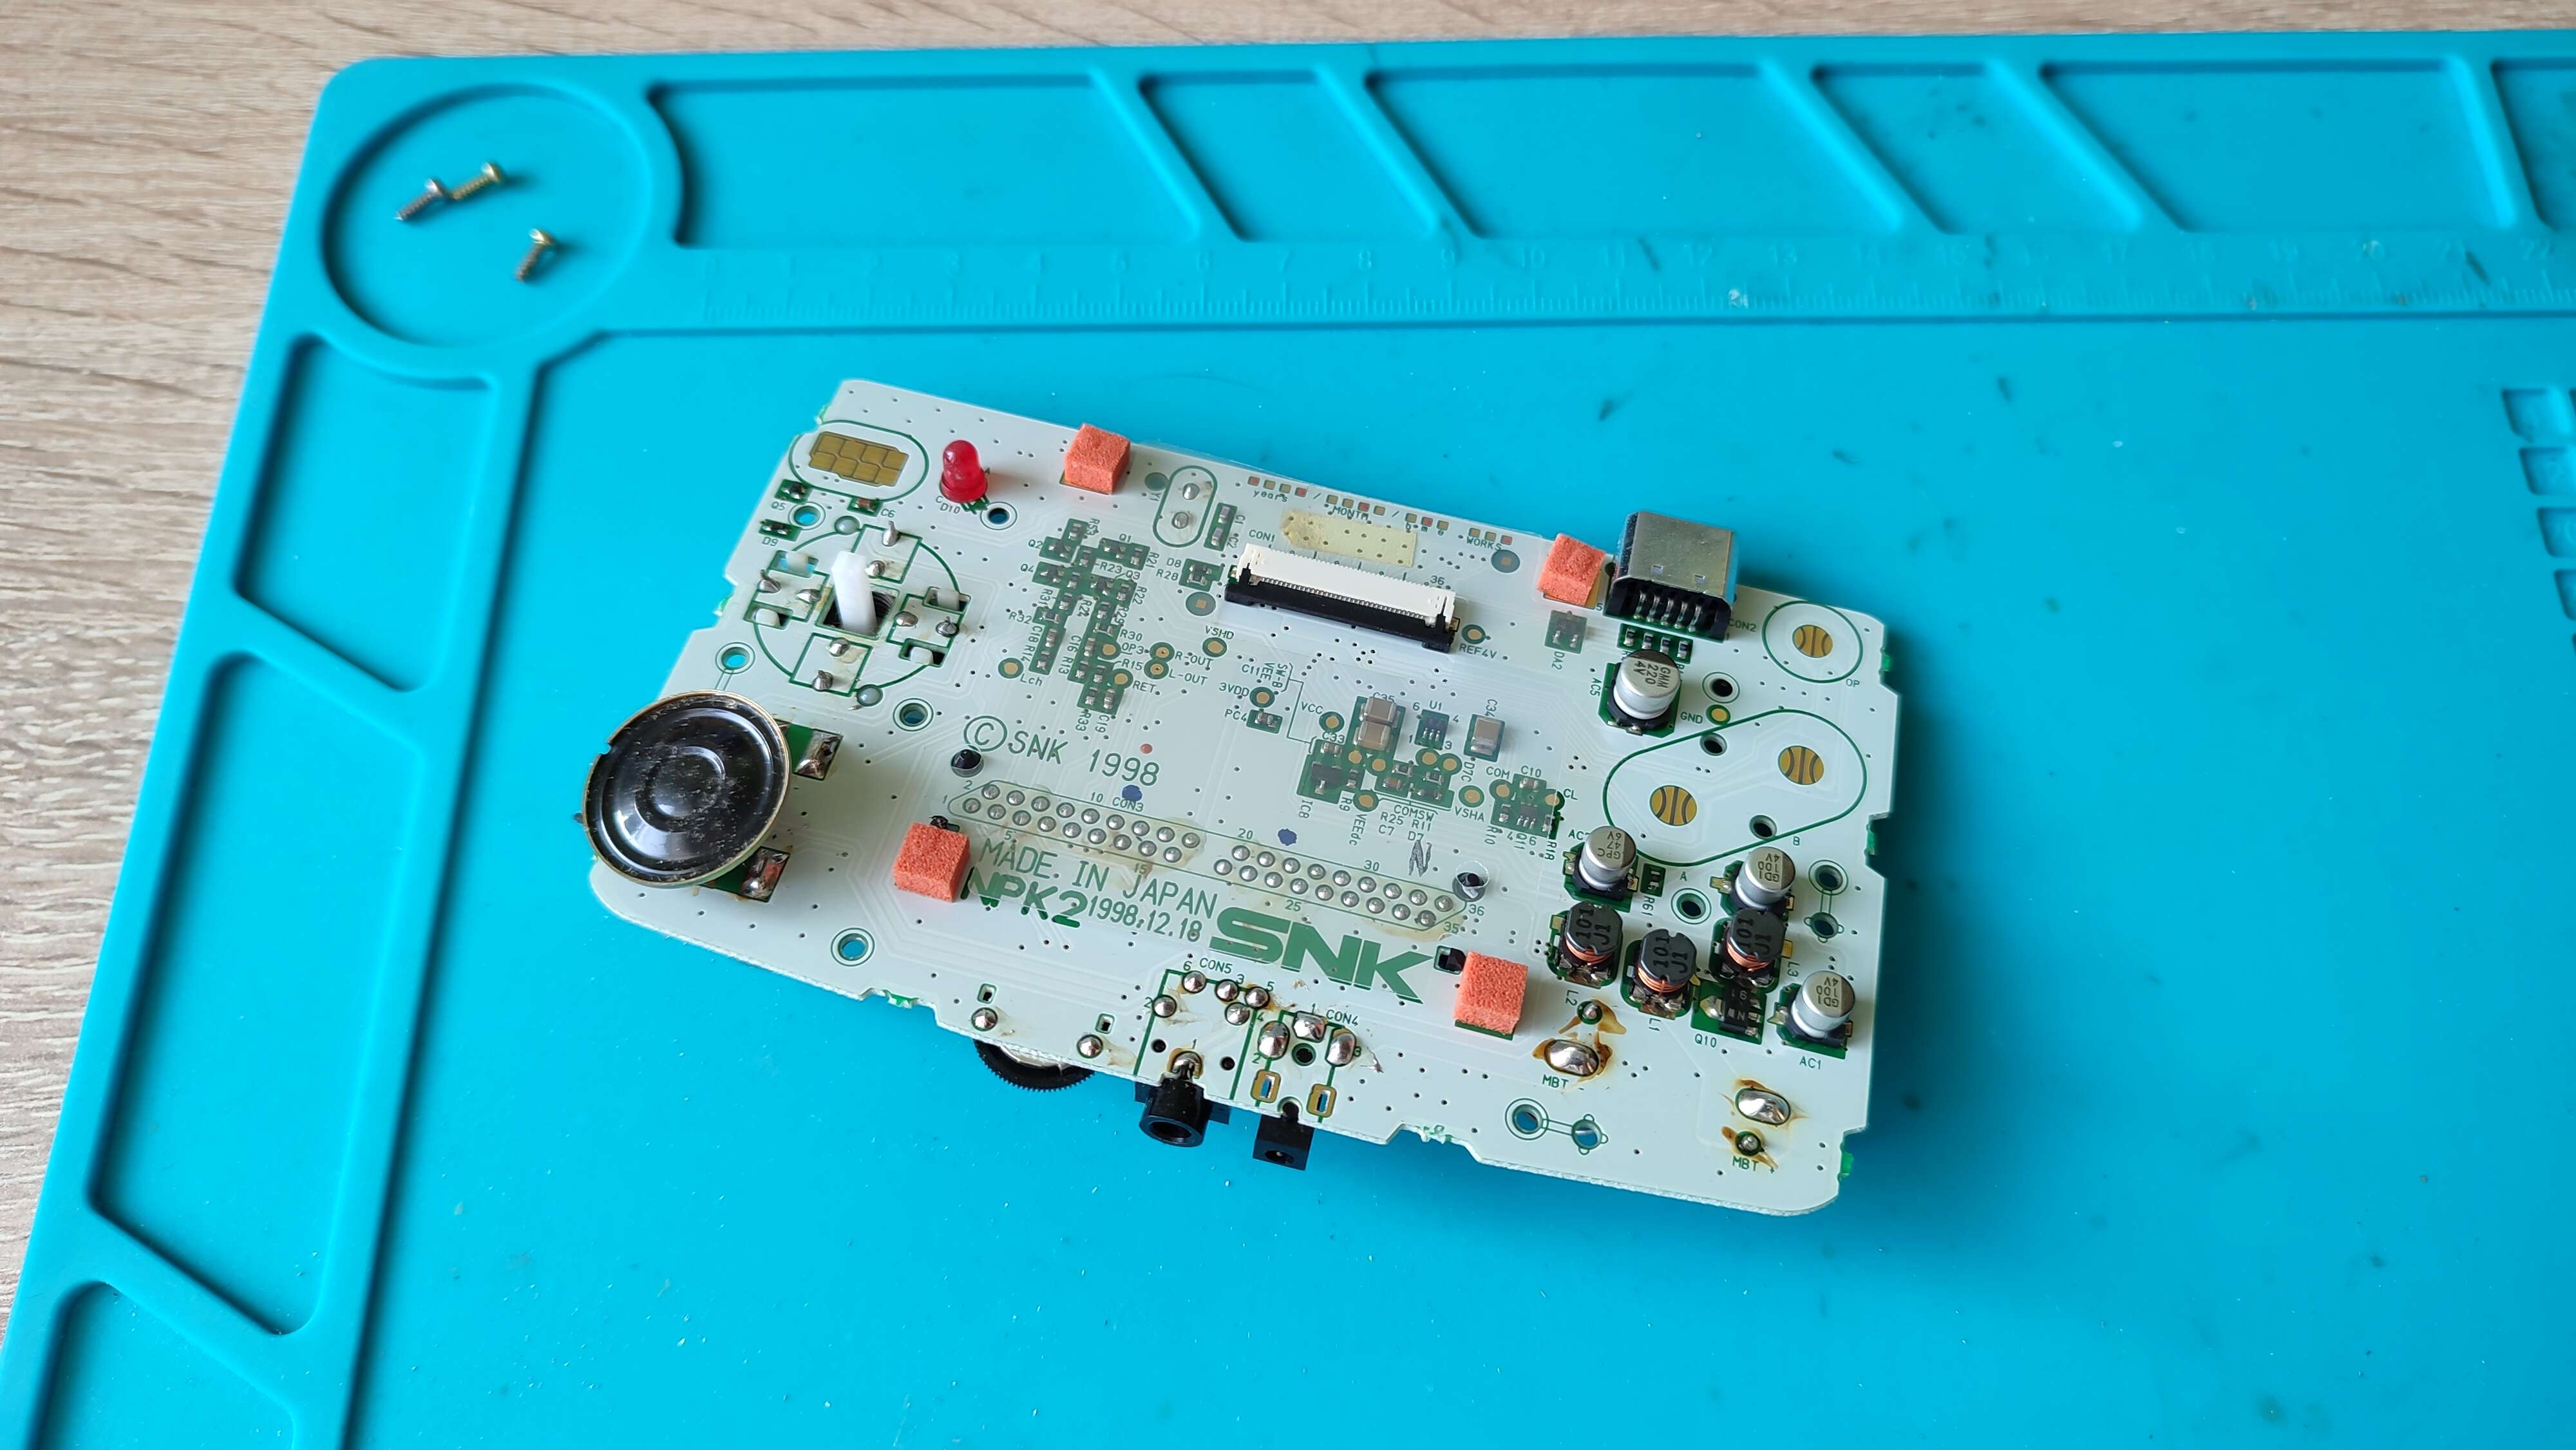
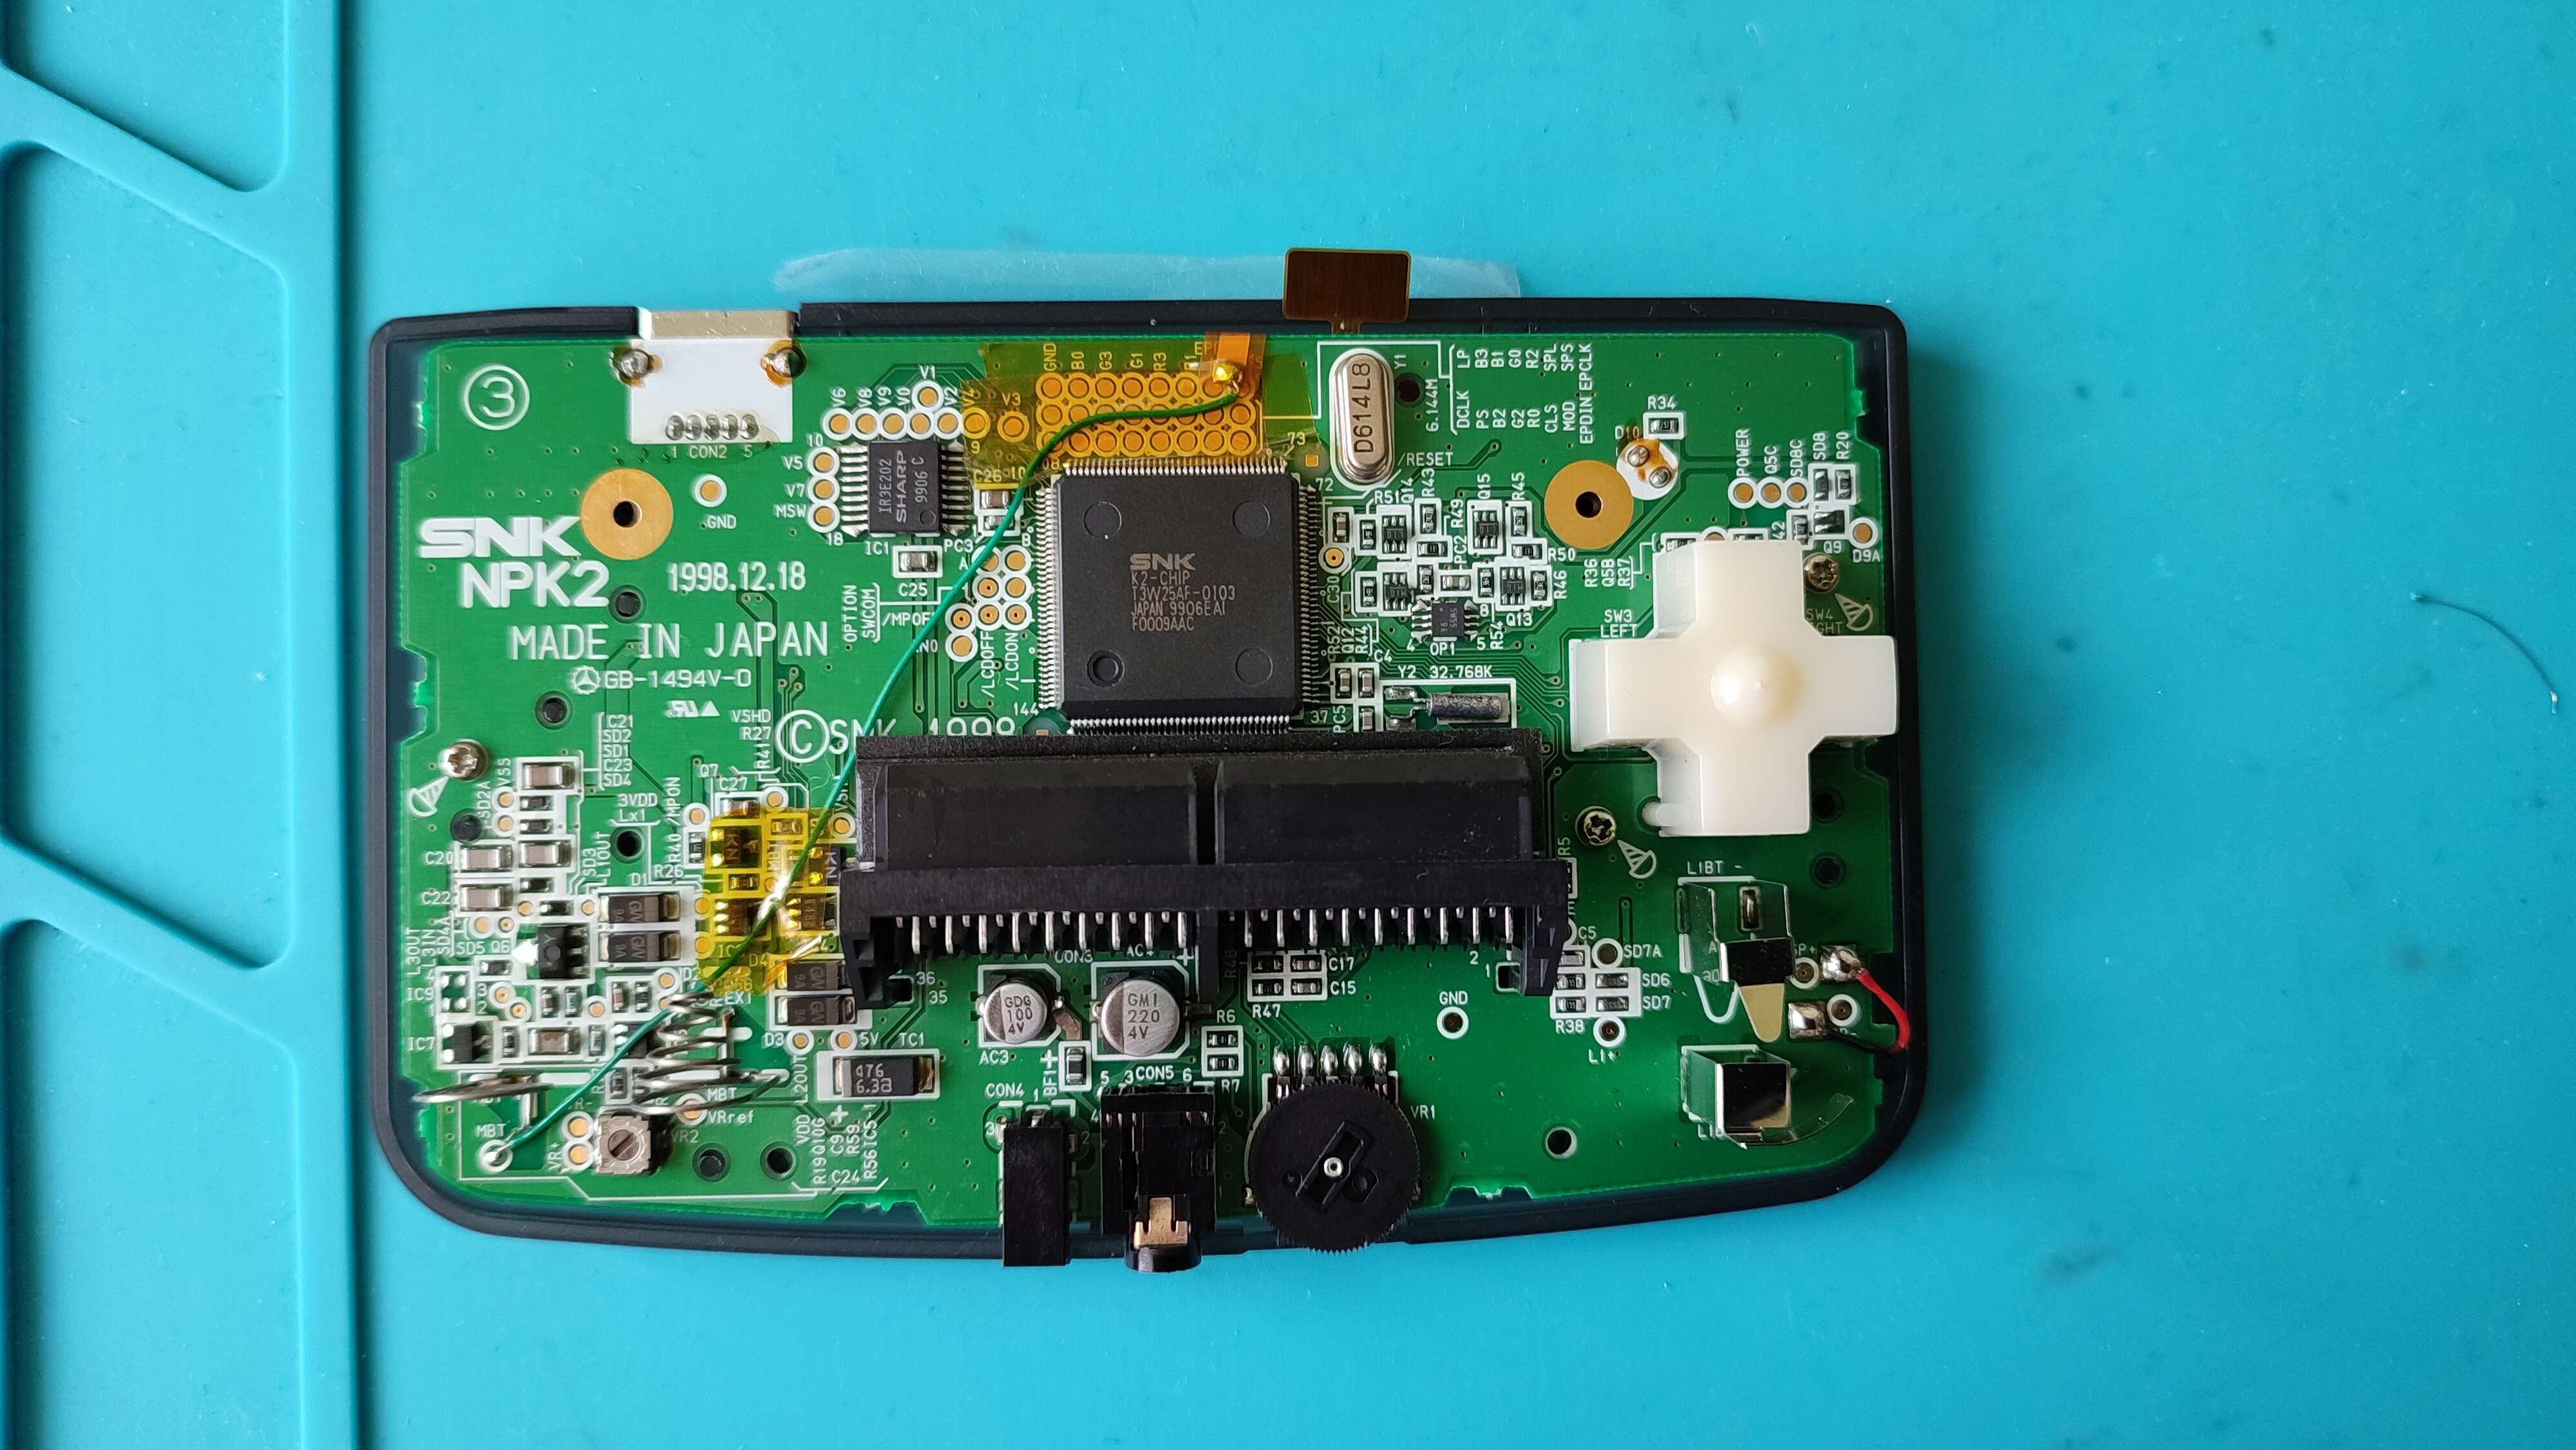
The board needs to be powered directly from the battery, which is done with an extra wire. Installation instructions say to just wrap the wire around the battery contact, but I decided to solder it contact point on the board instead.
With the power wire in place the shell is ready for final assembly. At this point the touch sensor needs to carefully aligned so that it touches the top of the shell. It will allow adjusting the brightness as well as selecting one of several available scanline modes. There are horizontal and vertical ones, as well as a retro-pixel grid. Personally, I found scanlines to be way too dark so I have them turned off. It is also possible to switch the screen to a monochrome mode.
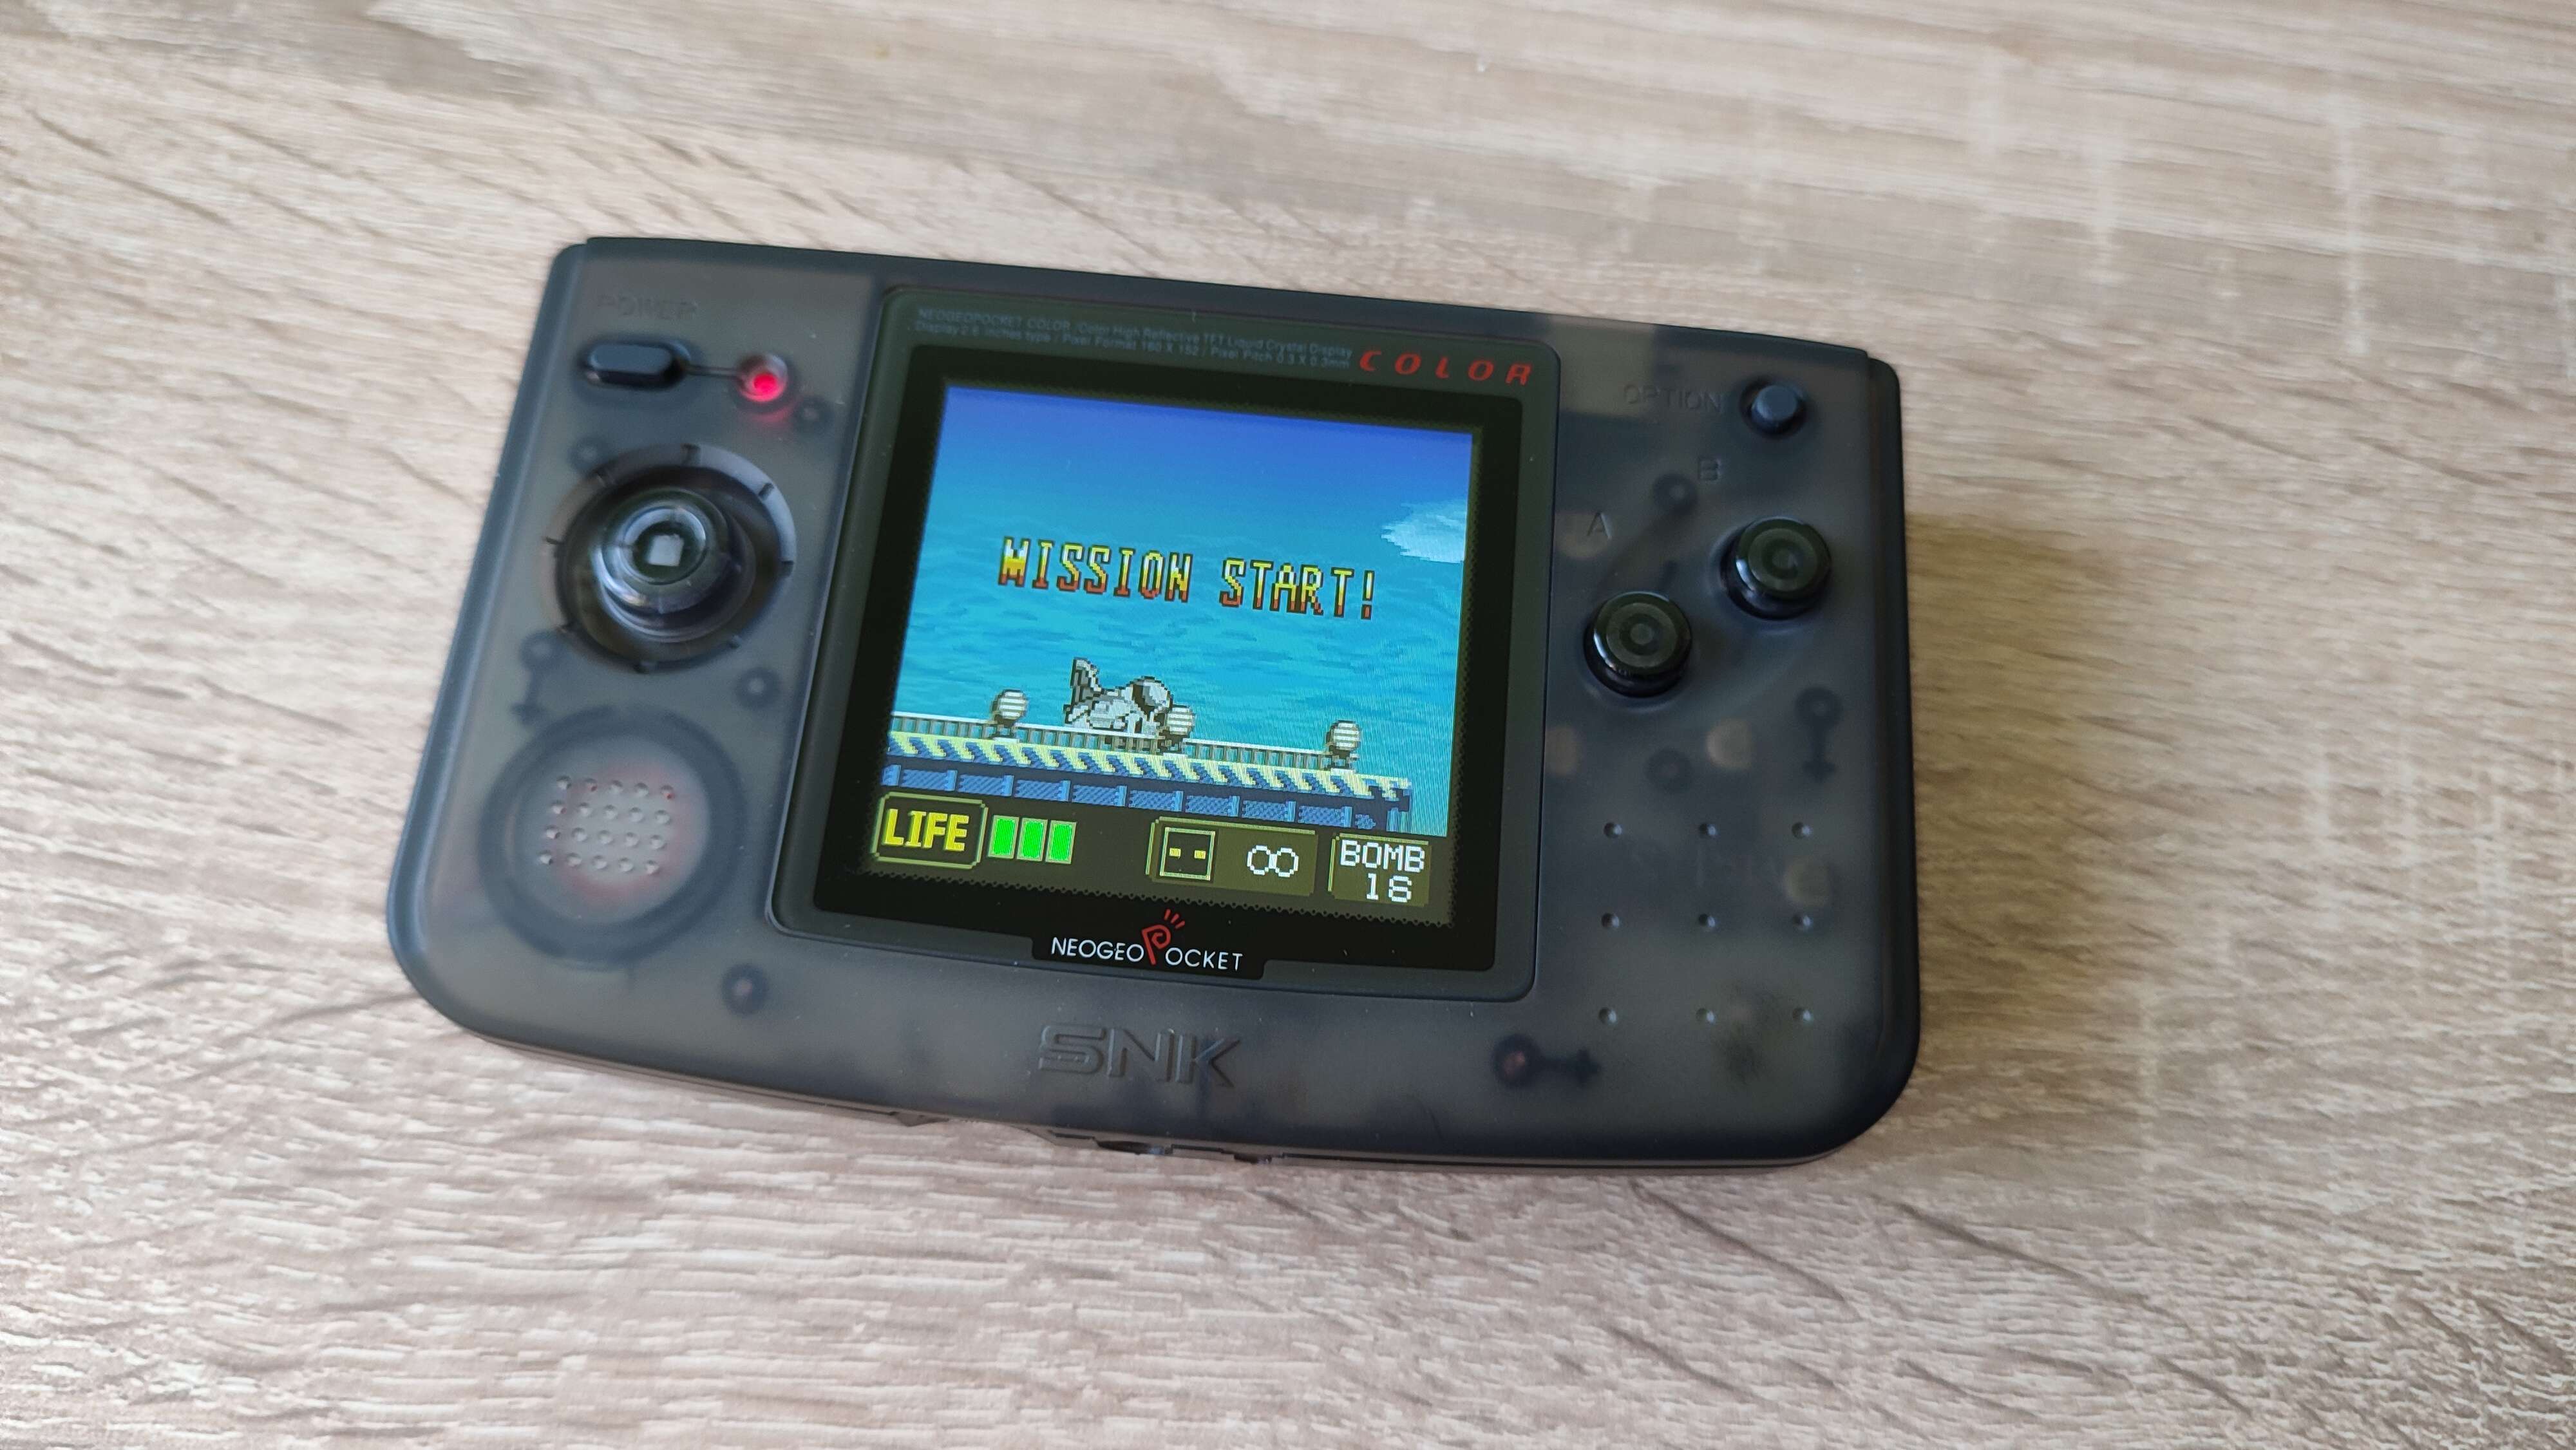
Here’s the finished build:
A few quick thoughts on this kit:
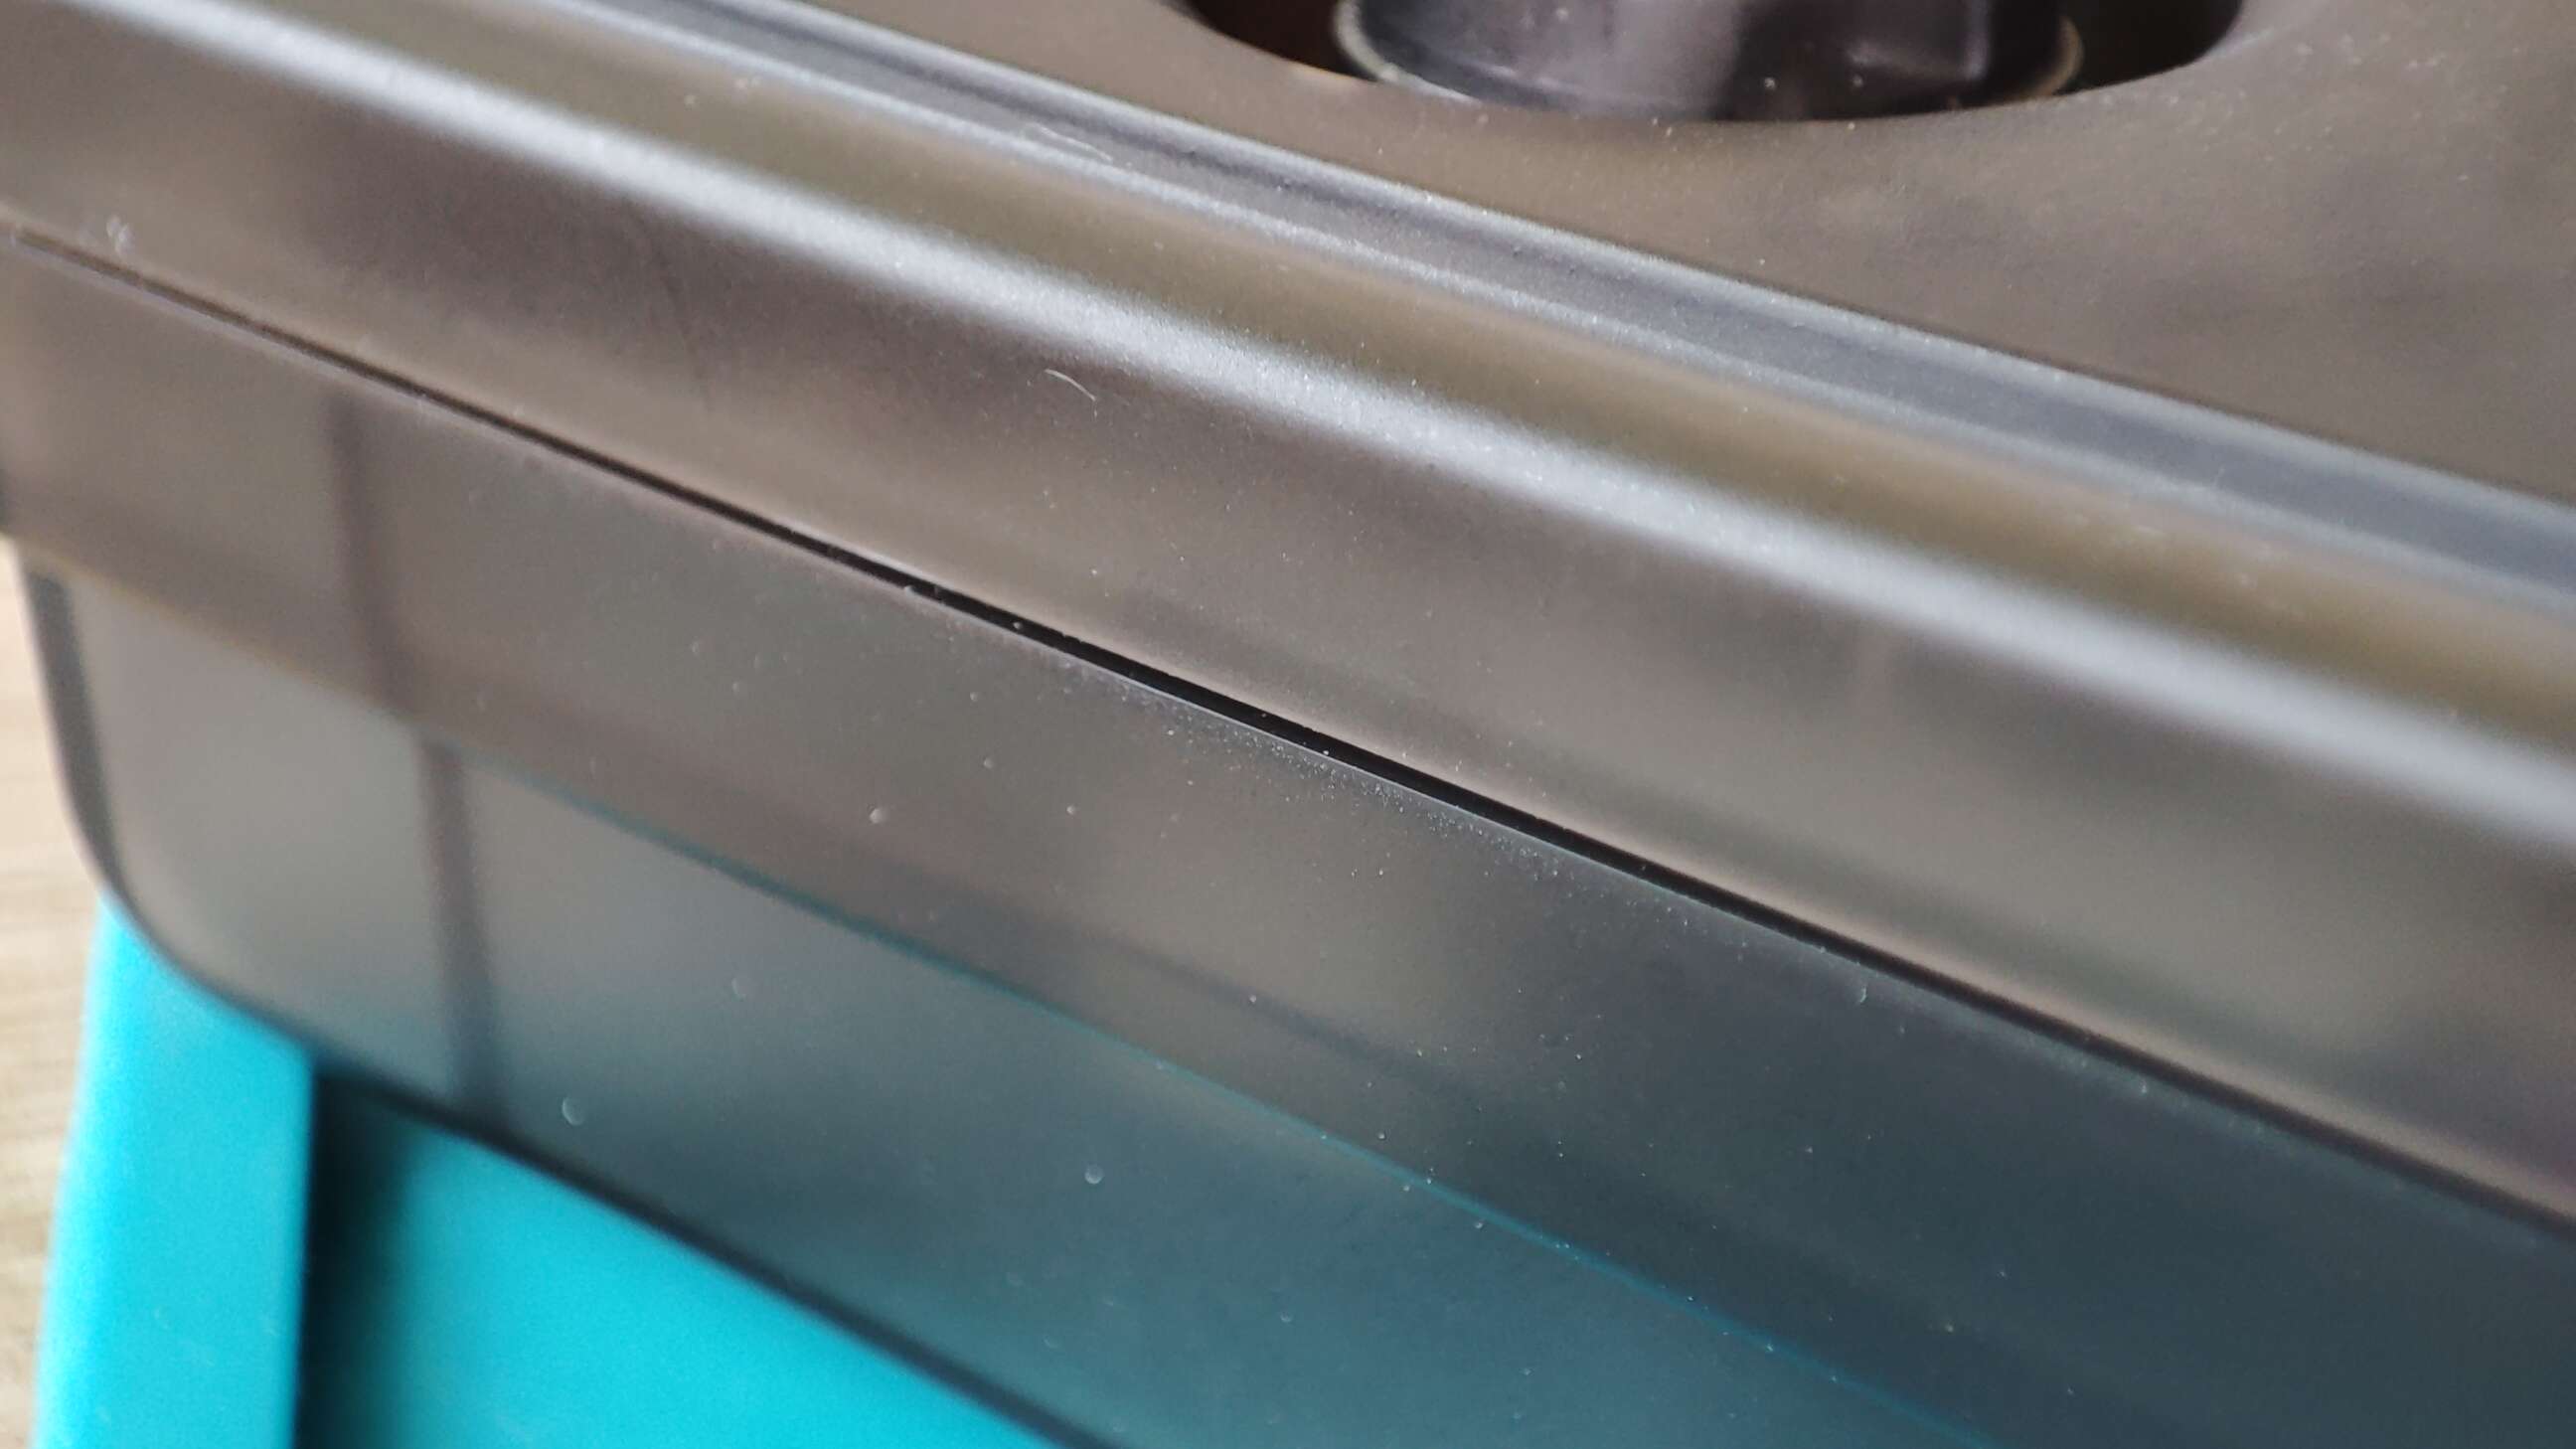
- Shell quality is good, but the fit could be somewhat better. The top of the shell isn’t as tight as it should be, no matter how tightly I fix the screws.
In order to get the speaker to fit I had to remove its metal protective cover.
I messed up when attaching the lens and left a fingerprint underneath it. What I learned is that once the lens is removed with a suction cup it can be attached again, so I was able to get that fingerprint removed without having to get a new lens.
I am yet to determine the battery life of the modded system. I had the console power off without a warning a couple of times. The original system supposedly runs for as long as 40 hours on a pair of AA batteries, but an IPS panel and a flashcart certainly reduce that time. I hope this unexpected powering off isn’t a sign of a deeper problem.
Summary
Over the course of time I was able to get a couple of original games for the system (sadly, cartridges only - no boxes) but I also got a NeoPocket GameDrive flashcart. Without a flashcart it’s really difficult to enjoy the system since the game prices for NGPC are very high. Compared to the Everdrive cartridges from Krikzz, the GameDrive is moderately convenient to use. It has 15MB of flash memory and the games need to be loaded from an SD card into that memory before they can be played. Once a game is loaded it stays in flash until you delete it. 15 MB is enough to store several games, but the flashing process is very slow, so if you want to play multiple titles you might find yourself waiting quite a lot.
As for the games themselves I was afraid that NGPC will be nothing more than an expensive curiosity, but it actually has quite a lot to offer. At least for a NeoGeo MVS fan like myself. I spent a lot of time playing arcade titles such as Metal Slug, King of Fighters, Samurai Shodown, and The Last Blade. All of these titles have their NGPC ports, though calling them “ports” is a bit of a stretch. Today we would call them demakes. Regardless of how we call them however, they are a blast to play. I was genuinely surprised that despite simple graphics - the character sprites consist of only three colours - The Last Blade plays just like in the arcade version. Same goes for King of Fighters and SNK vs. Capcom. These games are so enjoyable not only because of how responsive they are and how accurately they recreate the arcade feel of original titles, but also thanks to the joystick that the NGPC uses. Instead of the usual D-pad the console has a small, clicky joystick, and that joystick makes it possible to easily execute all the tricky inputs required in fighting games. This is in stark contrast with, say, GameBoy Advance, which offers arcade-perfect ports of King of Fighters games, but the D-pad makes it nearly impossible to reliably execute any special moves.
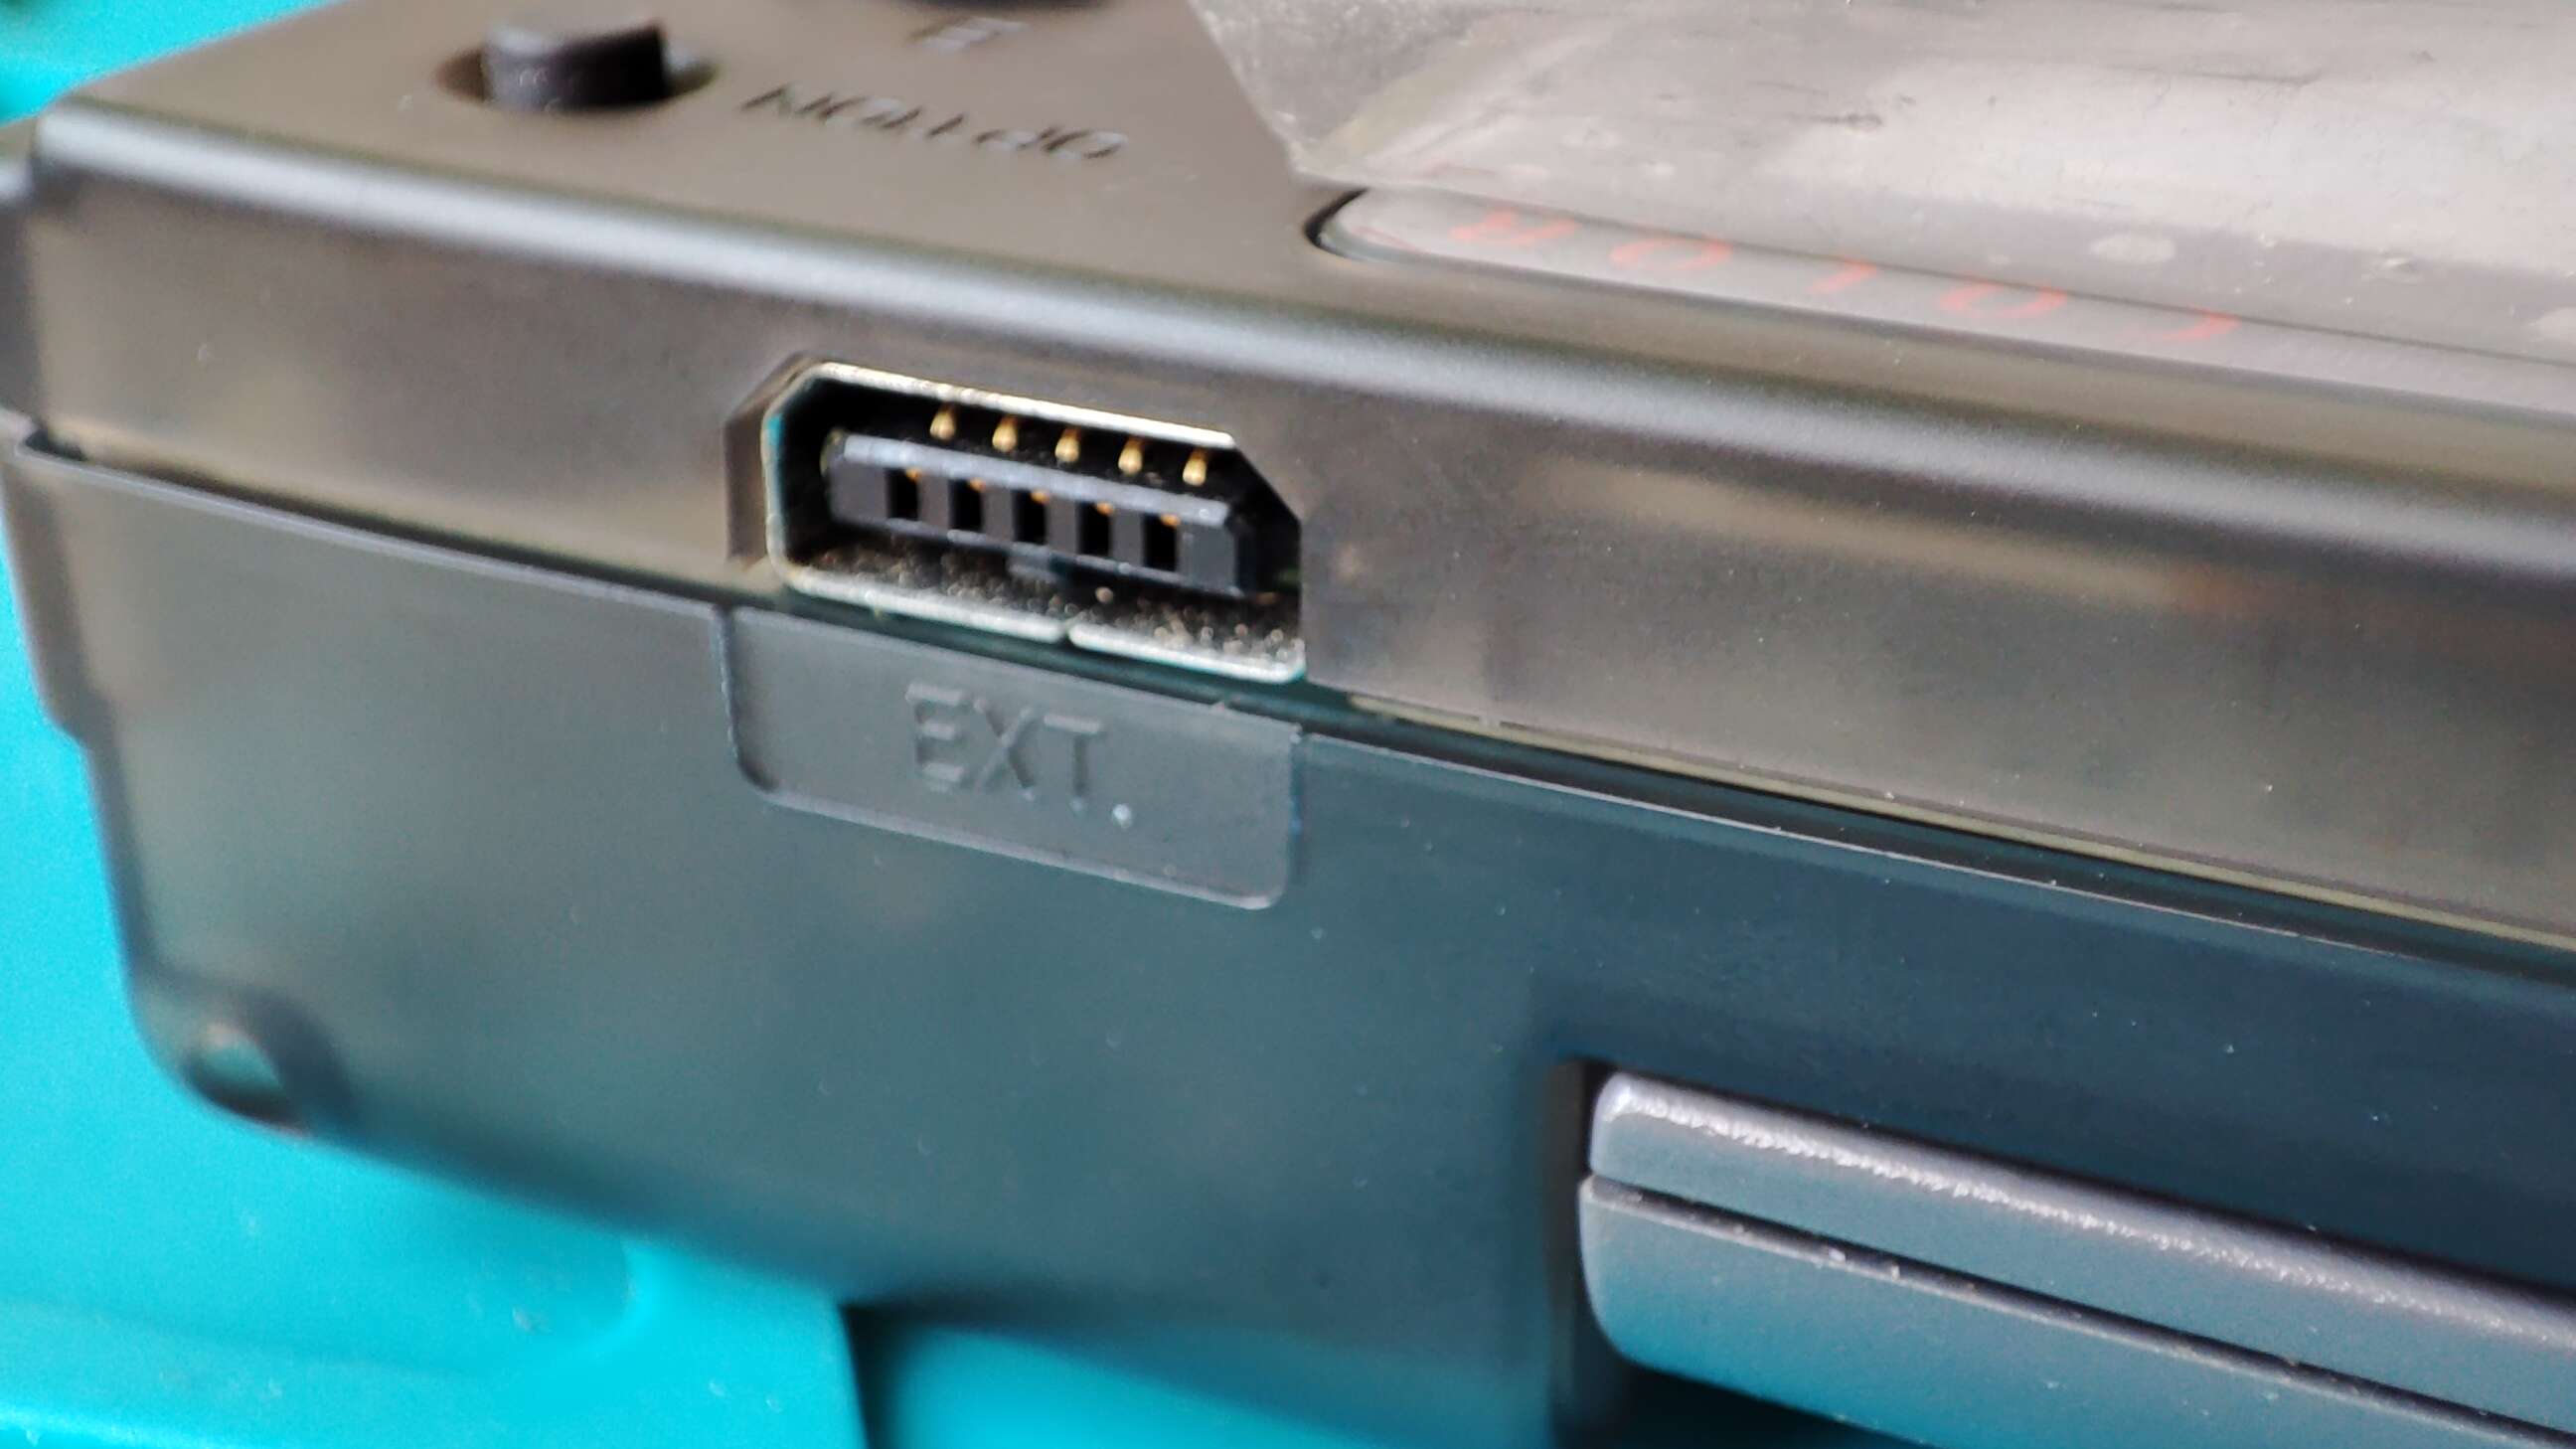
Also I’d love to be able to play some fighting games in the Versus mode between two consoles. This doesn’t seem likely though, given that link cables to connect two consoles are practically unavailable on the second-hand market. And when they are they sell for well over a hundred dollars.
That being said, I will certainly be looking to get one more NeoGeo Pocket, this time possibly a Slim variant. This console has certainly turned out to be much more than I expected.