More GameBoy modding
Since my previous post about modding a GameBoy Color, back in January, I have modded three more GameBoys: a GameBoy Pocket, an original GameBoy DMG, and a GameBoy Advance. I want to talk about the first two today, leaving the third one for later.
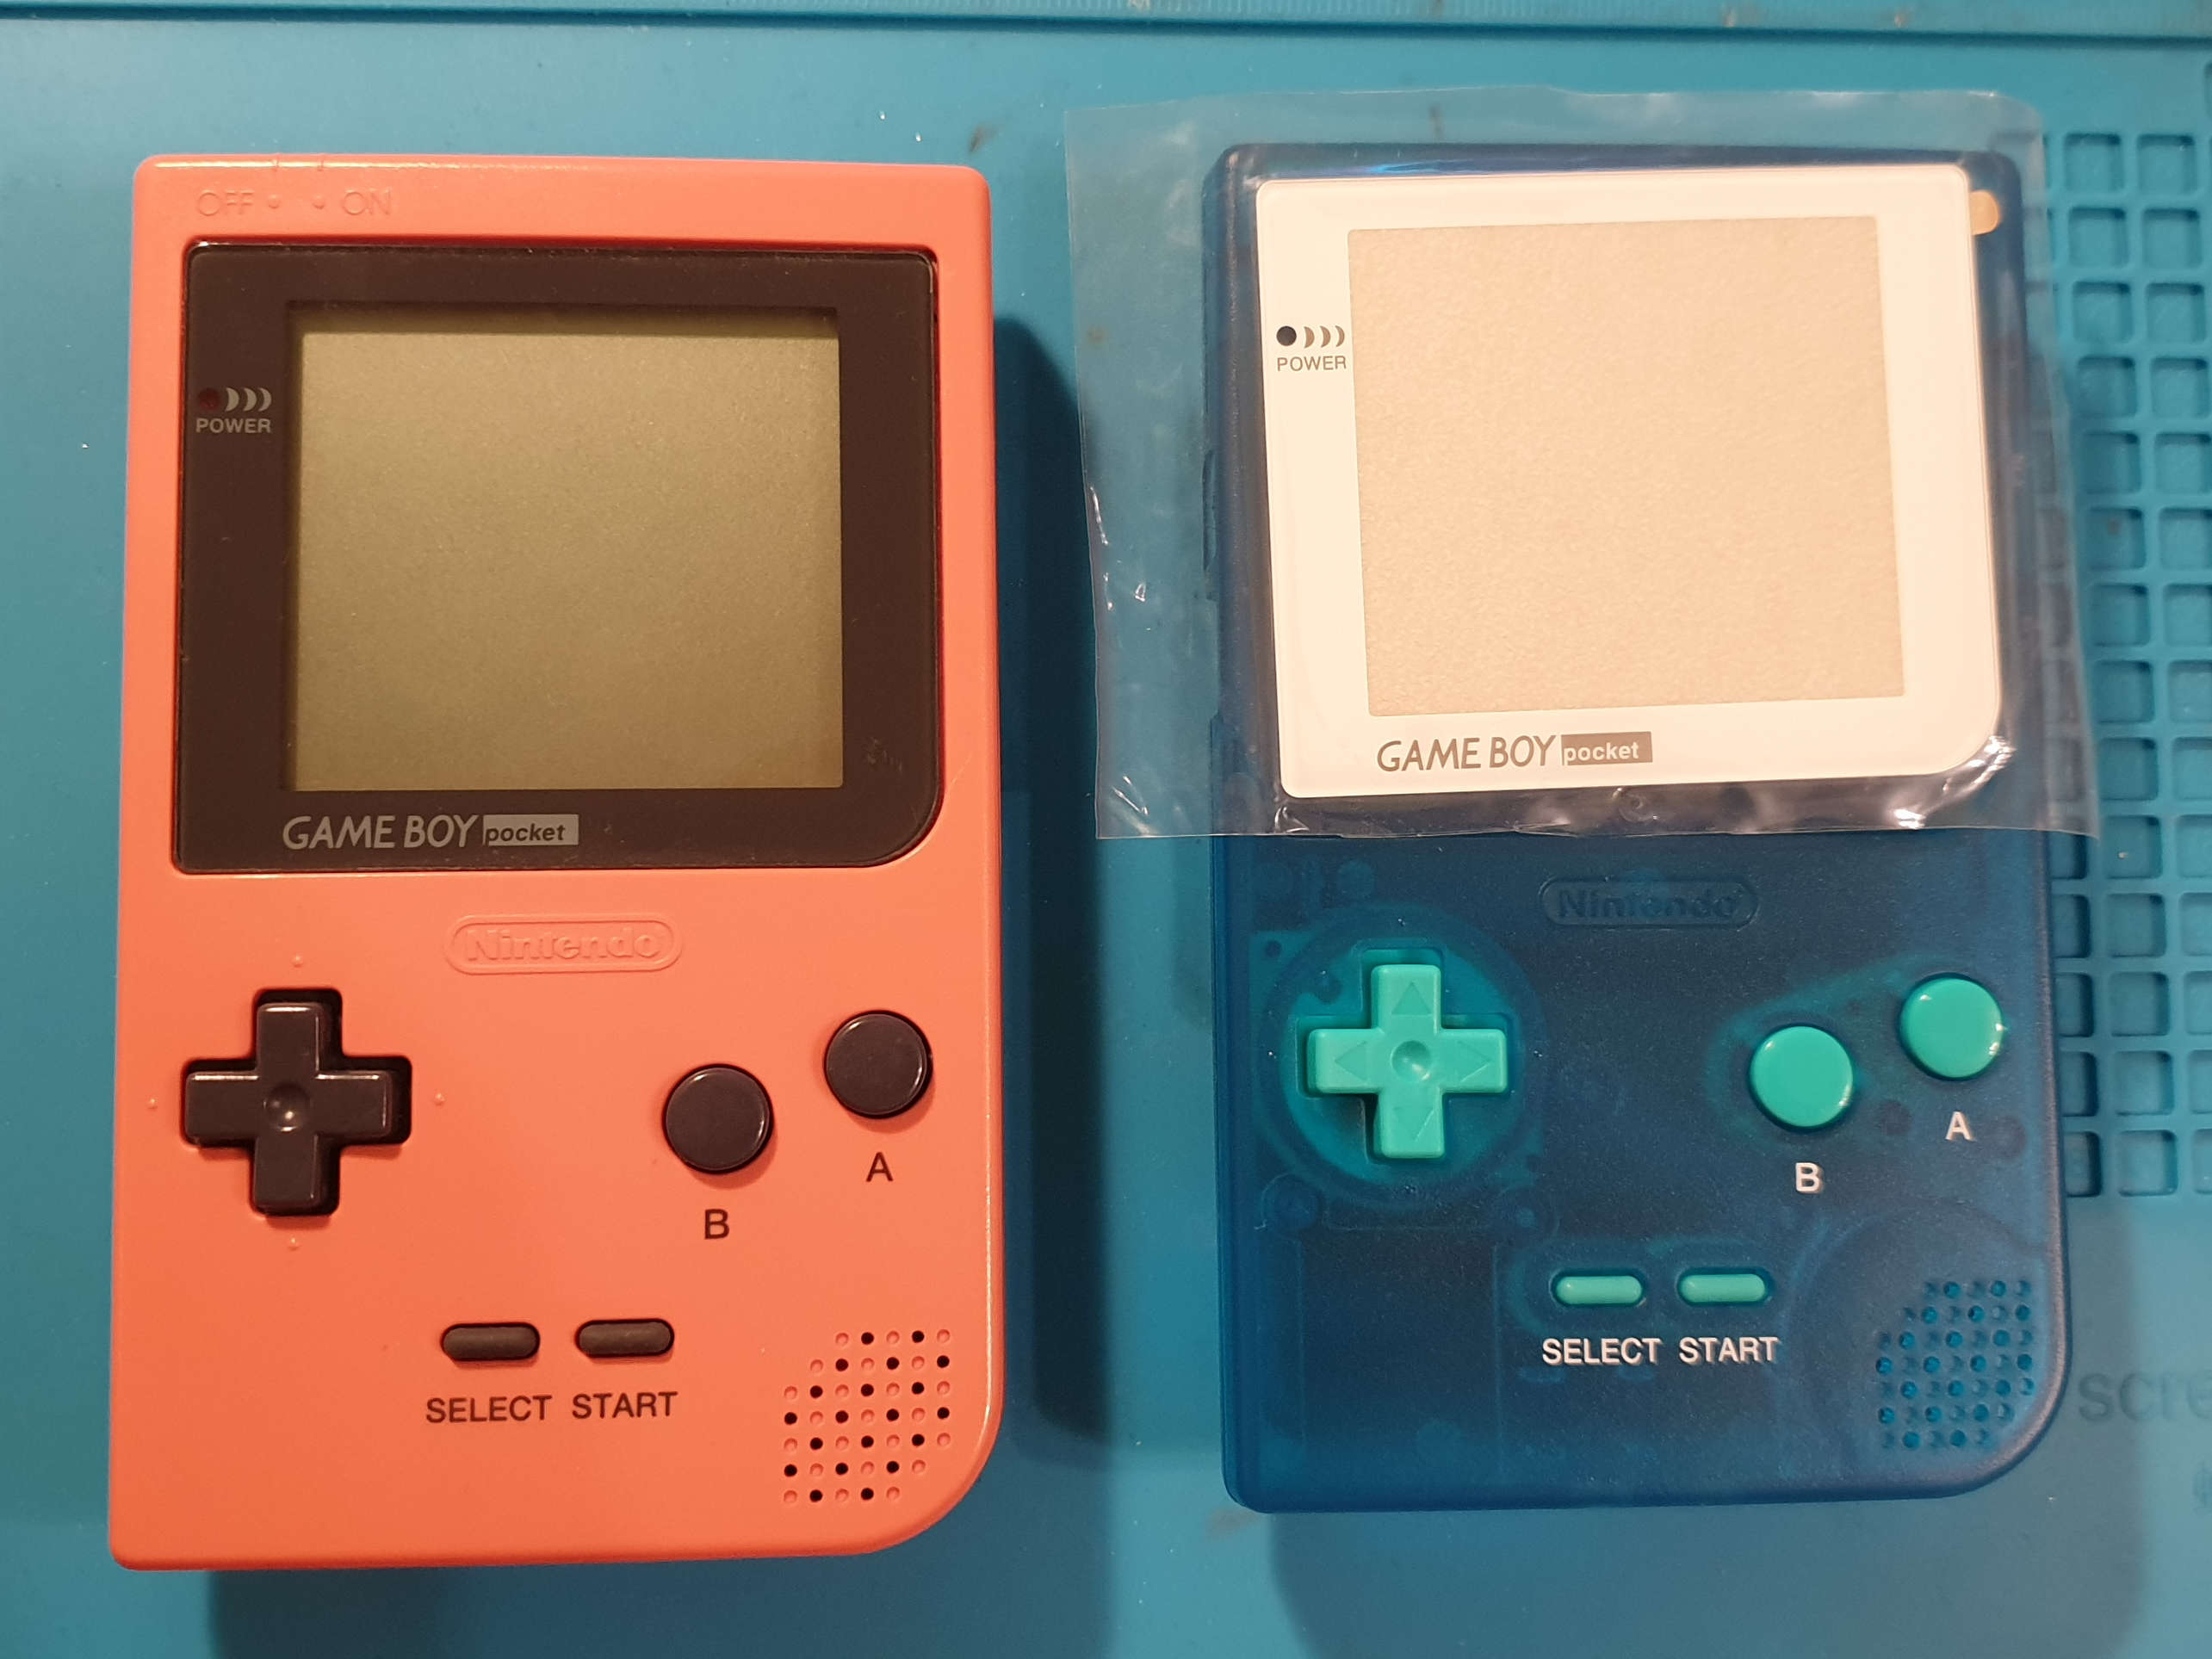
GameBoy Pocket
I already have one modded GameBoy Pocket, but I wanted to make another one for my wife. I got a donor GBP with a damaged screen that had a wide black stripe running from top to bottom of the screen.
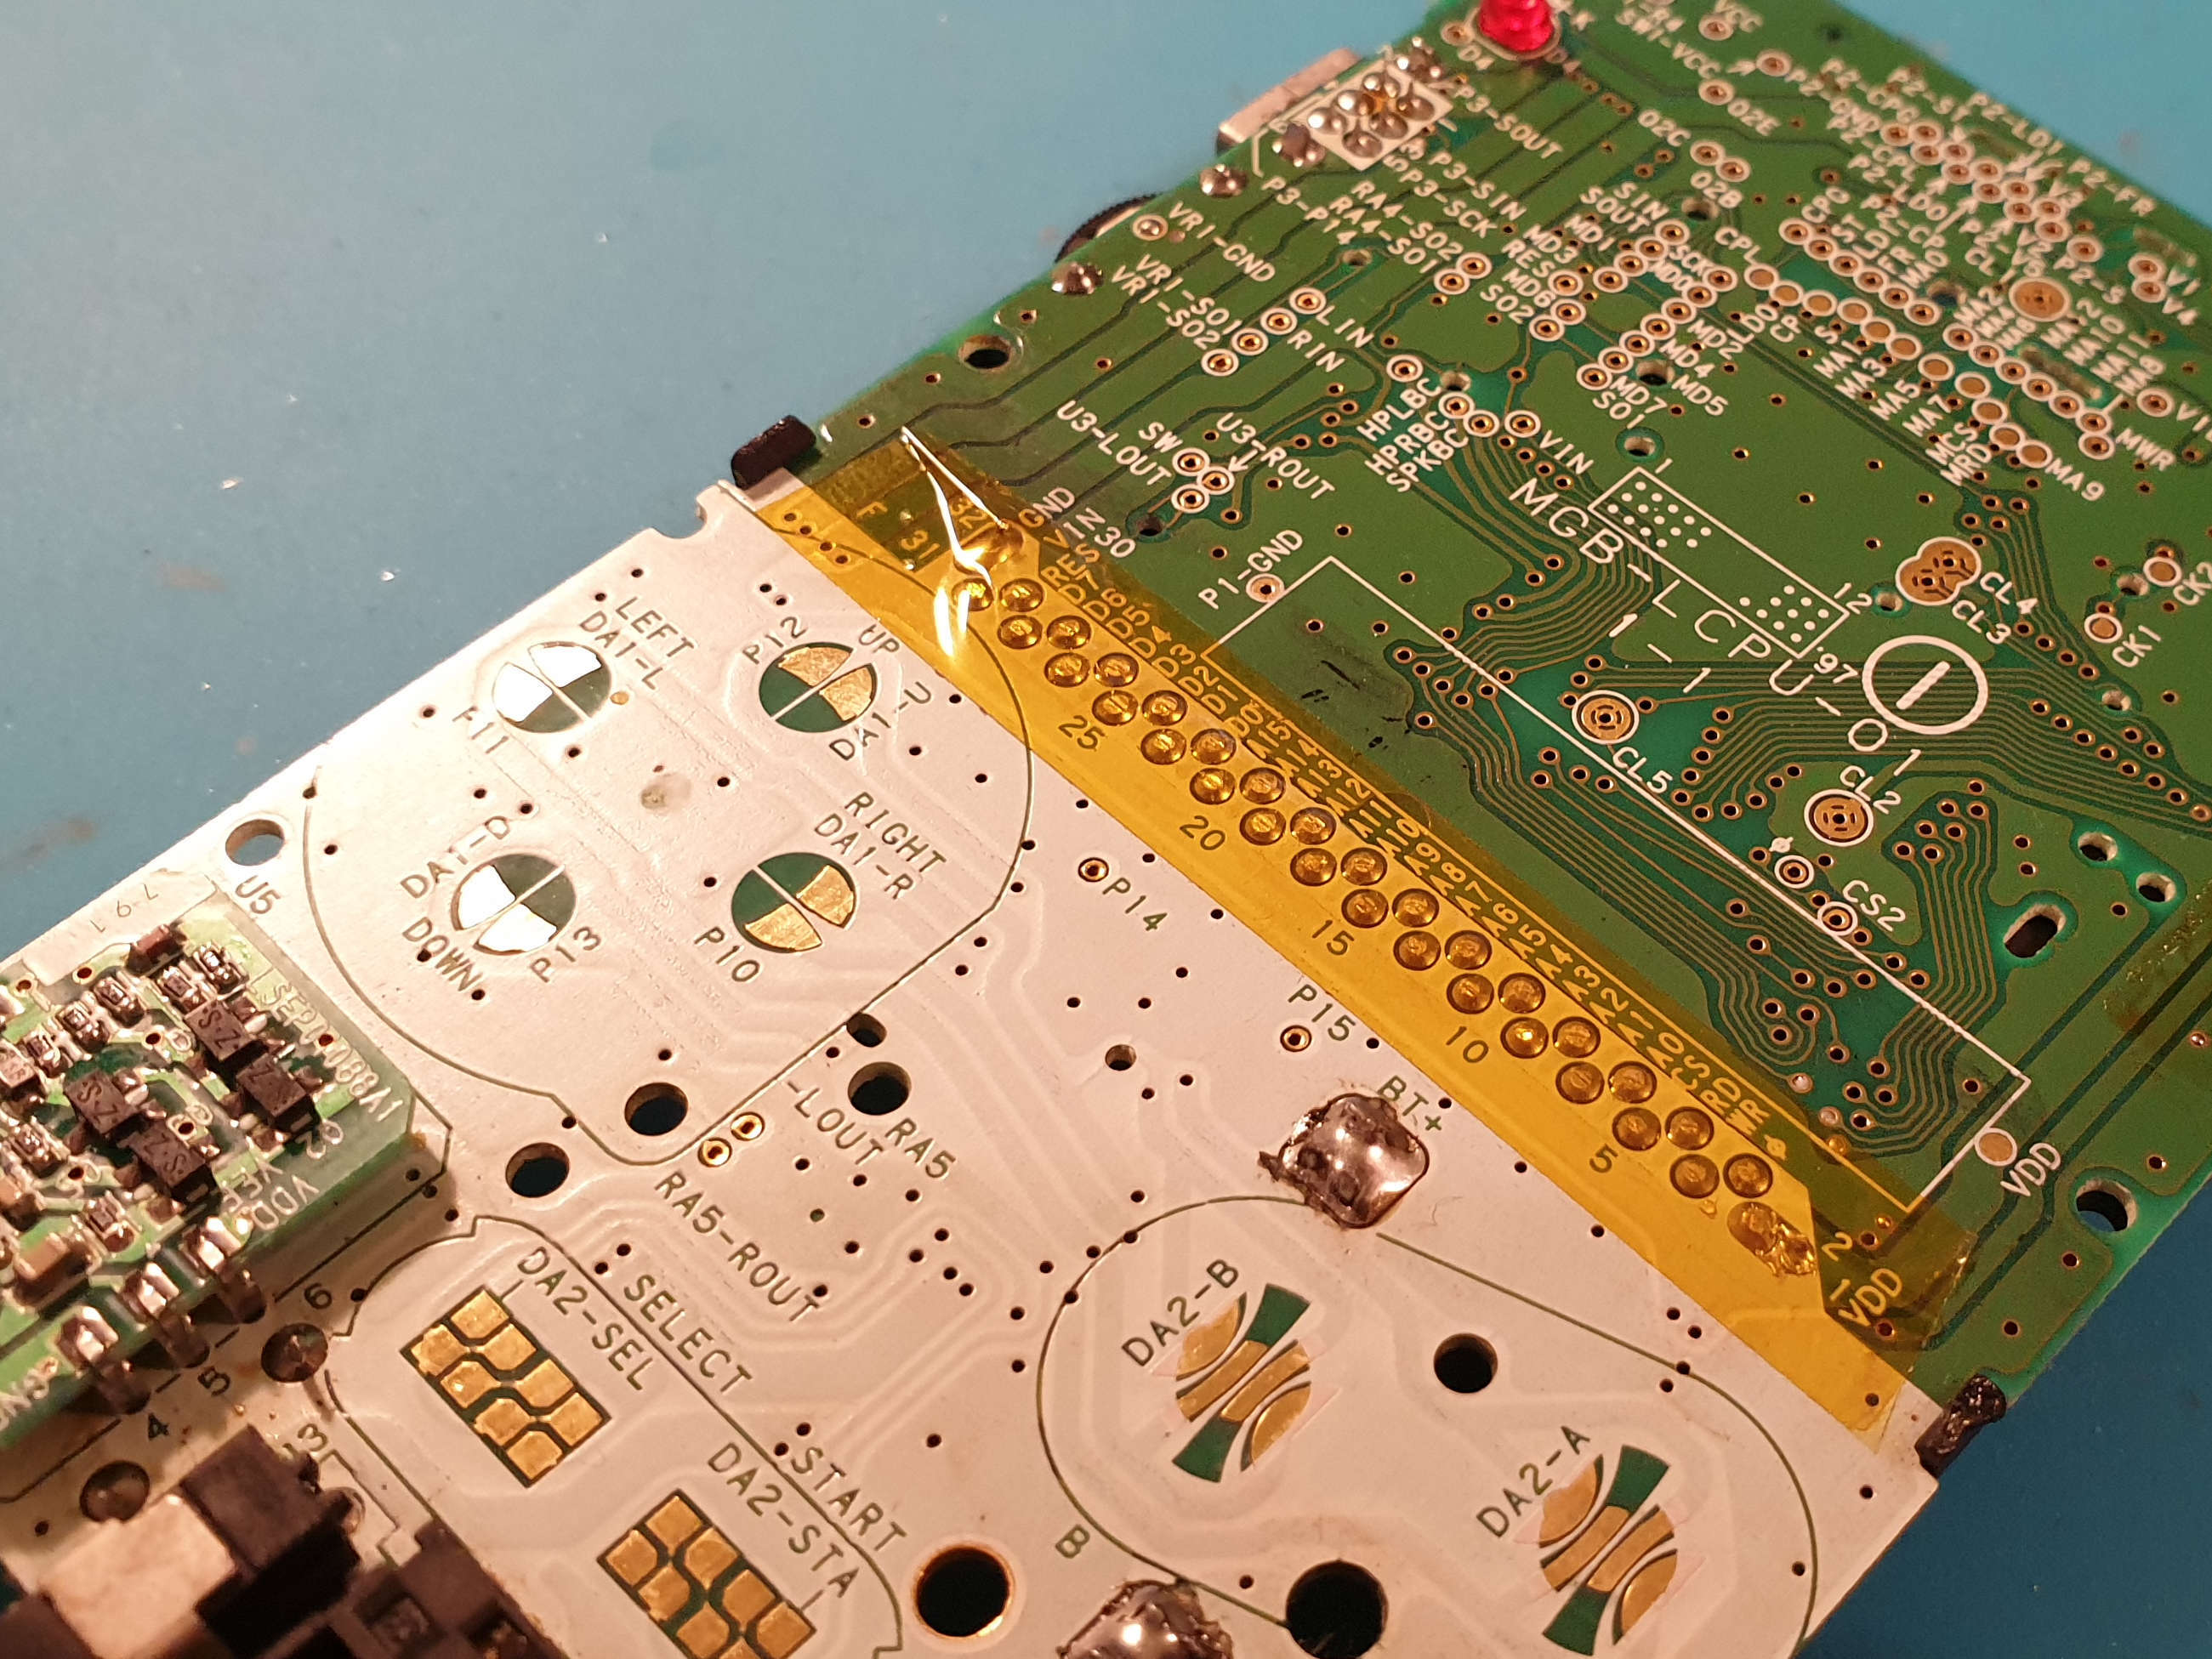
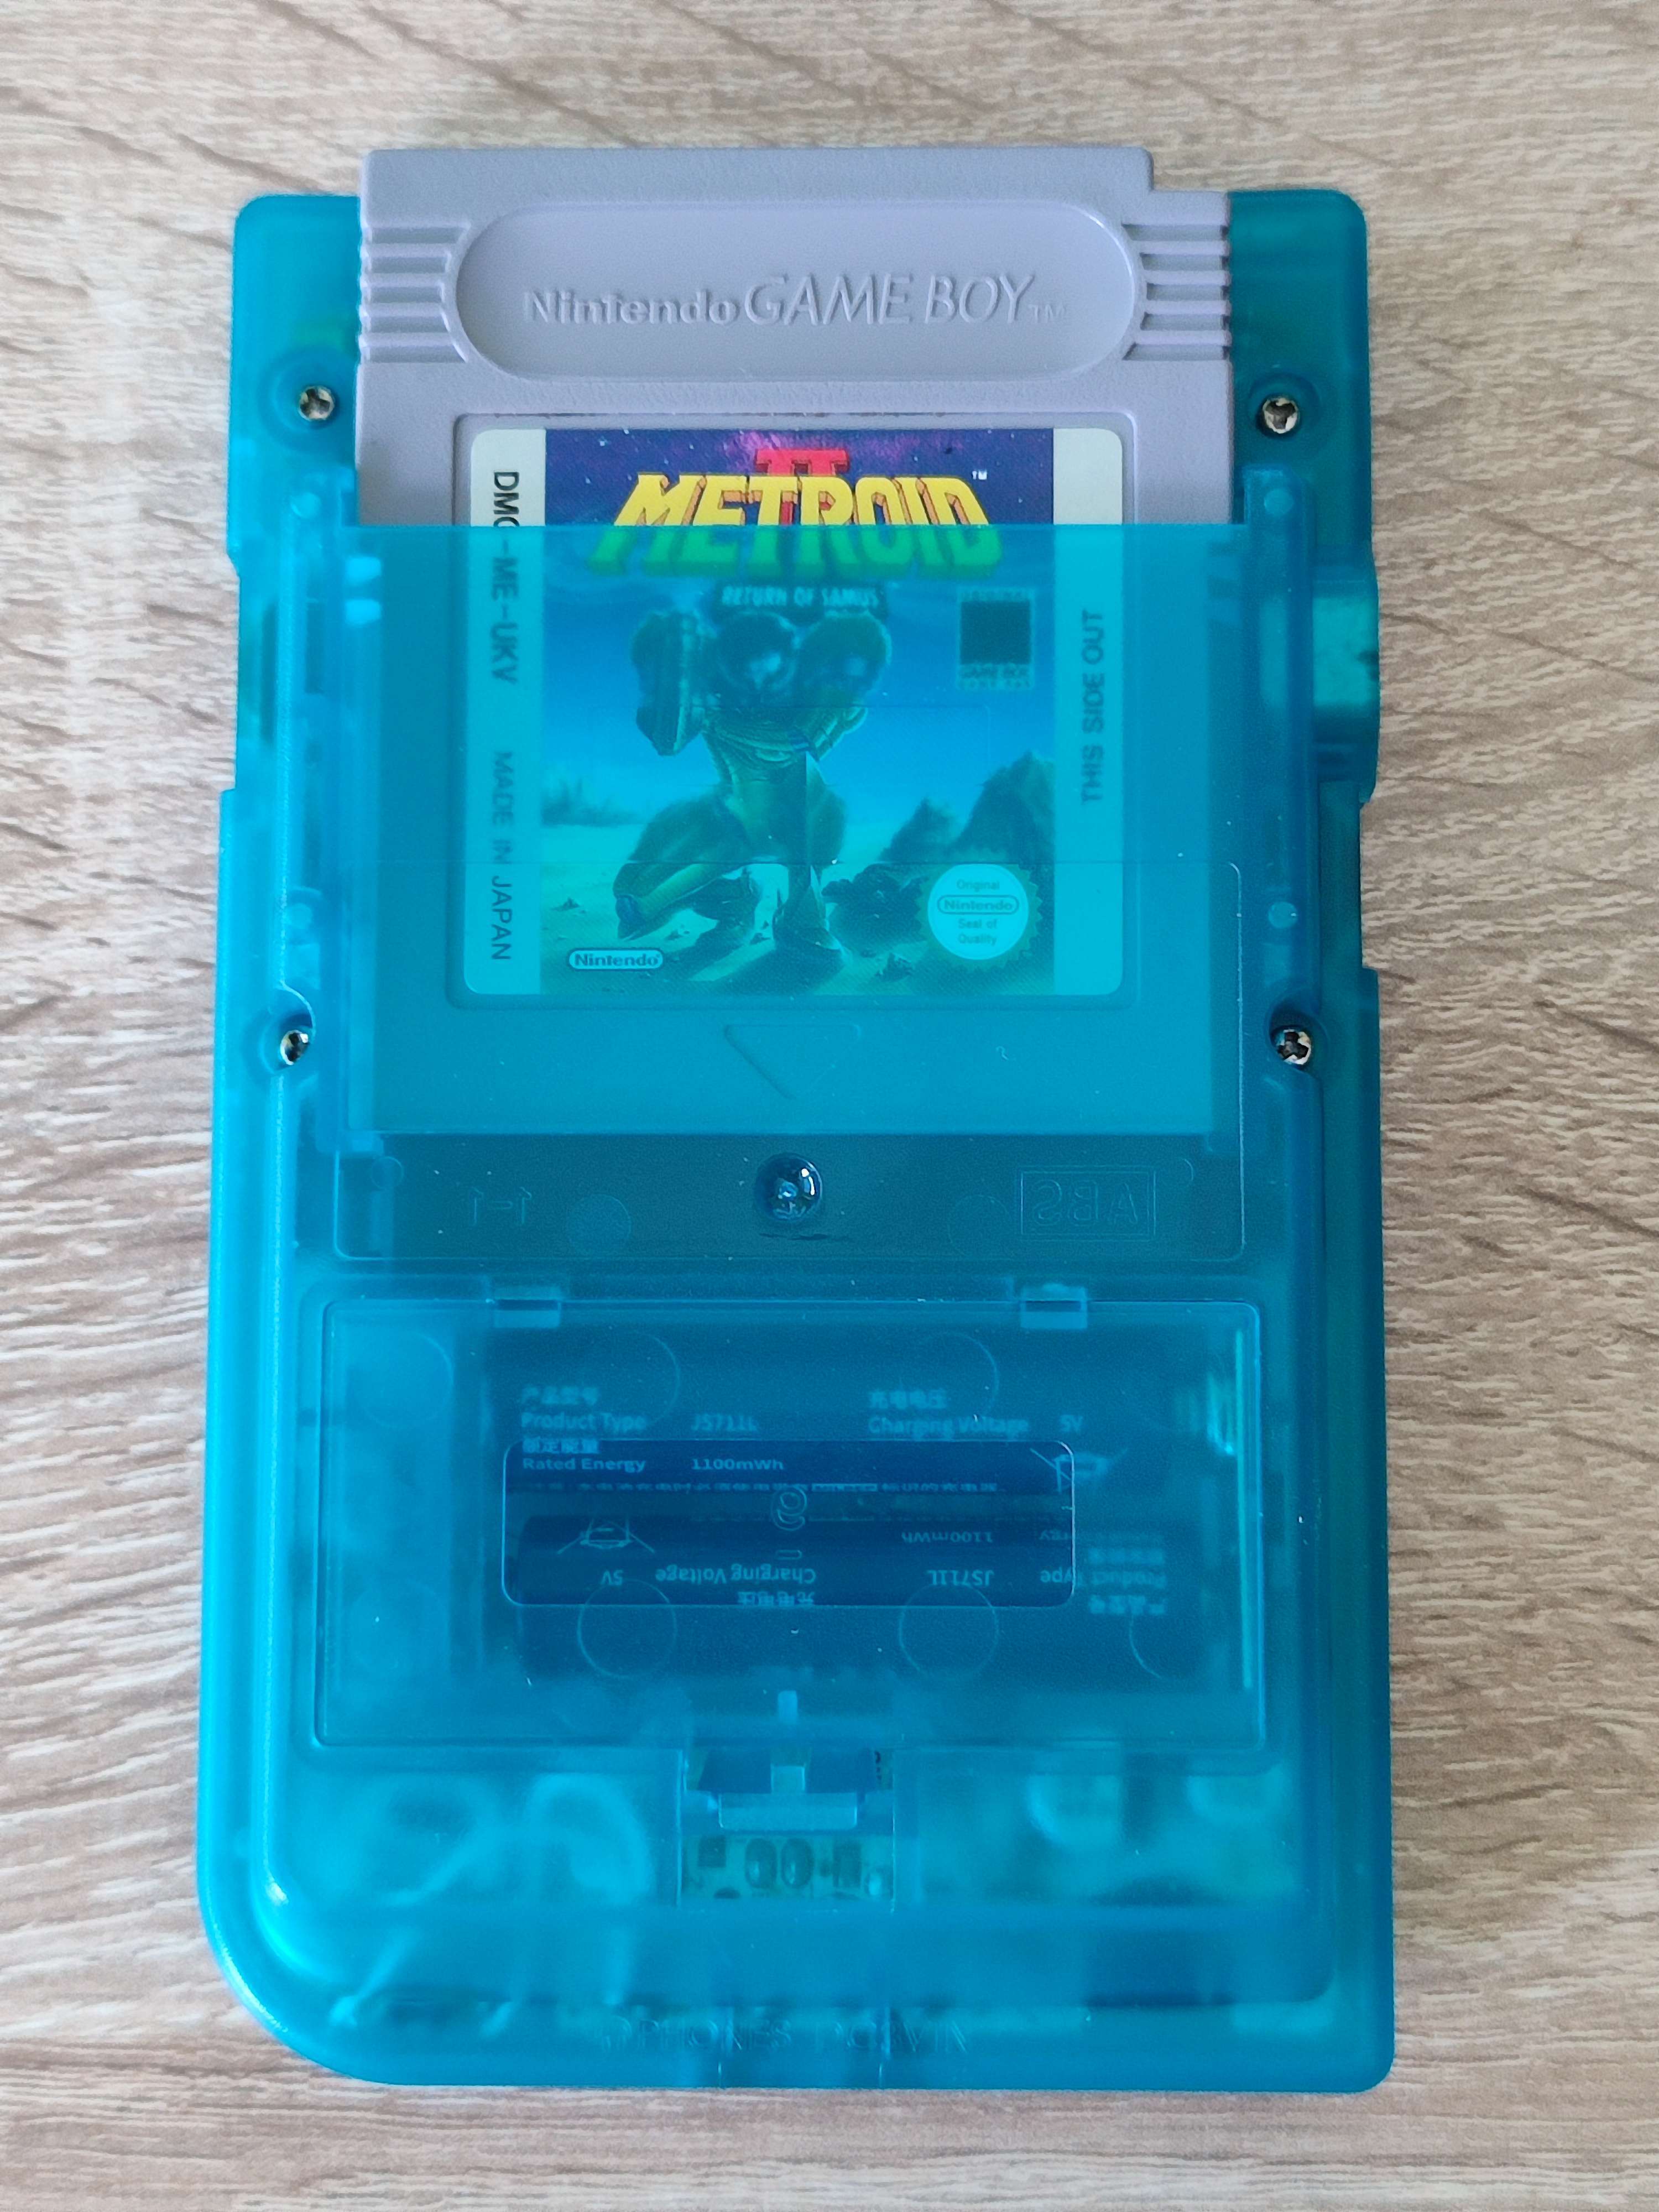
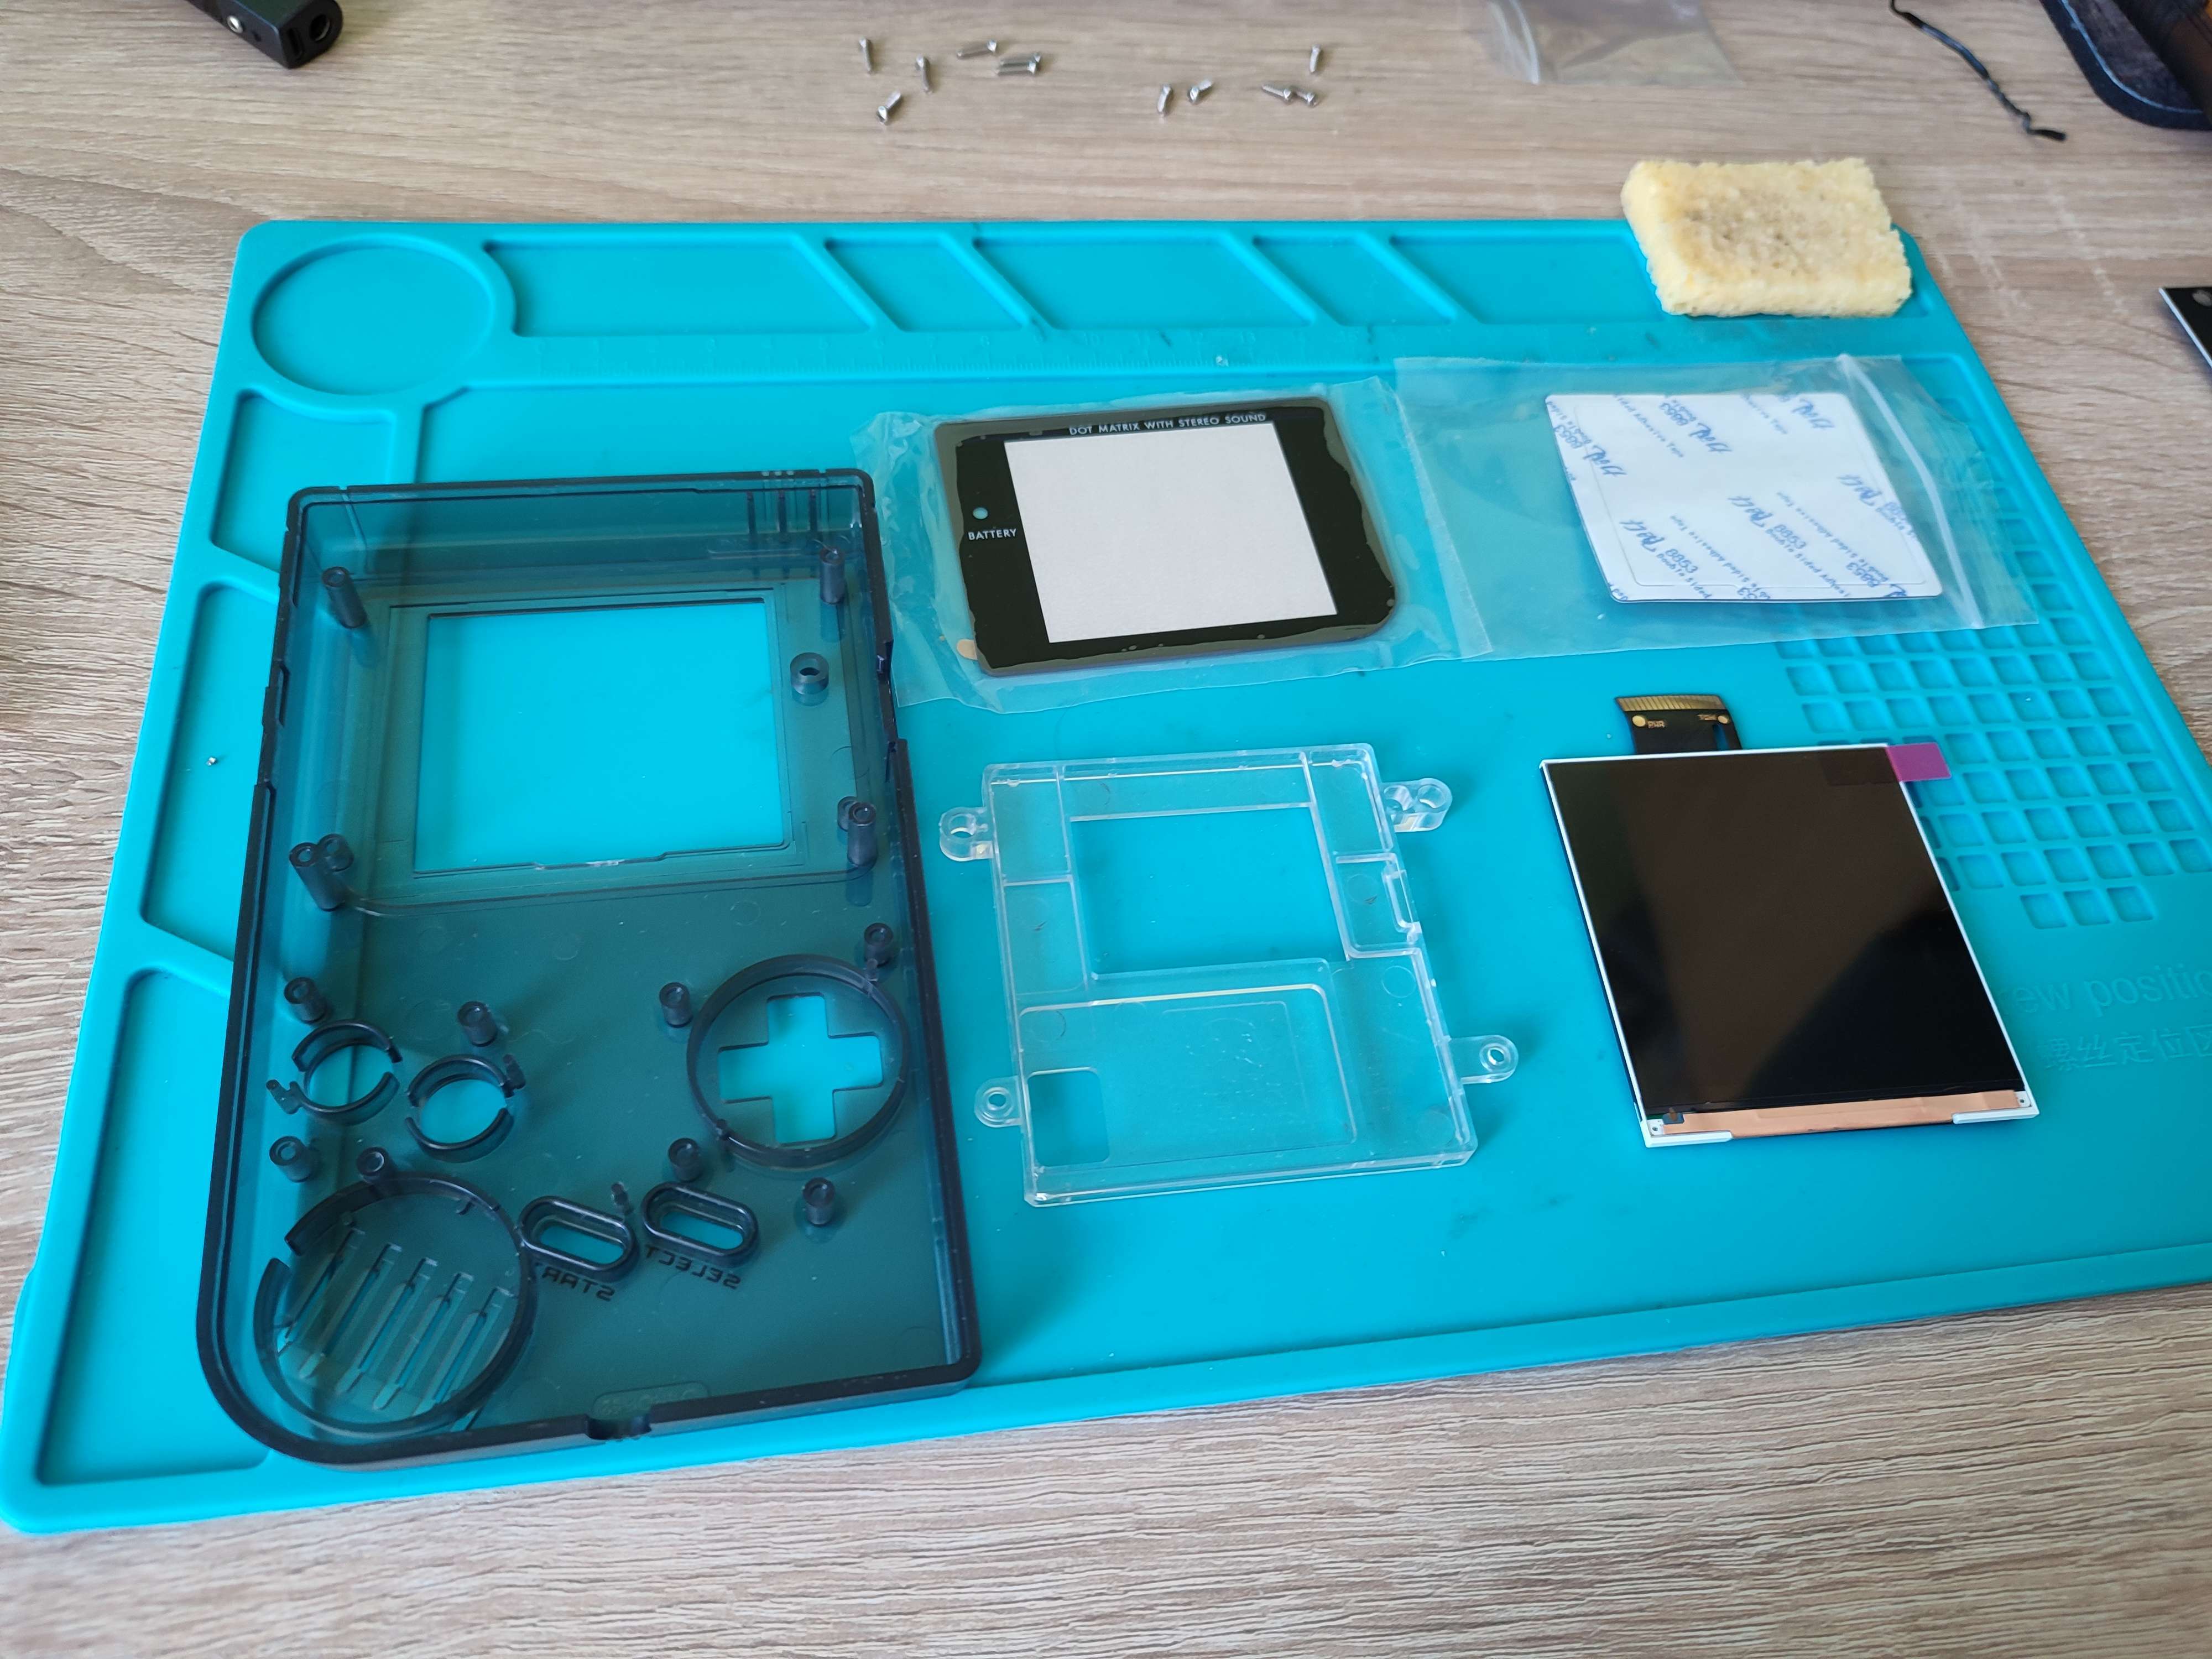
Modding GBP is very similar to GBC, so it went pretty smooth. Similarly to GBC, I trimmed the cartridge slot pins and secured them with Kapton tape.
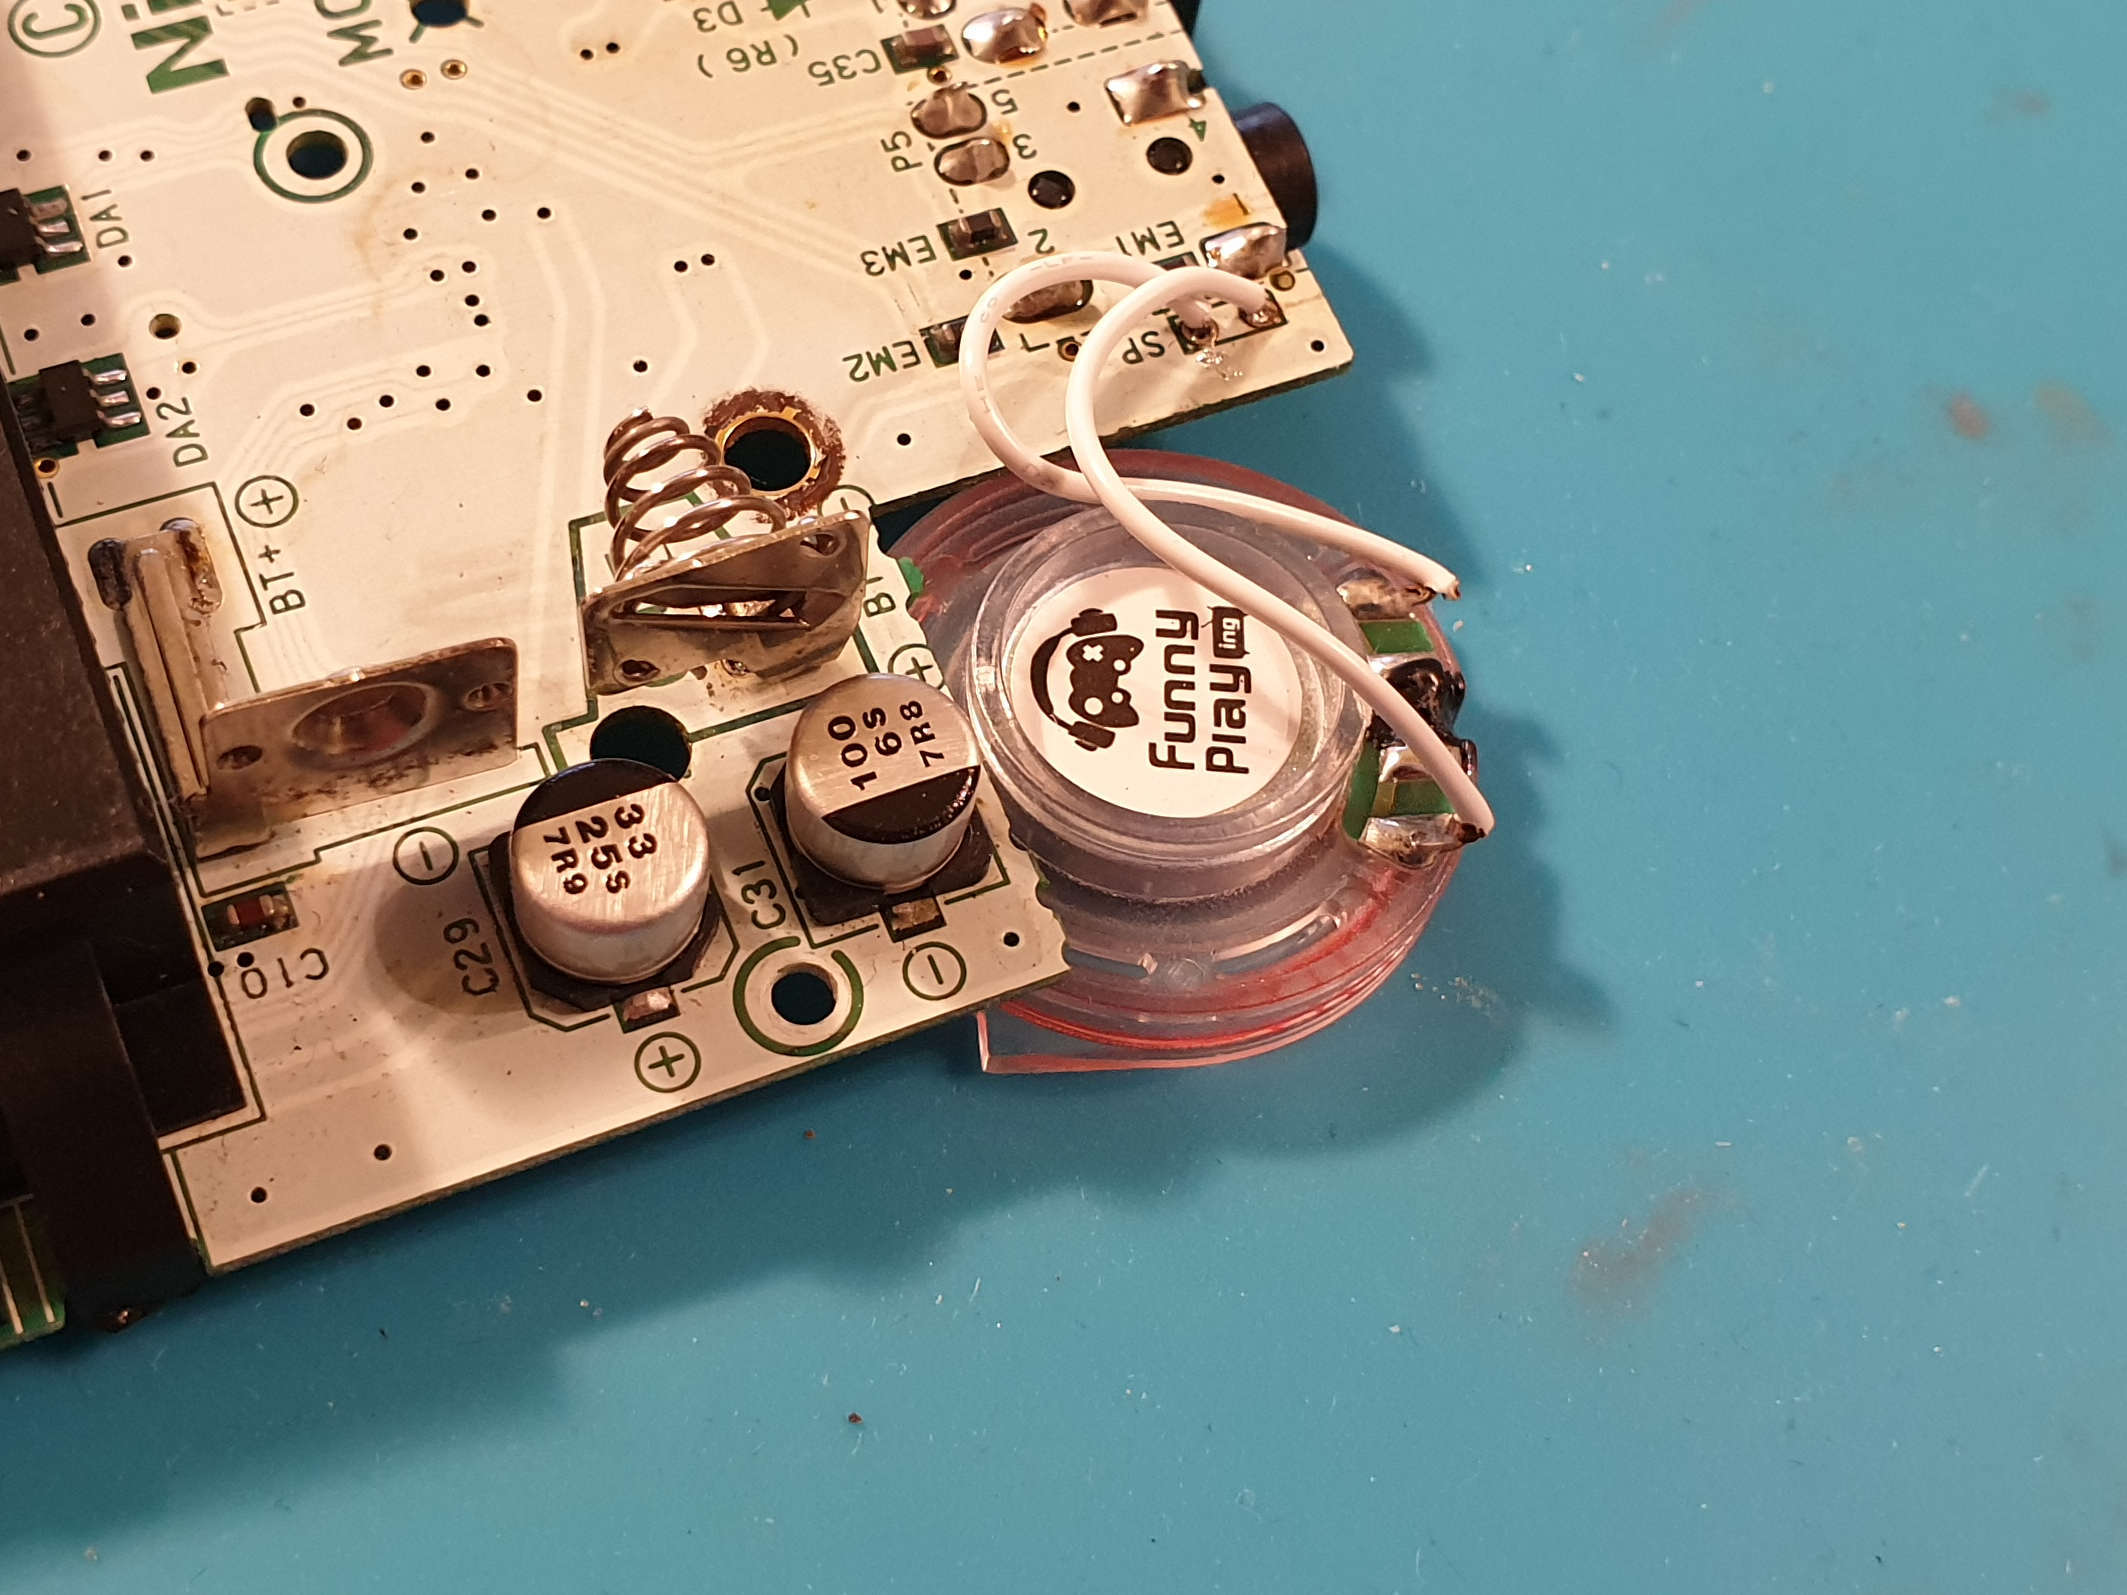
When I was making the NES-themed GBC I reported how replacing the speaker with a new one resulted in no sound. I don’t know why that was the case but back then I just restored the old speaker. I decided to try using remaining replacement speaker in this build and it worked without any problems. I have no clue what I did wrong with the GBC.
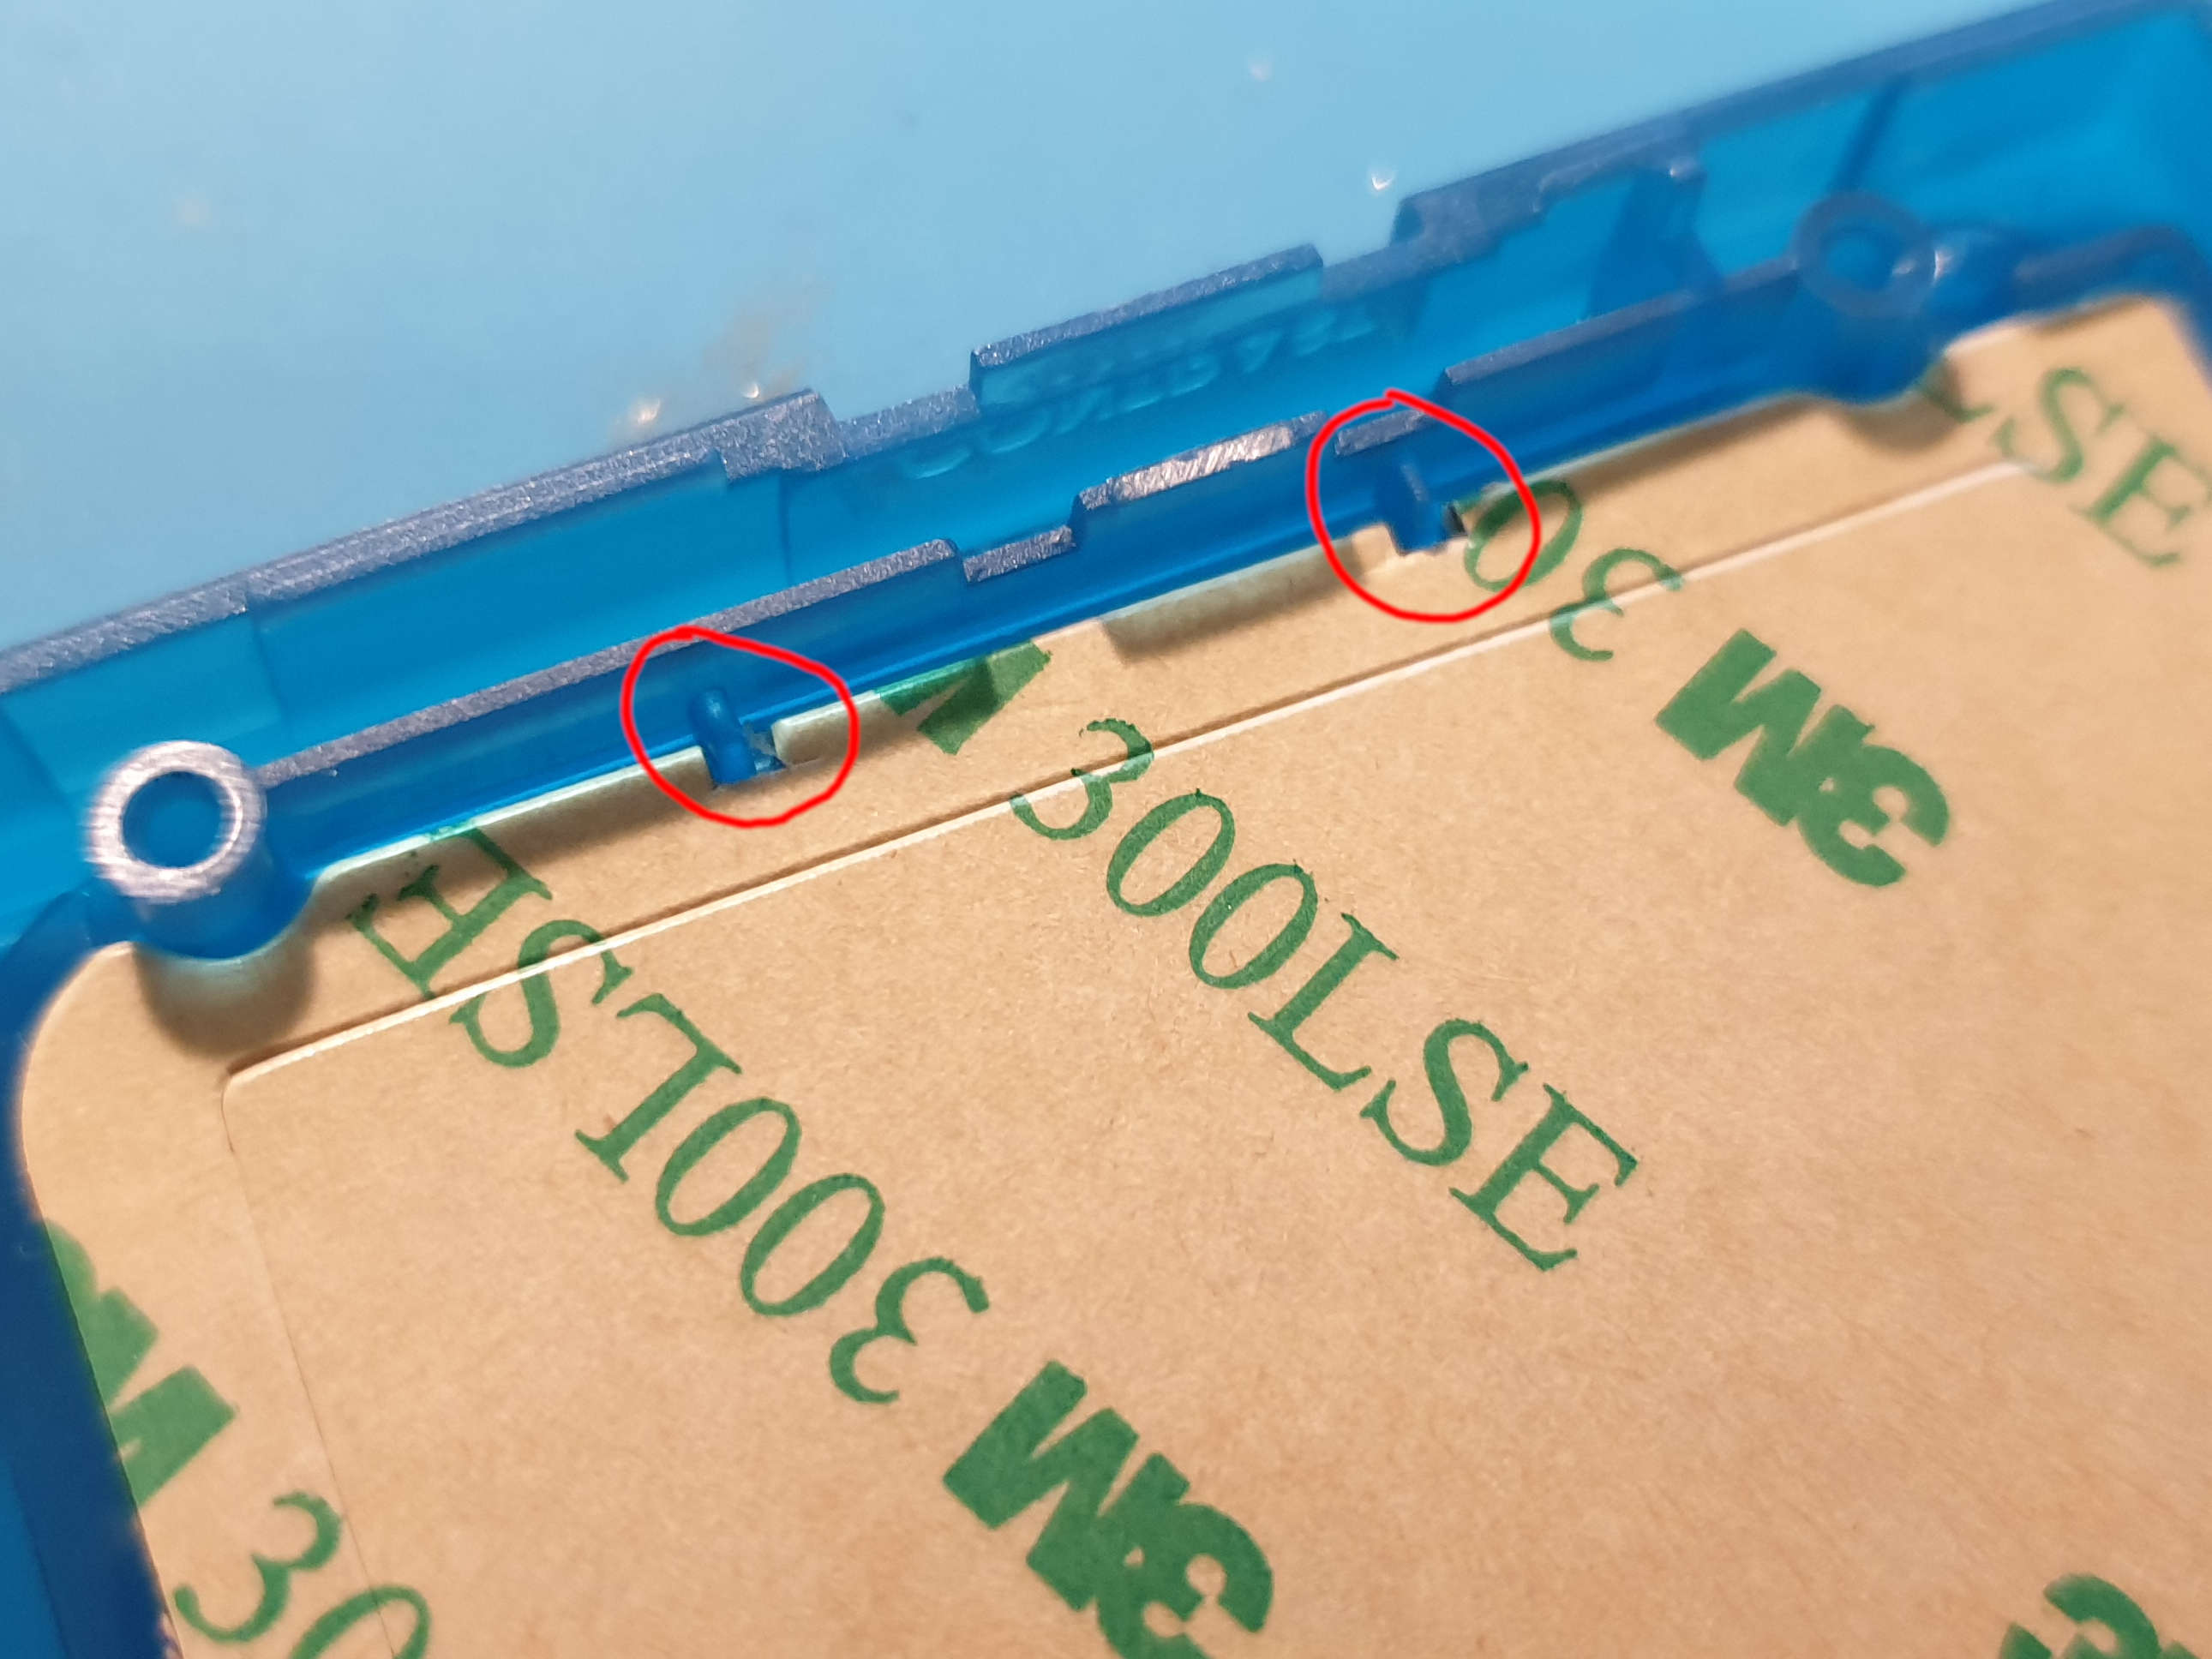
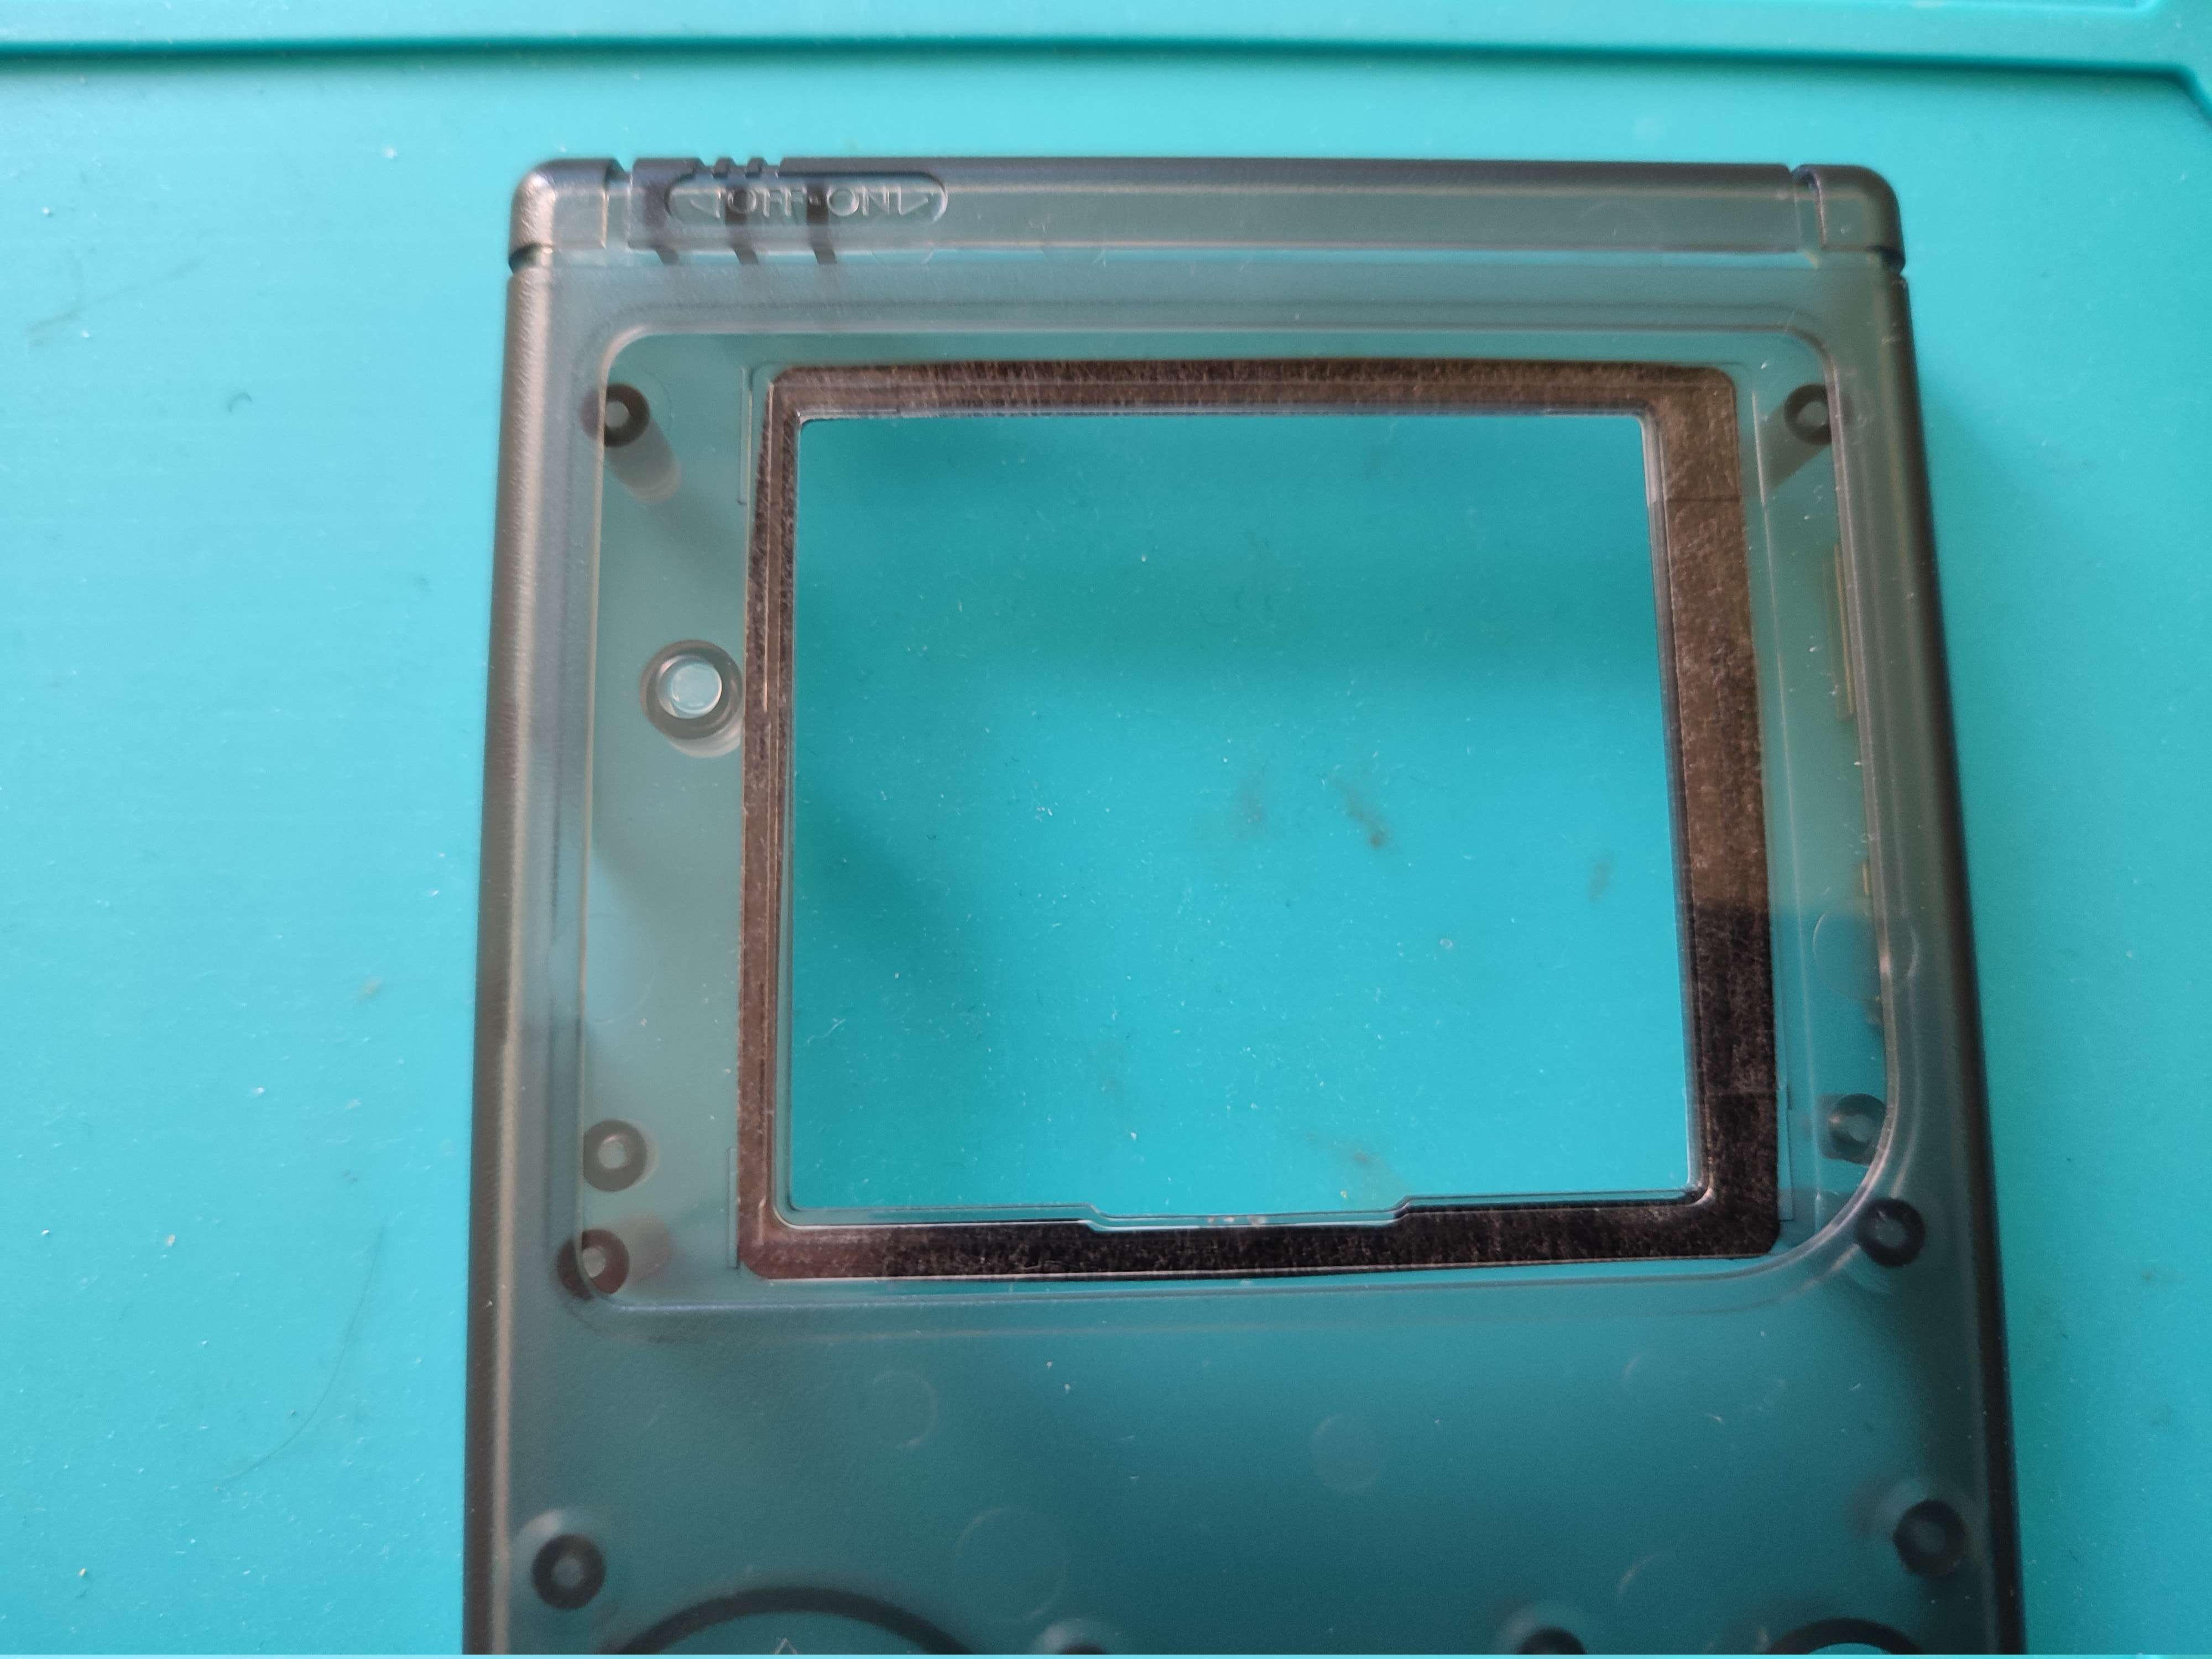
When installing the screen I always have a dilemma whether to use the provided 3M dust seal. A supposed advantage of using it is that it should provide protection against dust getting between the screen and the lens1. A clear disadvantage is that once the screen is glued to the seal it cannot be removed without being destroyed. It also cannot be even adjusted in any way. After some deliberation I decided to install the dust seal, which required cutting small fragments on the side so that it fits in the shell.
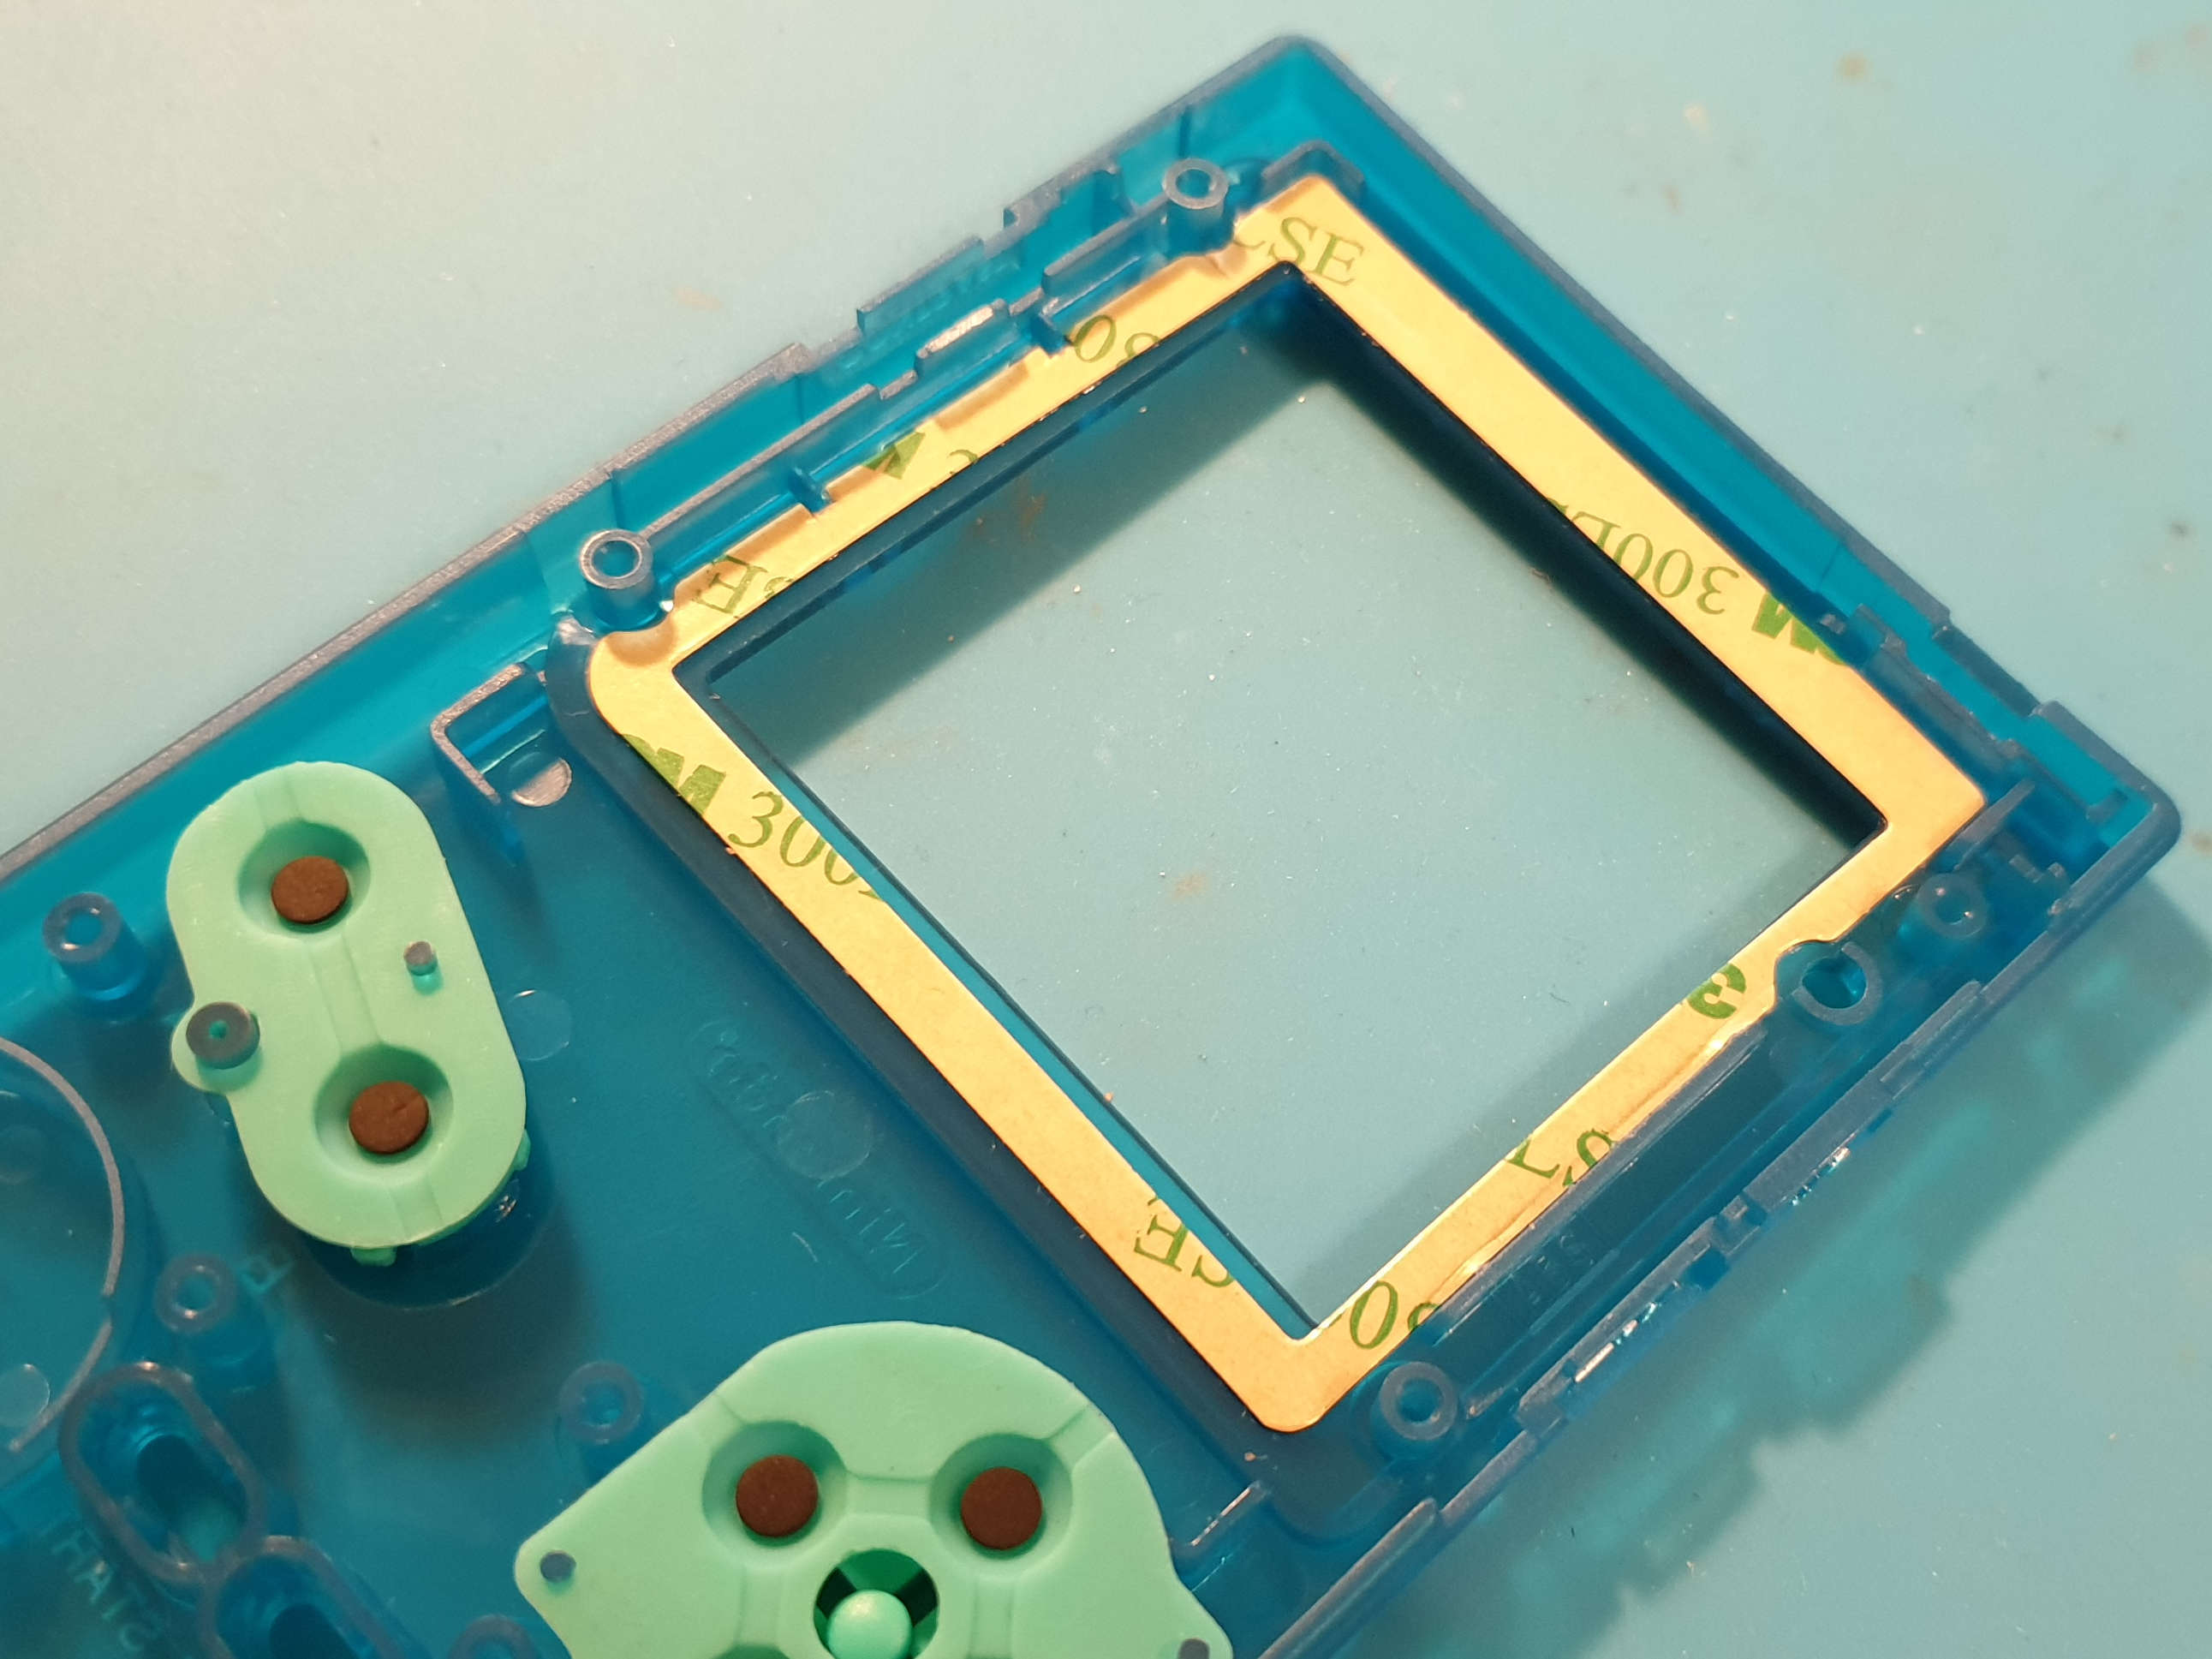
And here’s the lens and the screen already installed:
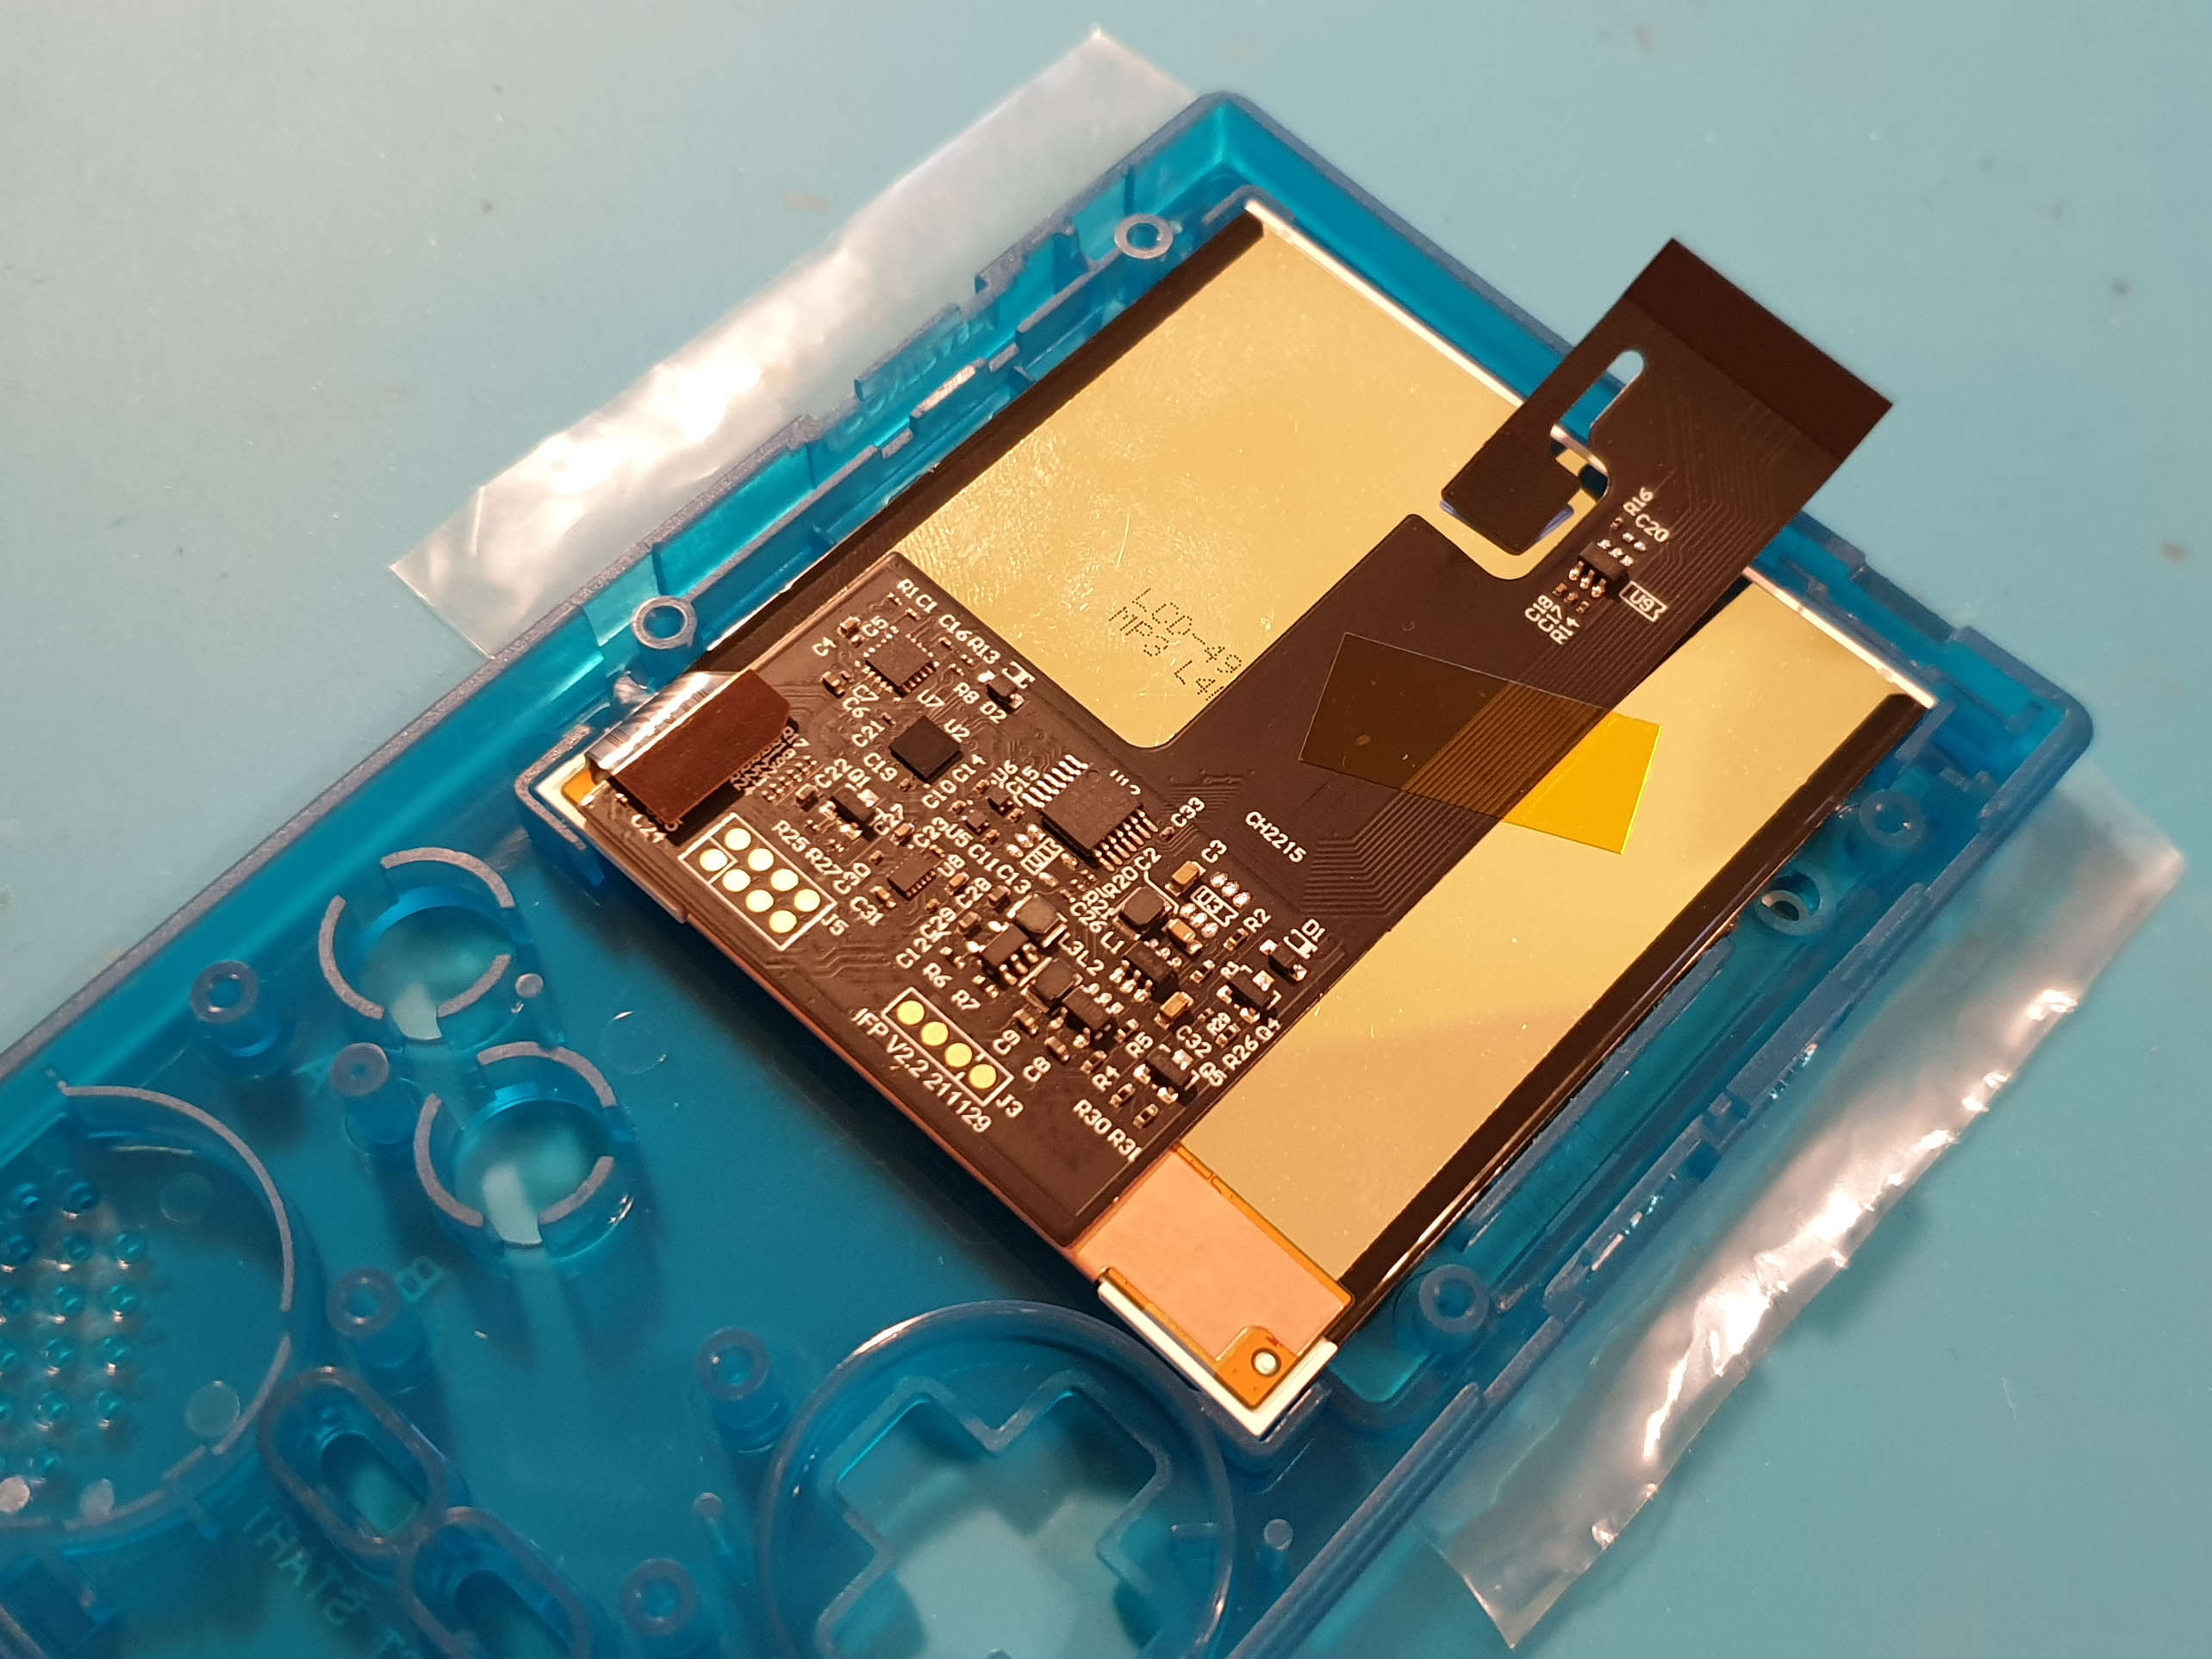
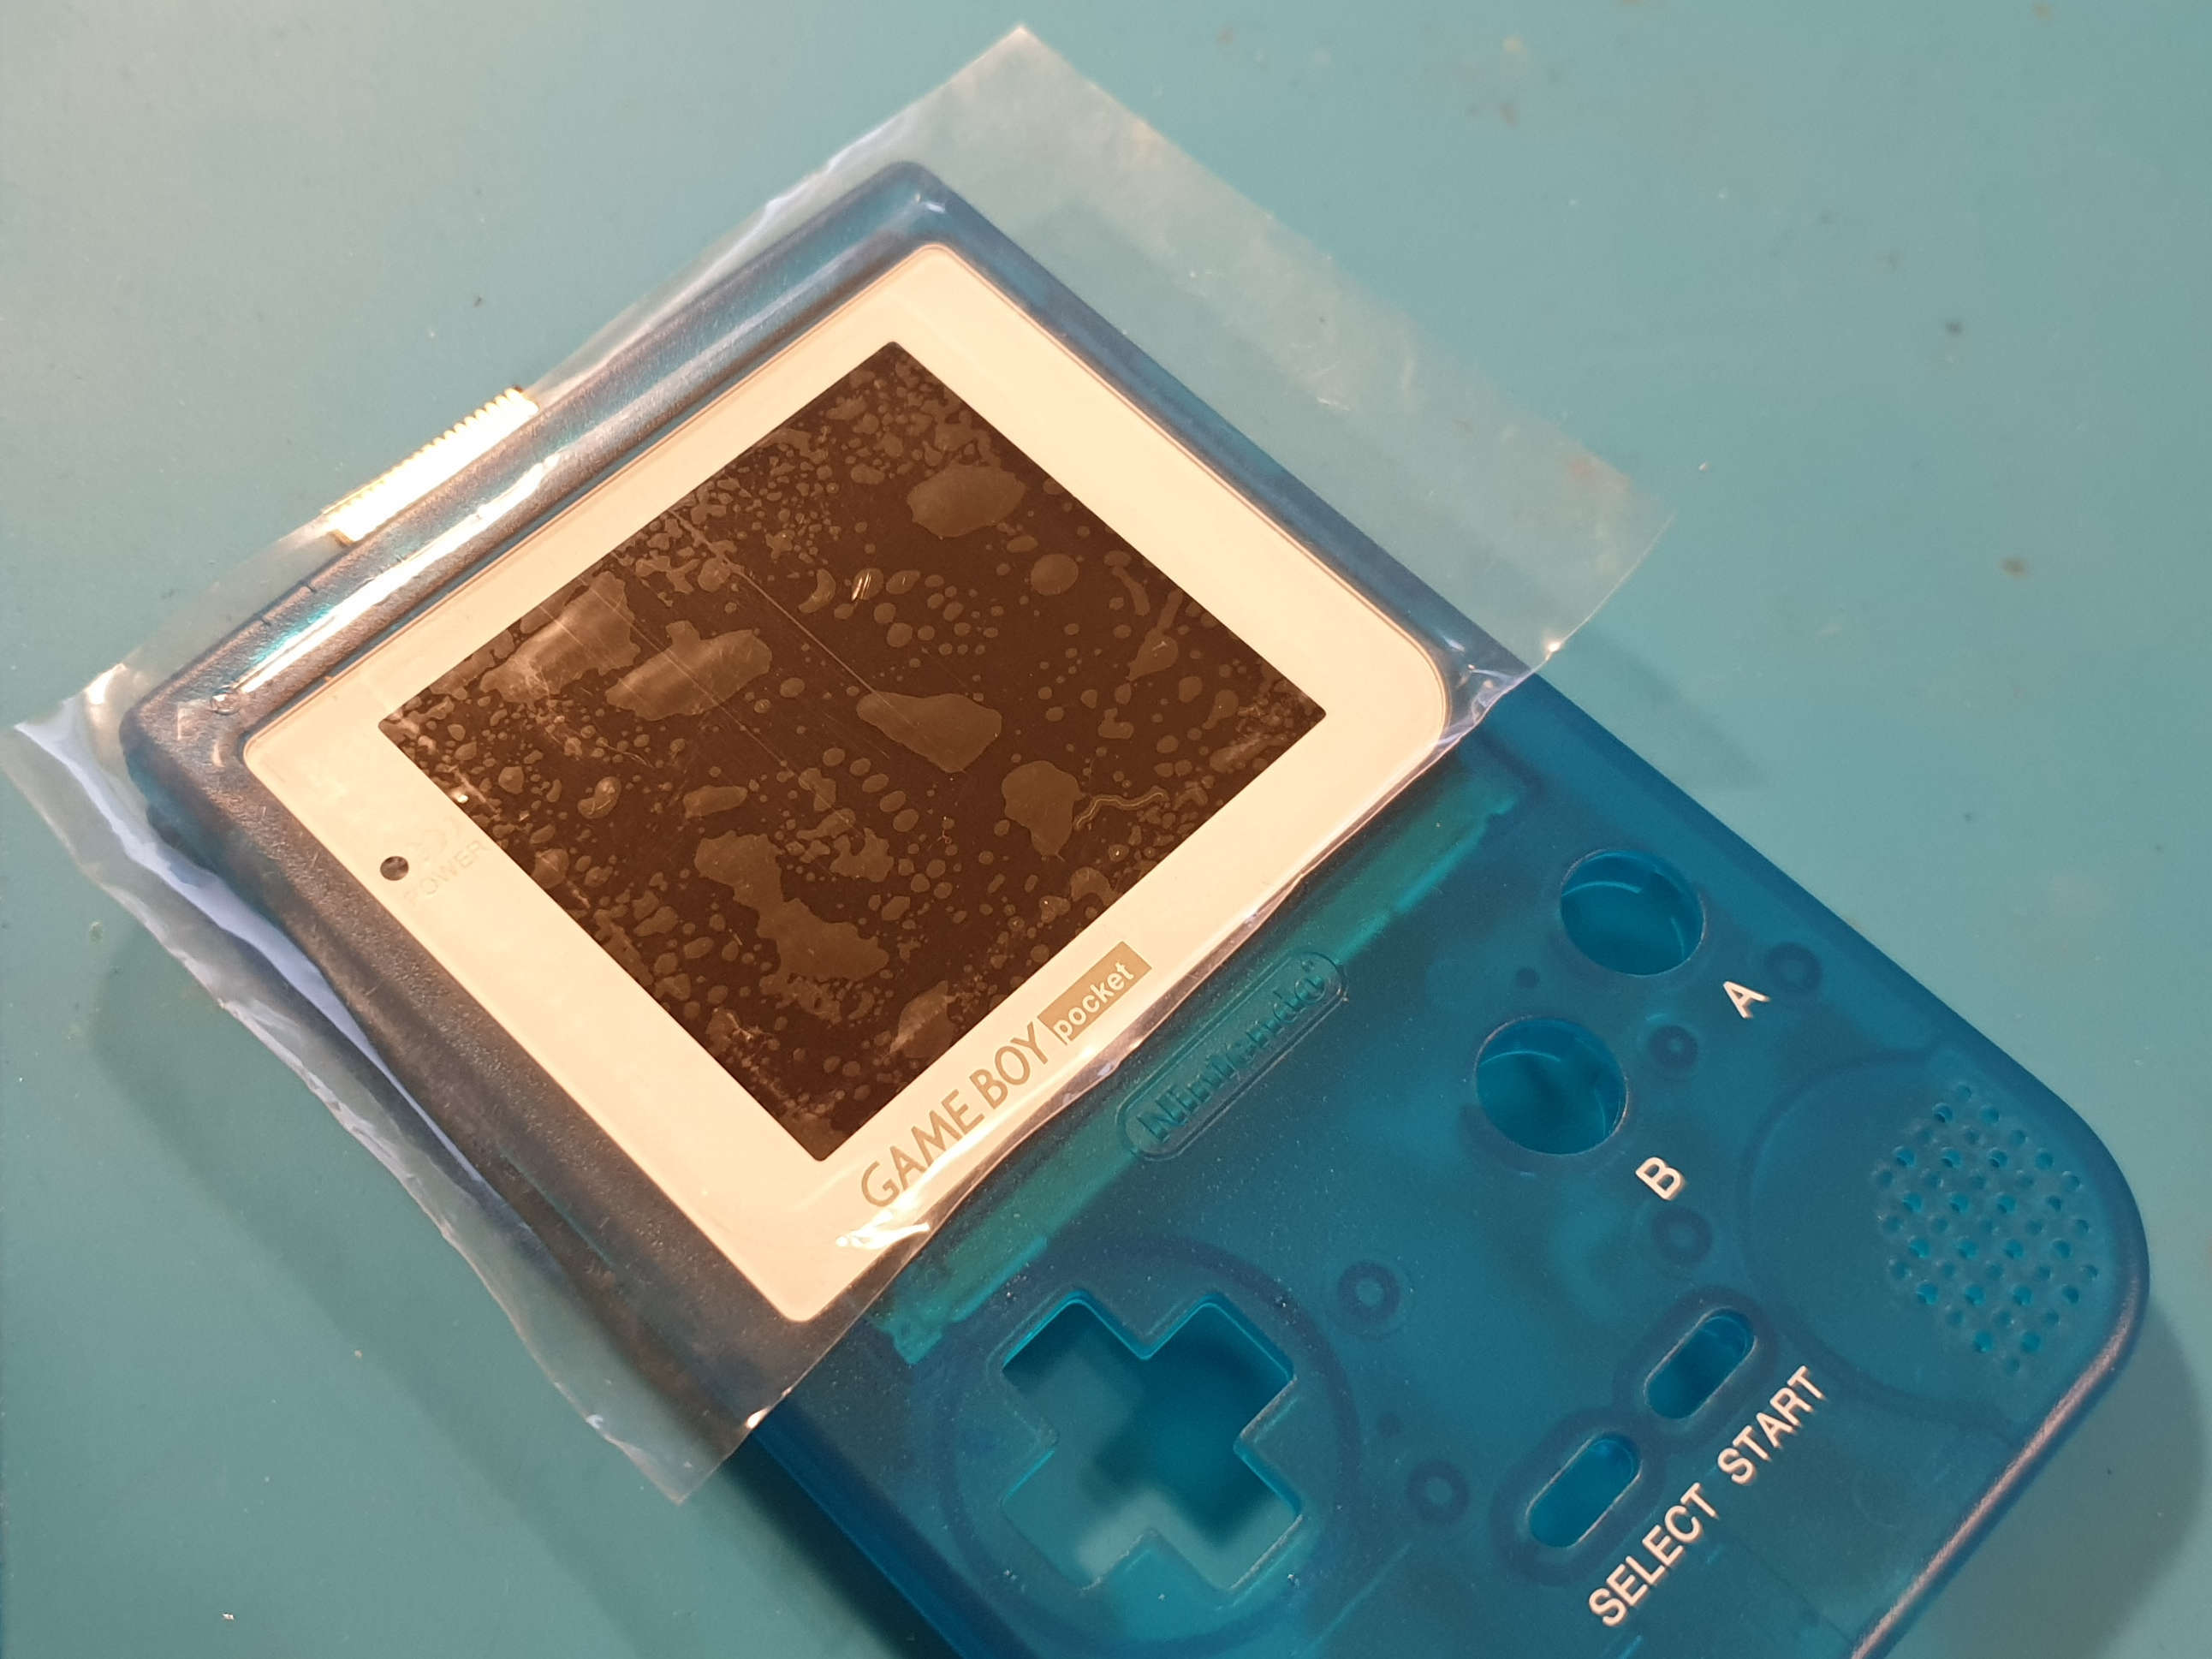
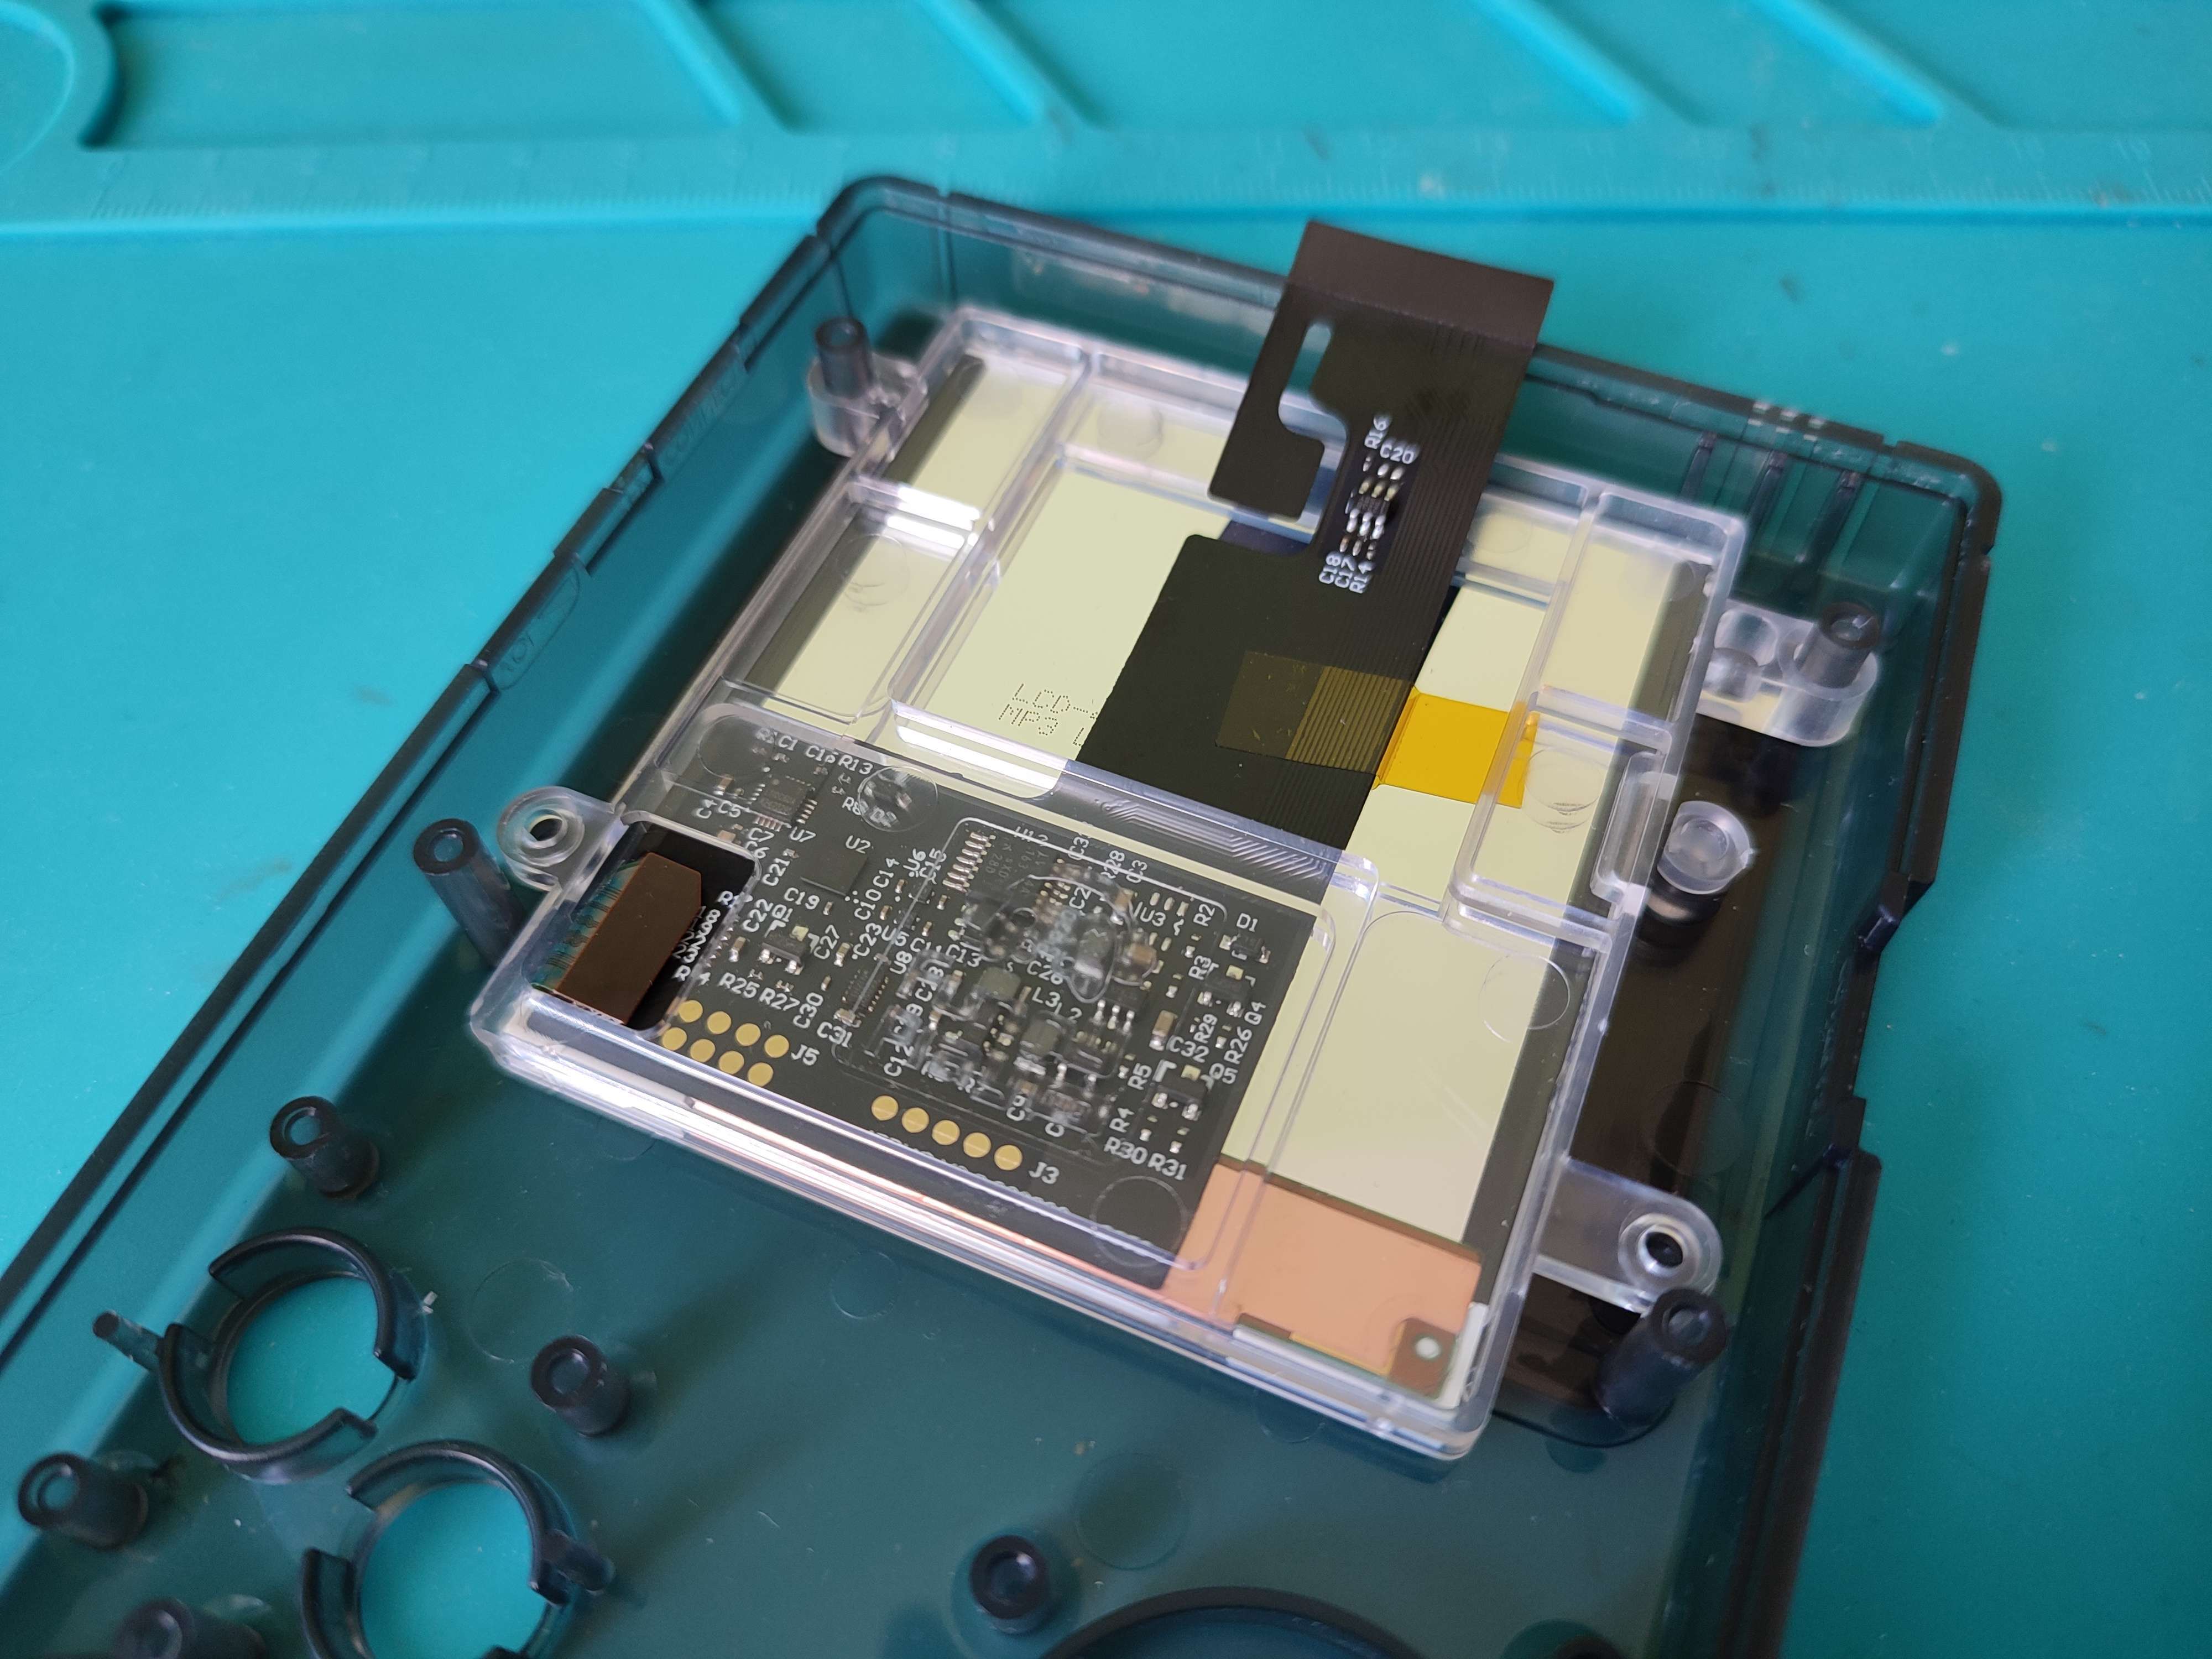
Finally, there’s some more soldering required. One contact on the ribbon cable must be soldered to the power switch in order to provide enough power for the screen, while another is used to solder a touch sensor. With these finished I was ready to assemble the console. Here are a couple of photos of the finished build.
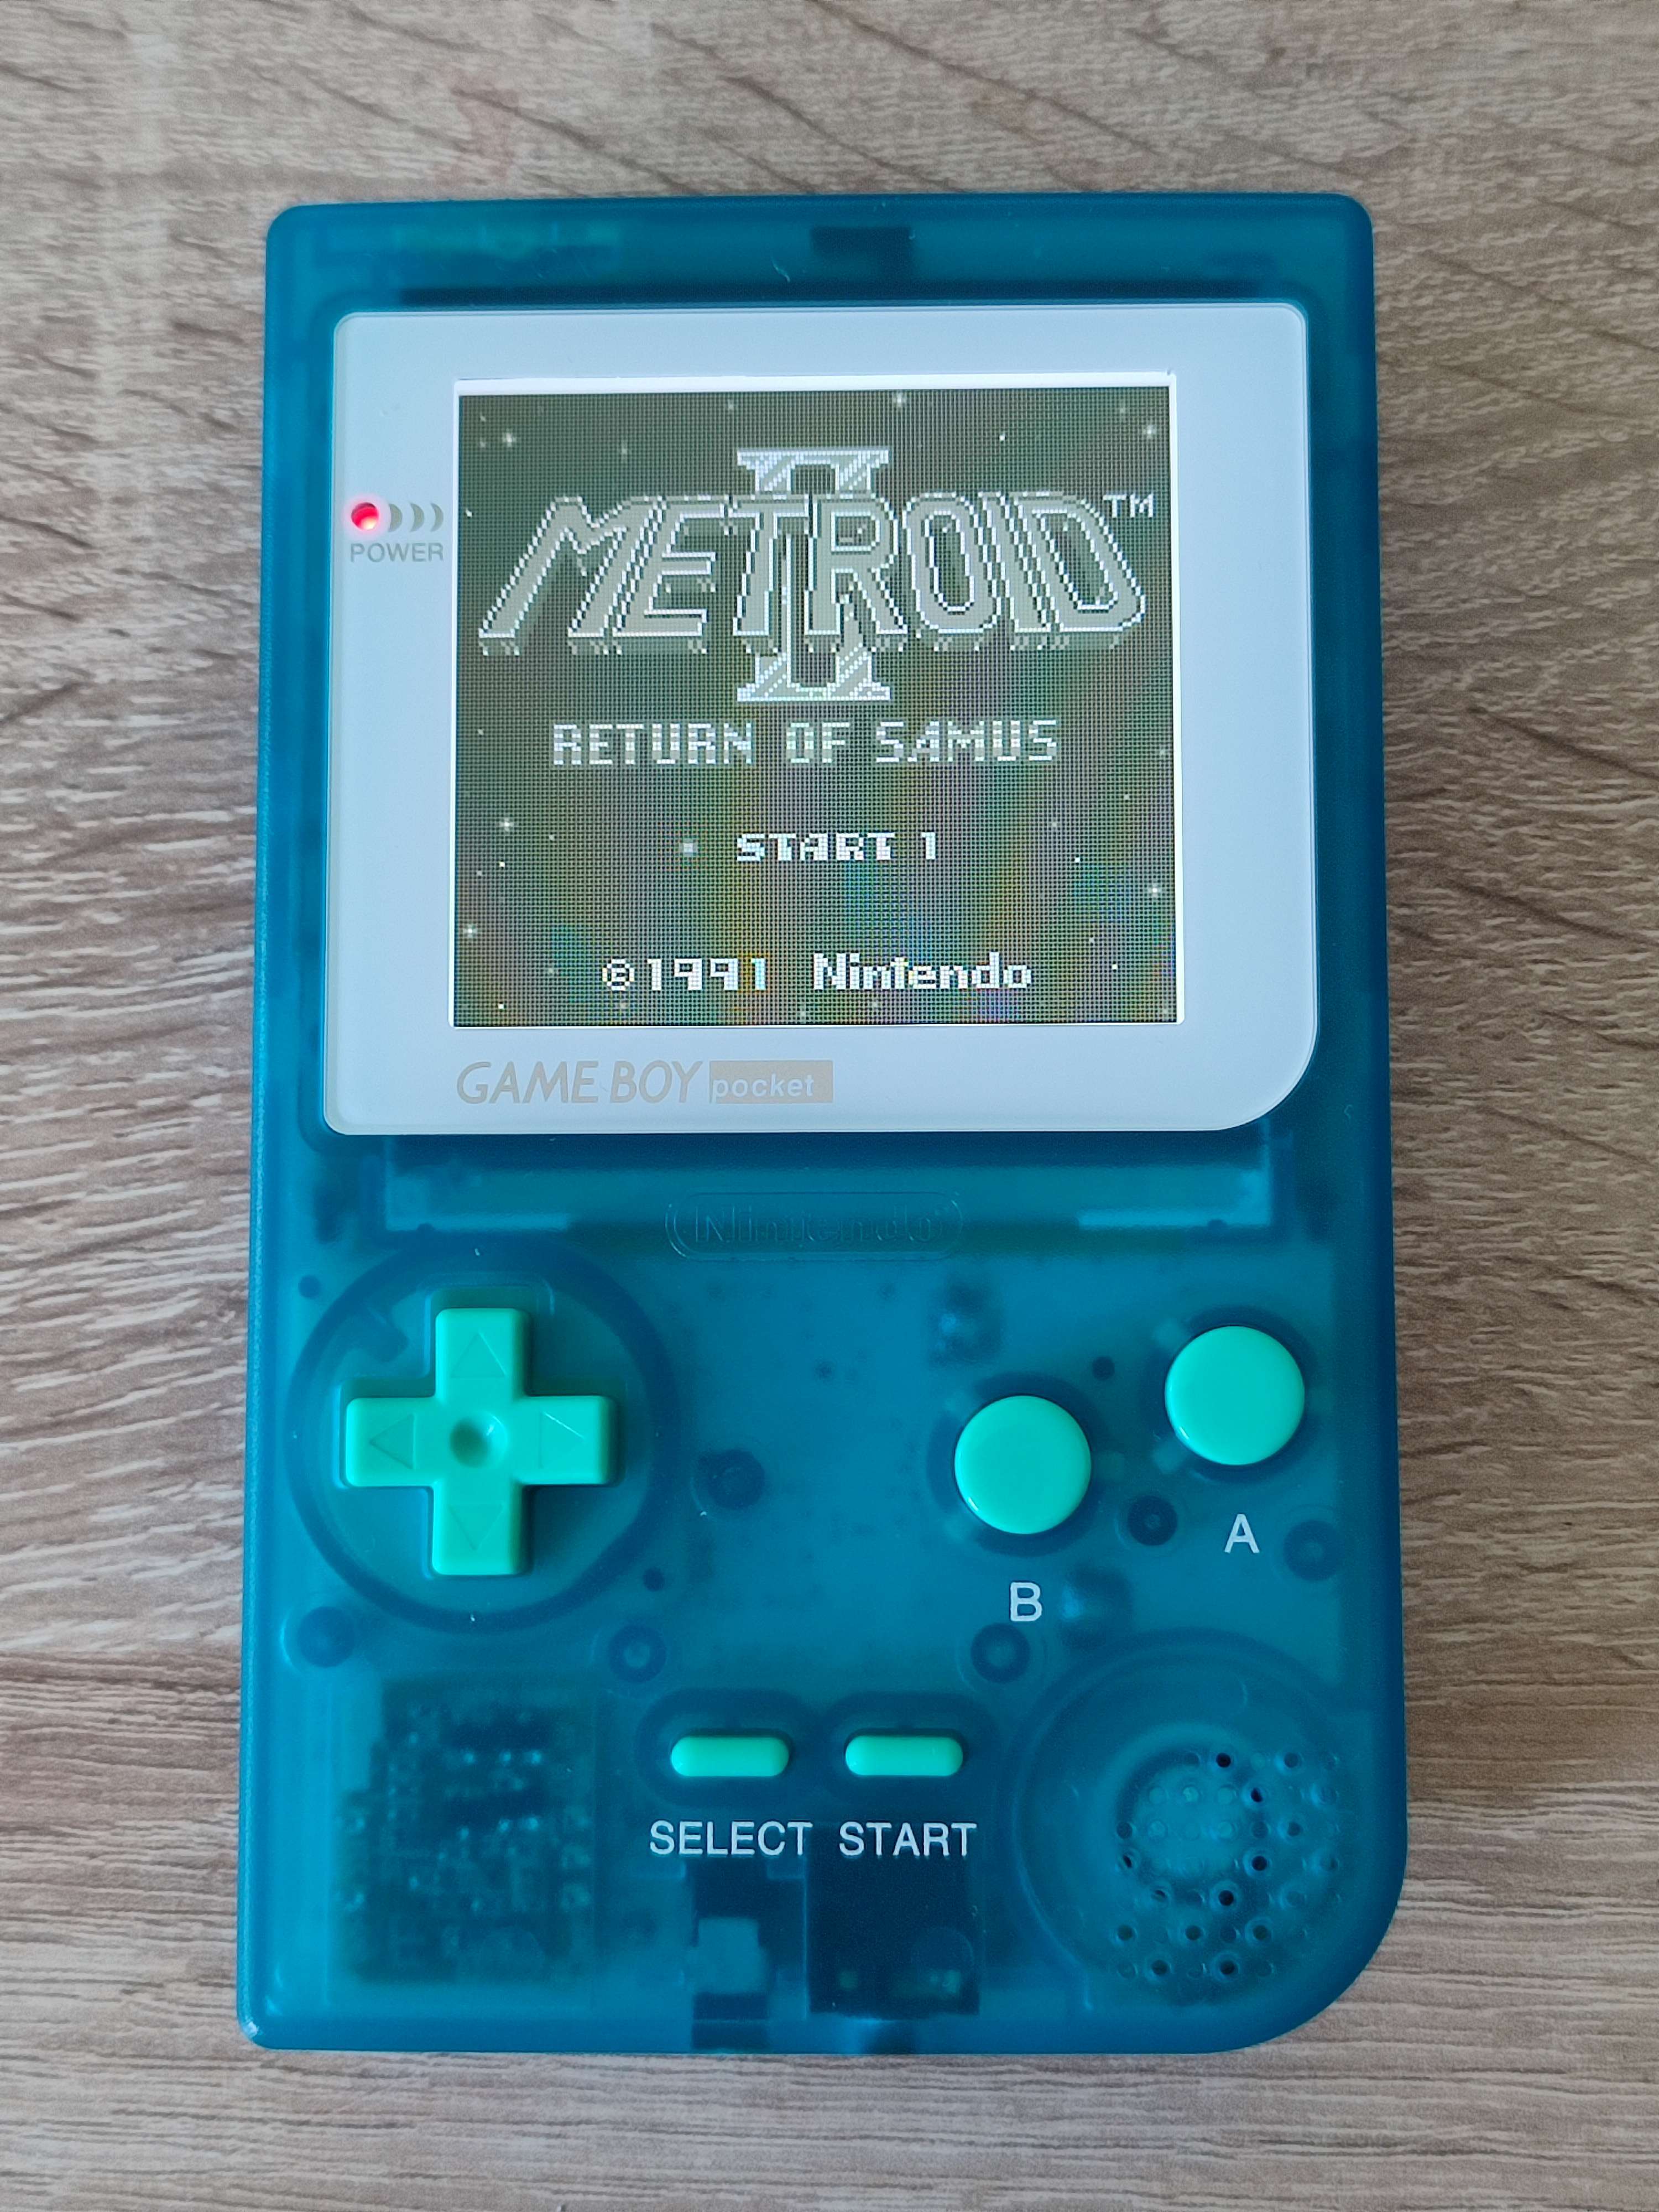
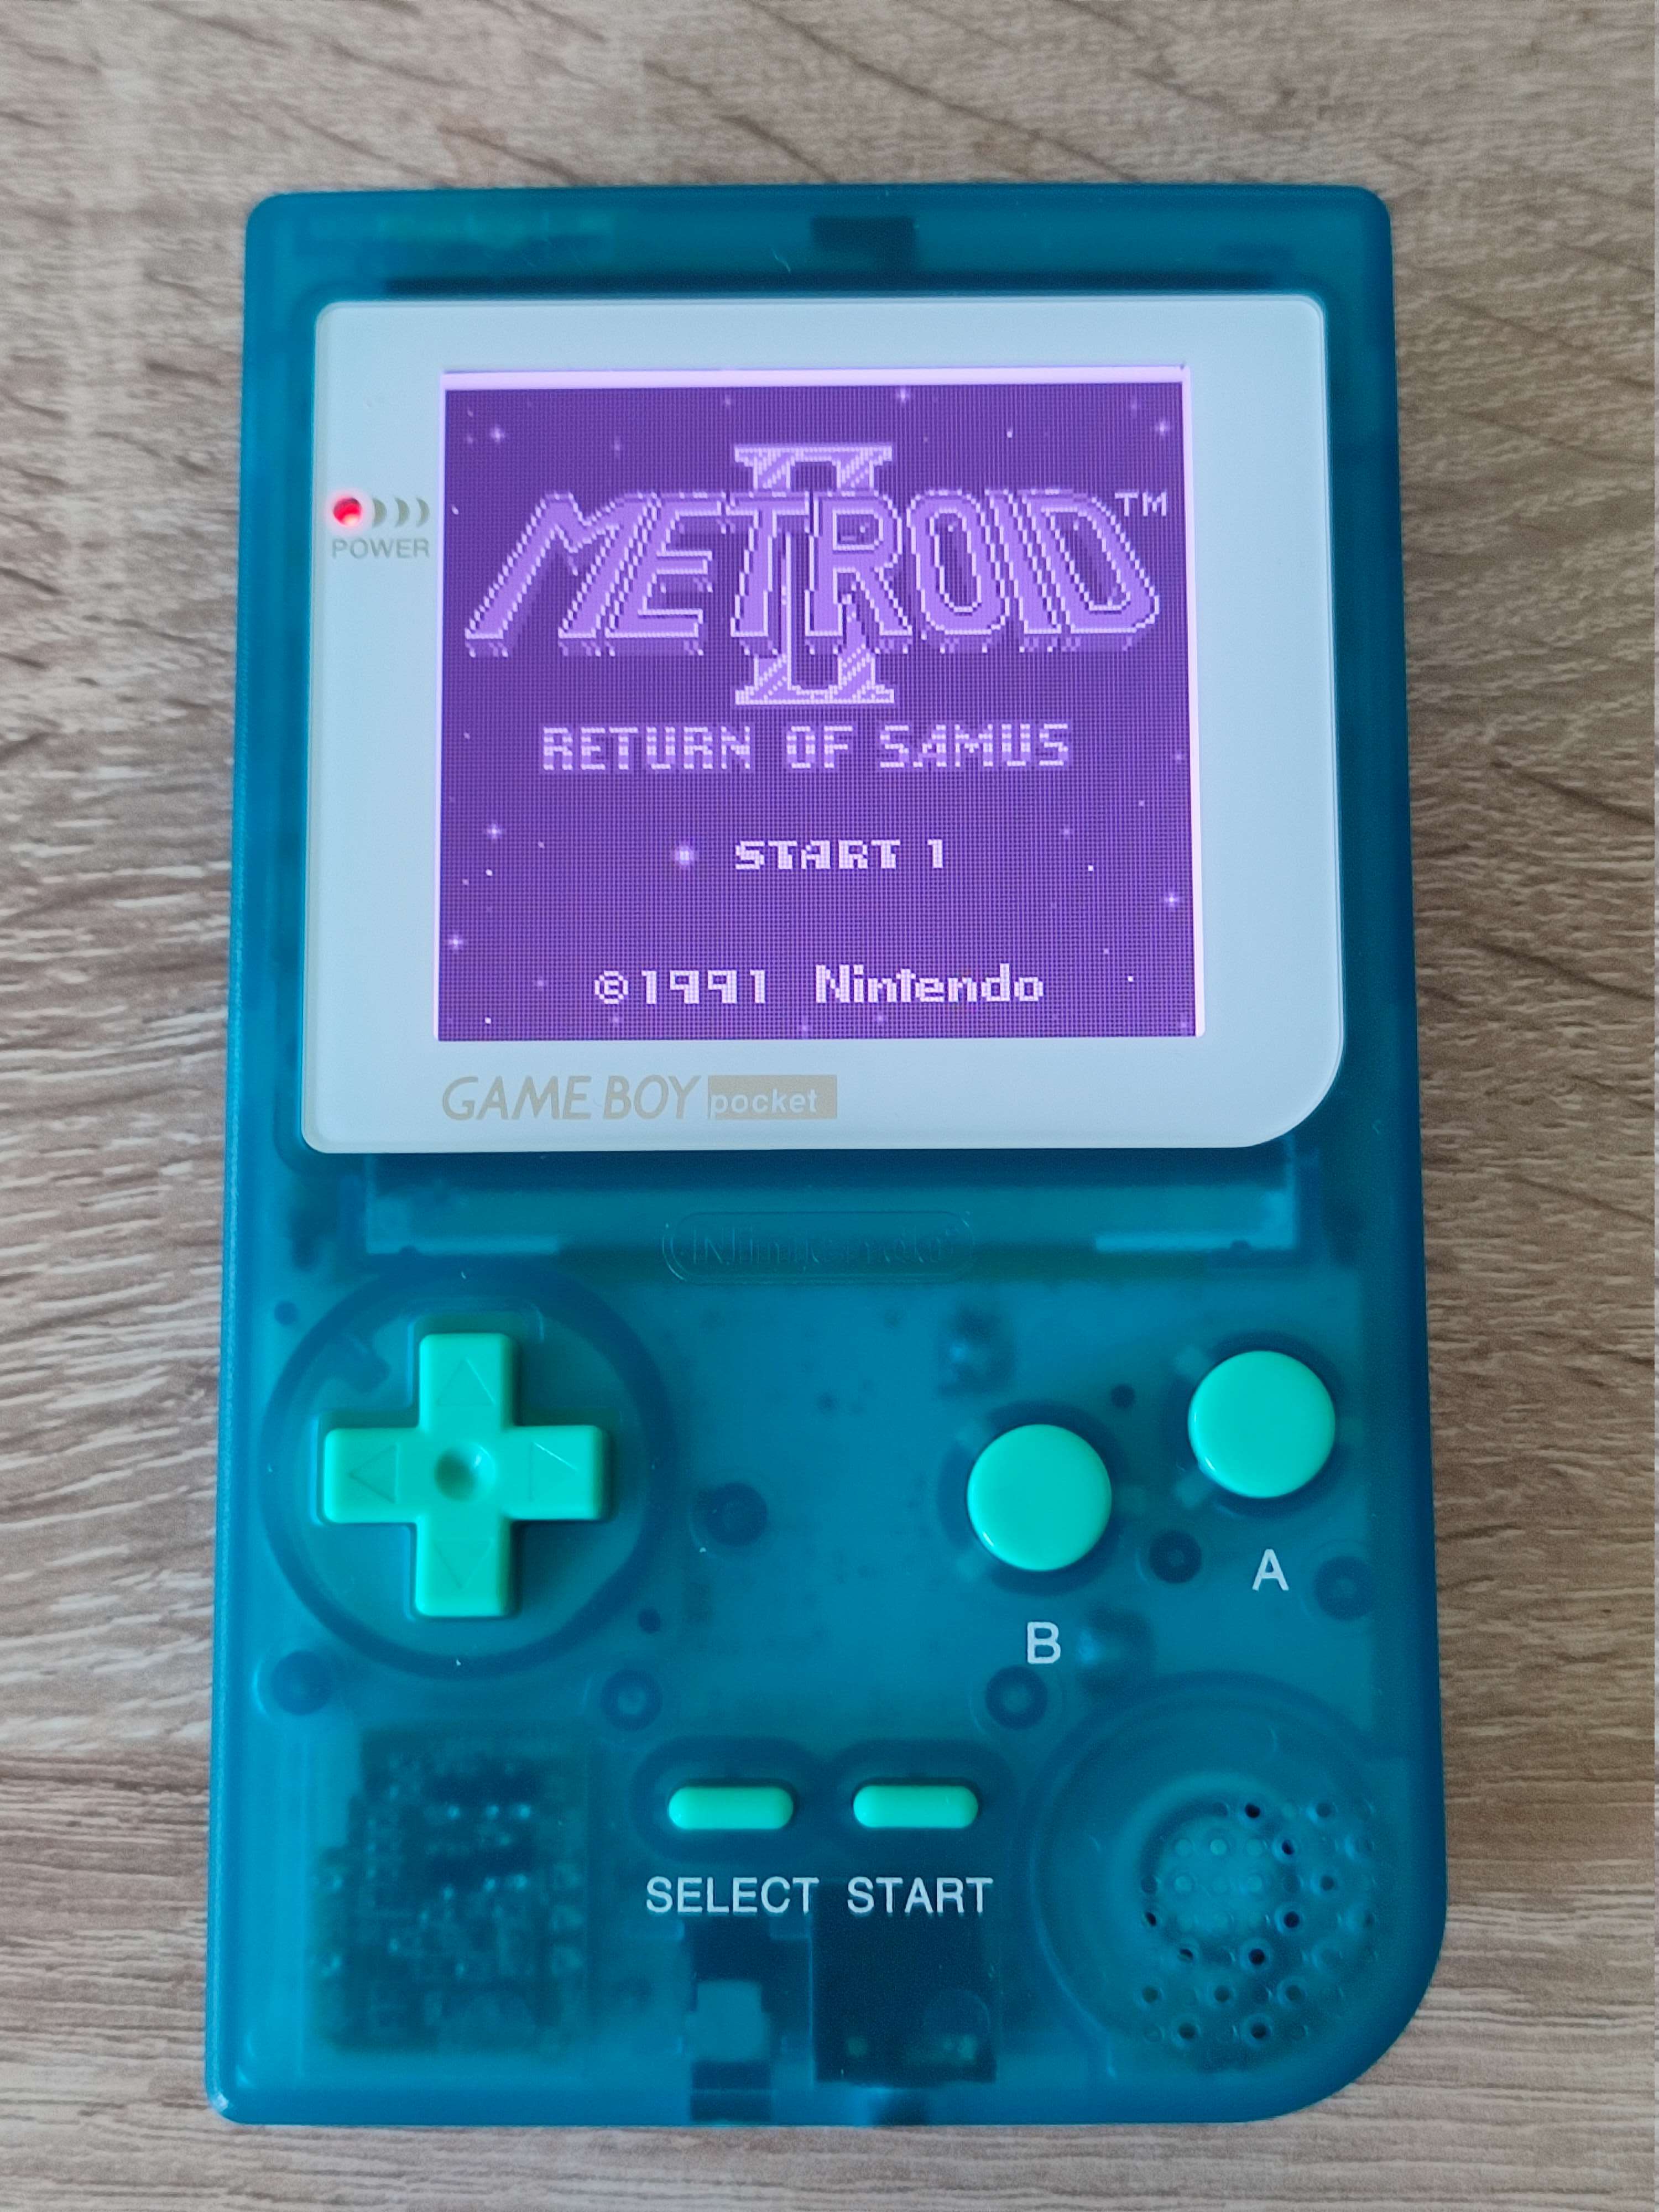
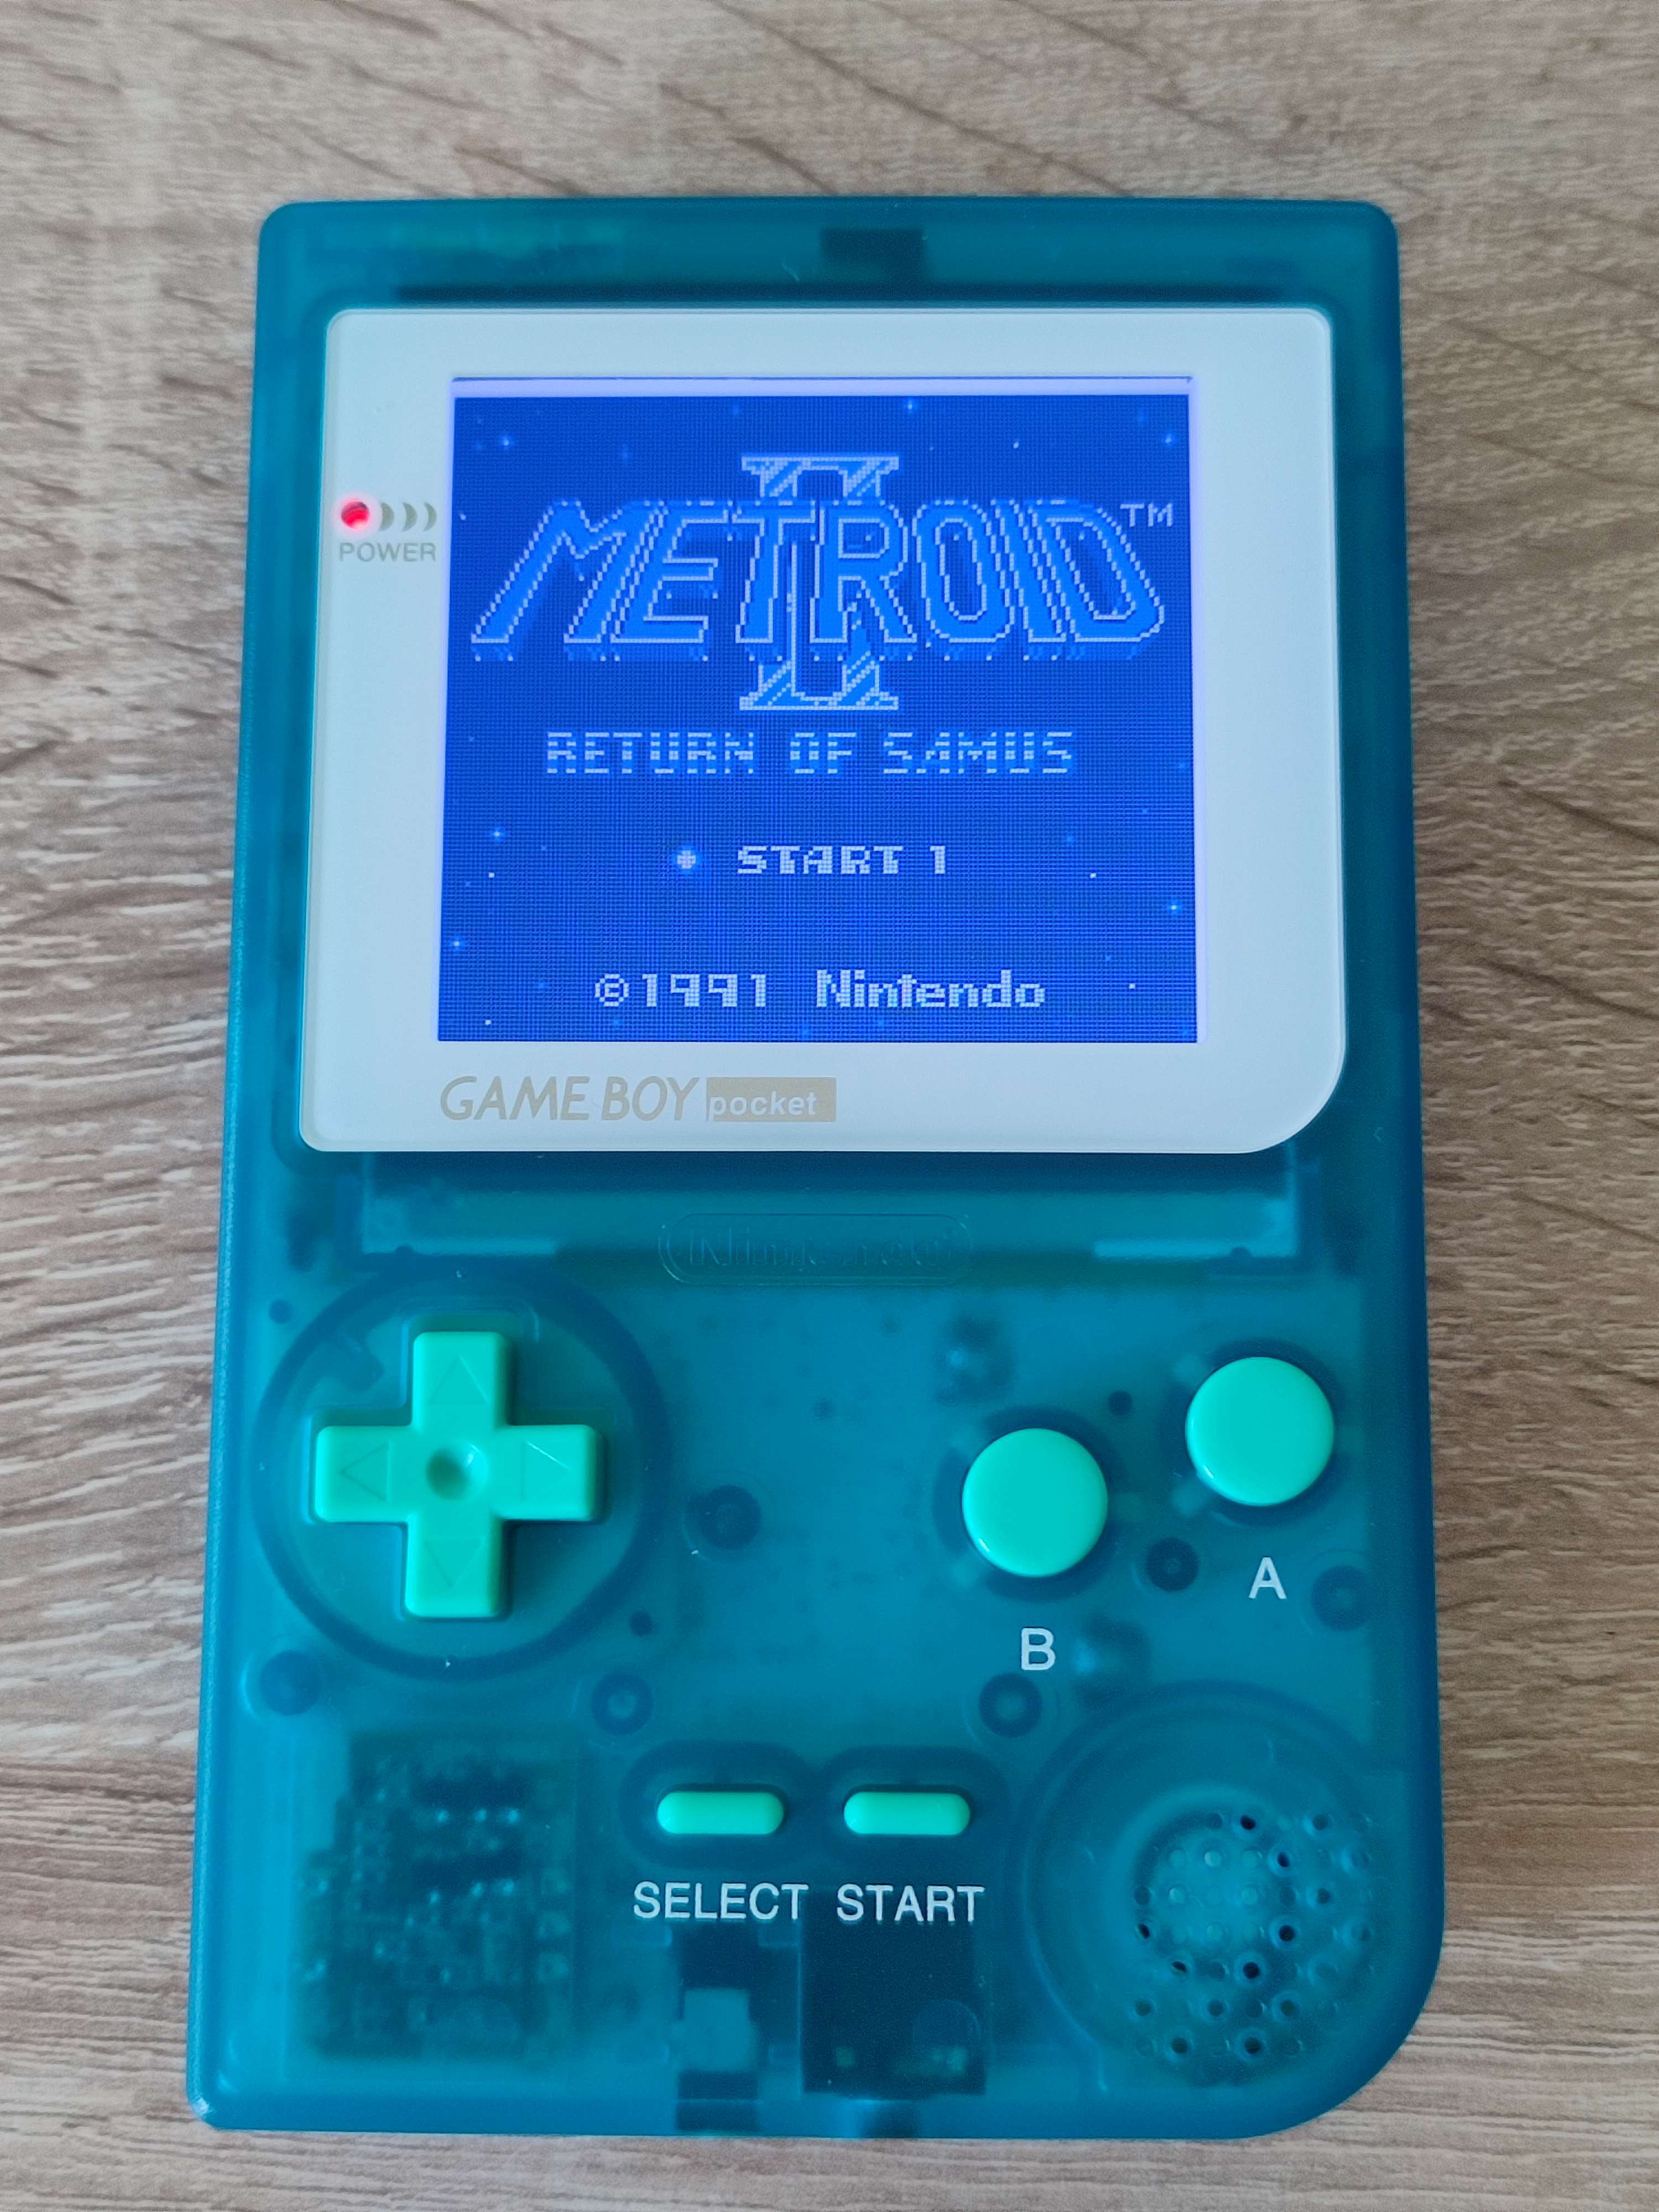
One thing that didn’t go quite right is the centring of the screen. The photos don’t show this well, but the screen is slightly shifted to the left so that the left edge of the displayed image is covered. And since the screen is now glued to the dust seal it’s not possible to adjust it. I might decide to fix this one day at the expense of sacrificing a screen, which are not that expensive.
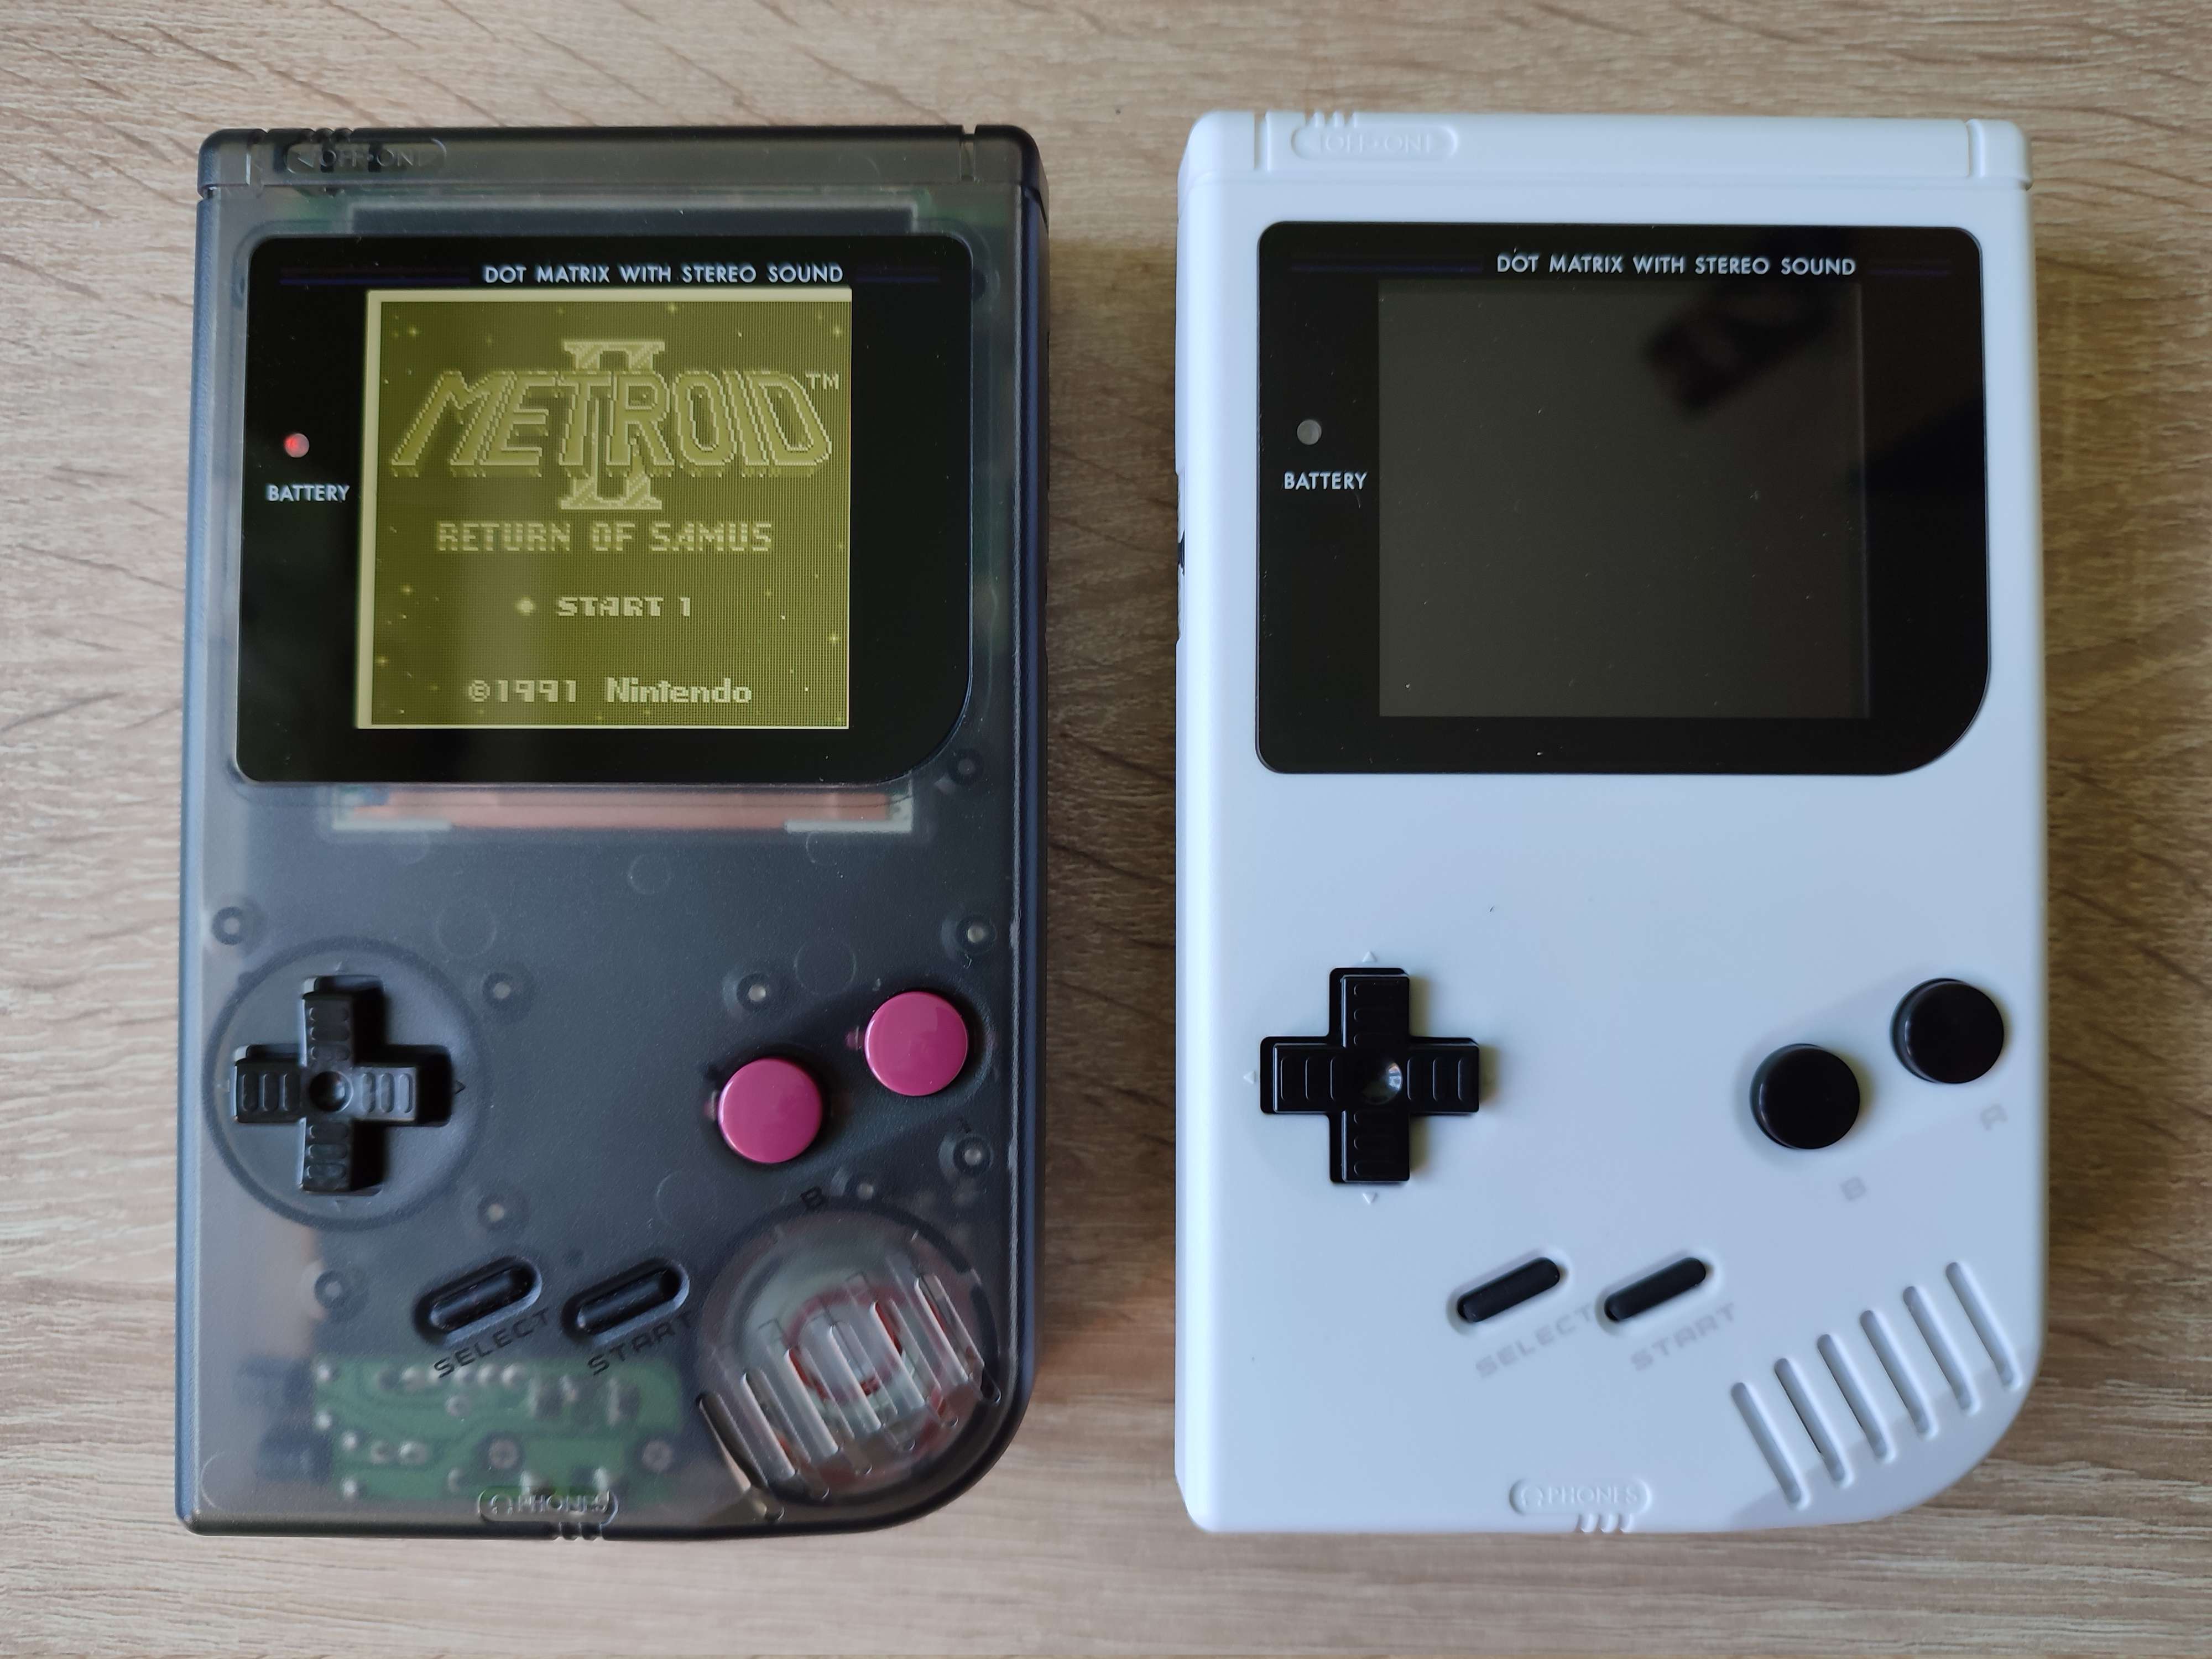
GameBoy DMG
I also have one modded GameBoy DMG in my collection. Shortly before returning from the UK to Poland I bought it from eBay with all mods already installed. I knew GameBoys will be harder to find in Poland - well, not really harder to find, just more expensive - so I decided to get one that’s already modded since I didn’t have the time to mod it myself. However, I wasn’t entirely happy with how that GameBoy looks. I could have just replaced the shell with a new one, but I figured it would be more fun to get a new GameBoy DMG and mod it myself. As expected, GameBoys in Poland are expensive so I got one from Sweden since it was cheaper (sic!). The unit was sold as faulty/not working, but I don’t really believe in such a thing as a broken GameBoy. There is a GameBoy that literally survived a bombing during the Gulf War and it still works. I assume there is simply no way that a DMG can’t be fixed.
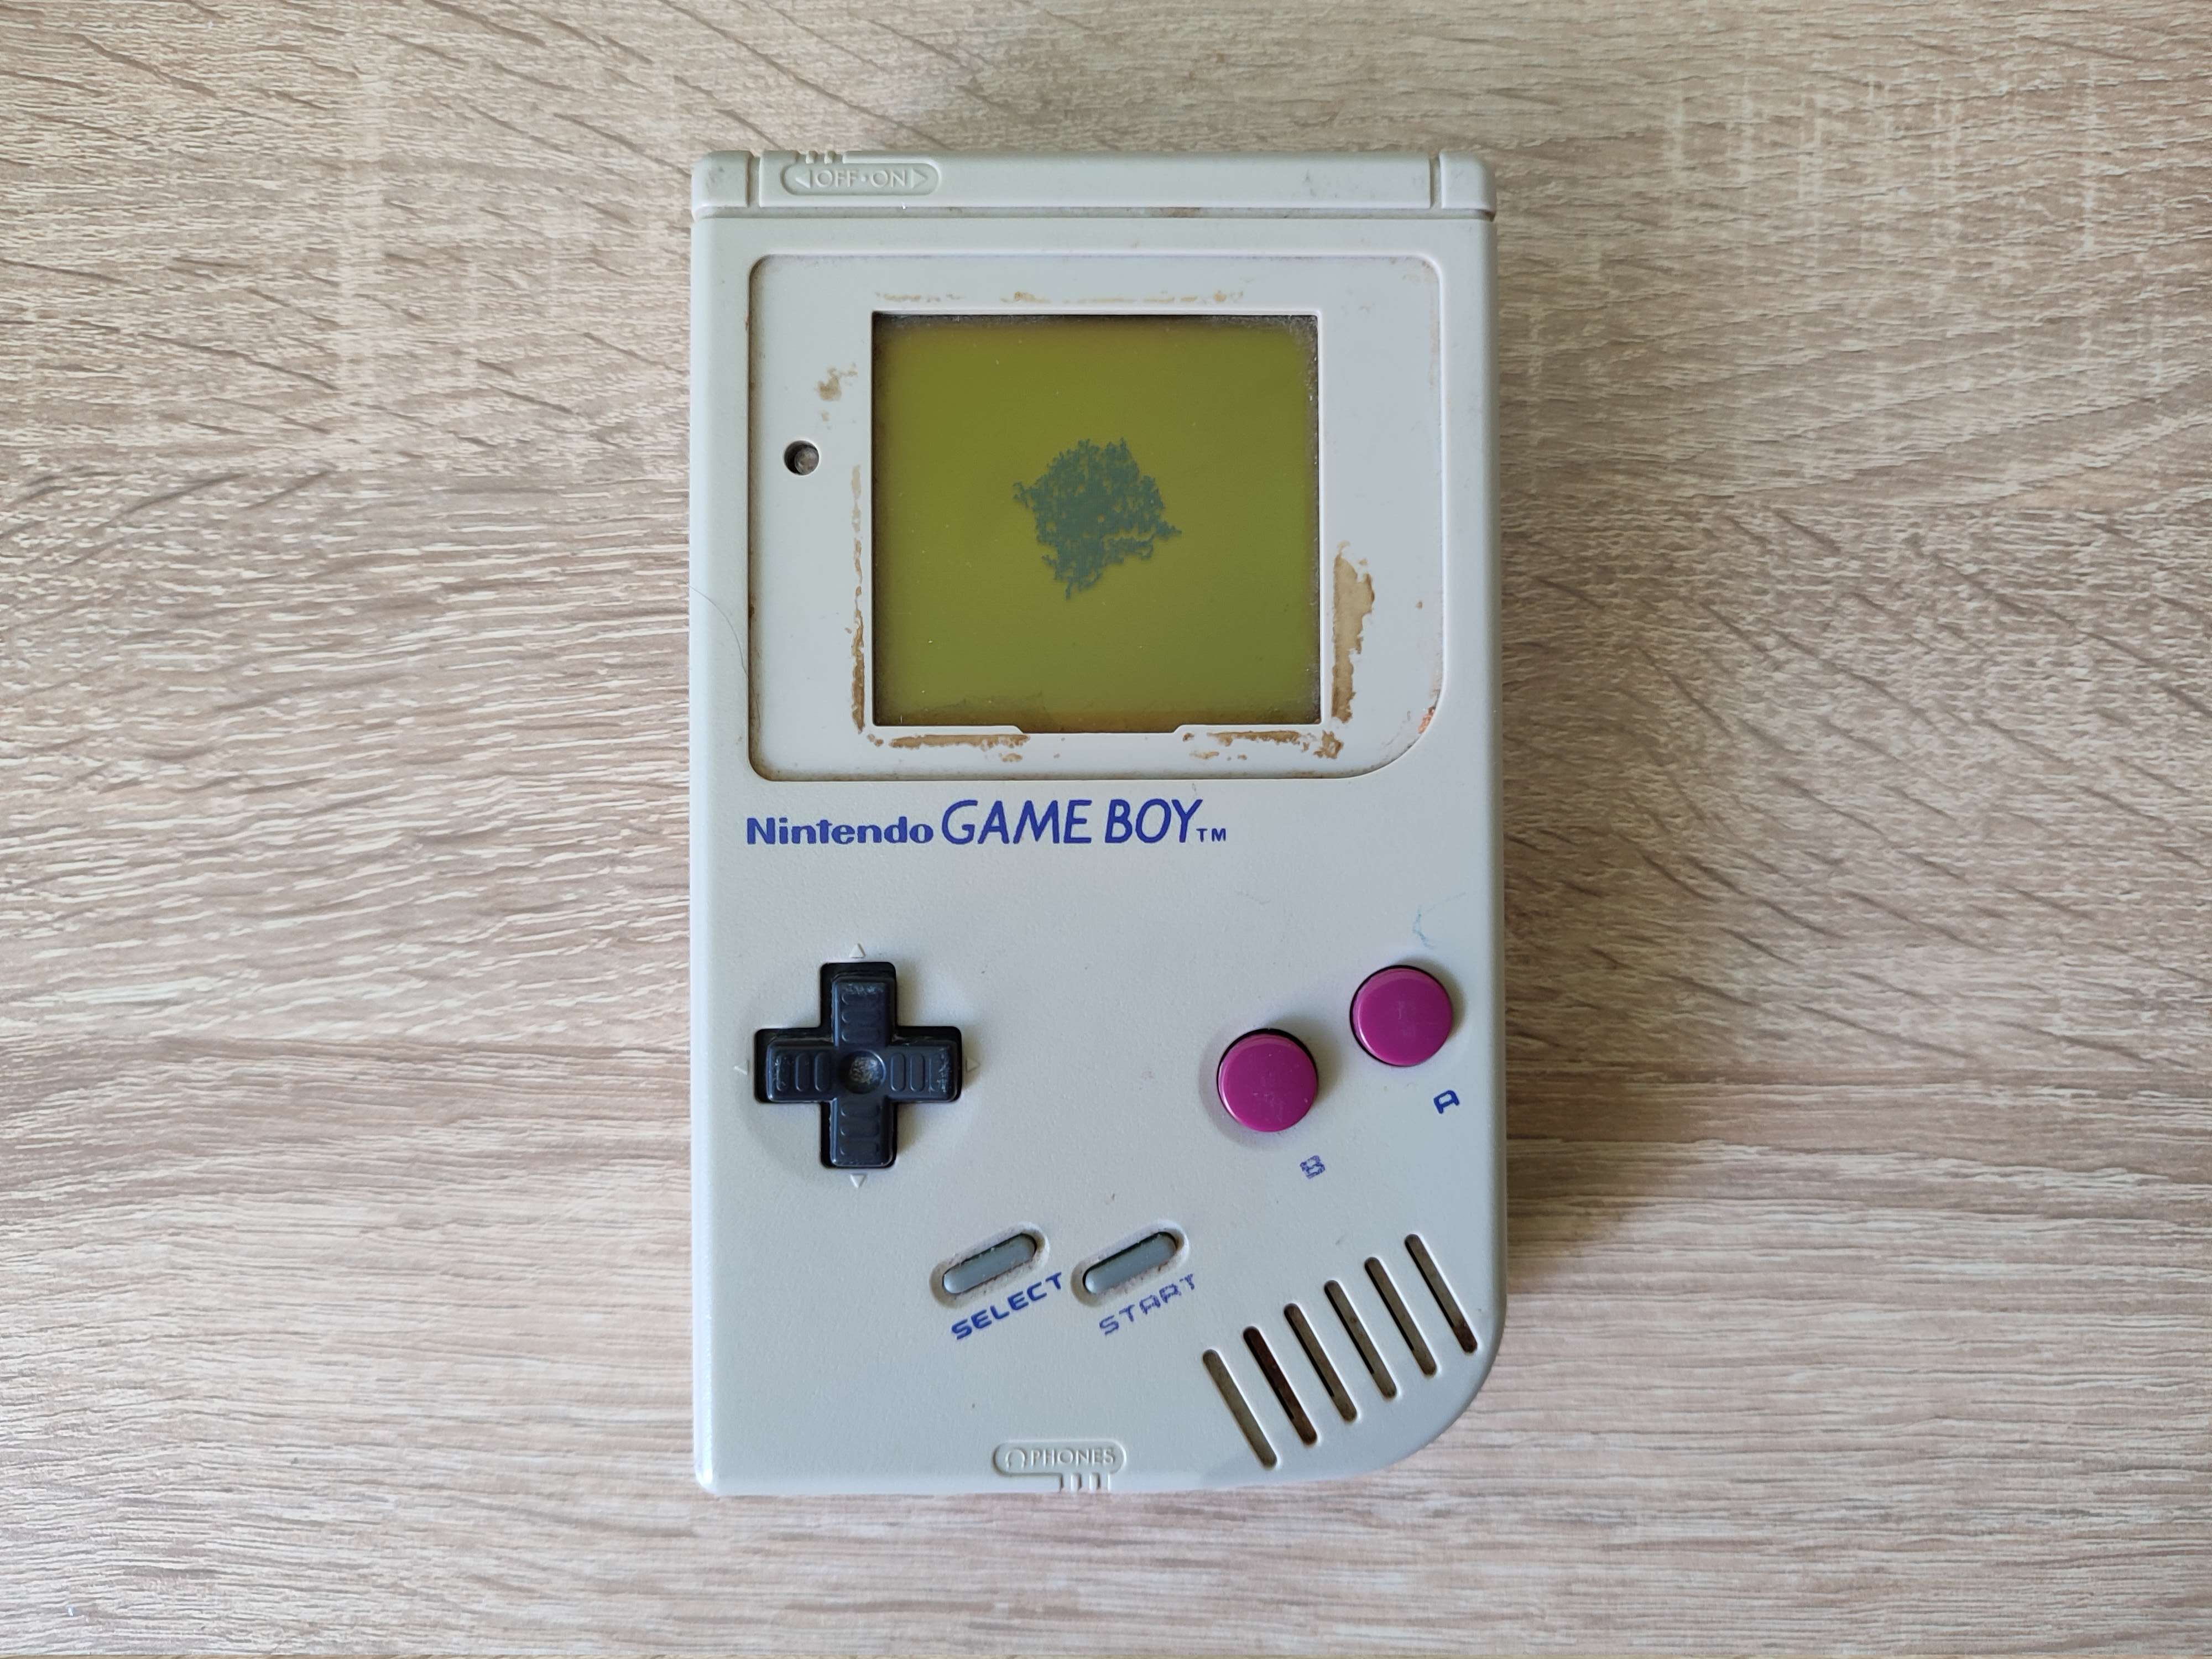
When the unit arrived it had a missing lens, damage on the screen, and signs of spilled acid in the battery compartment.
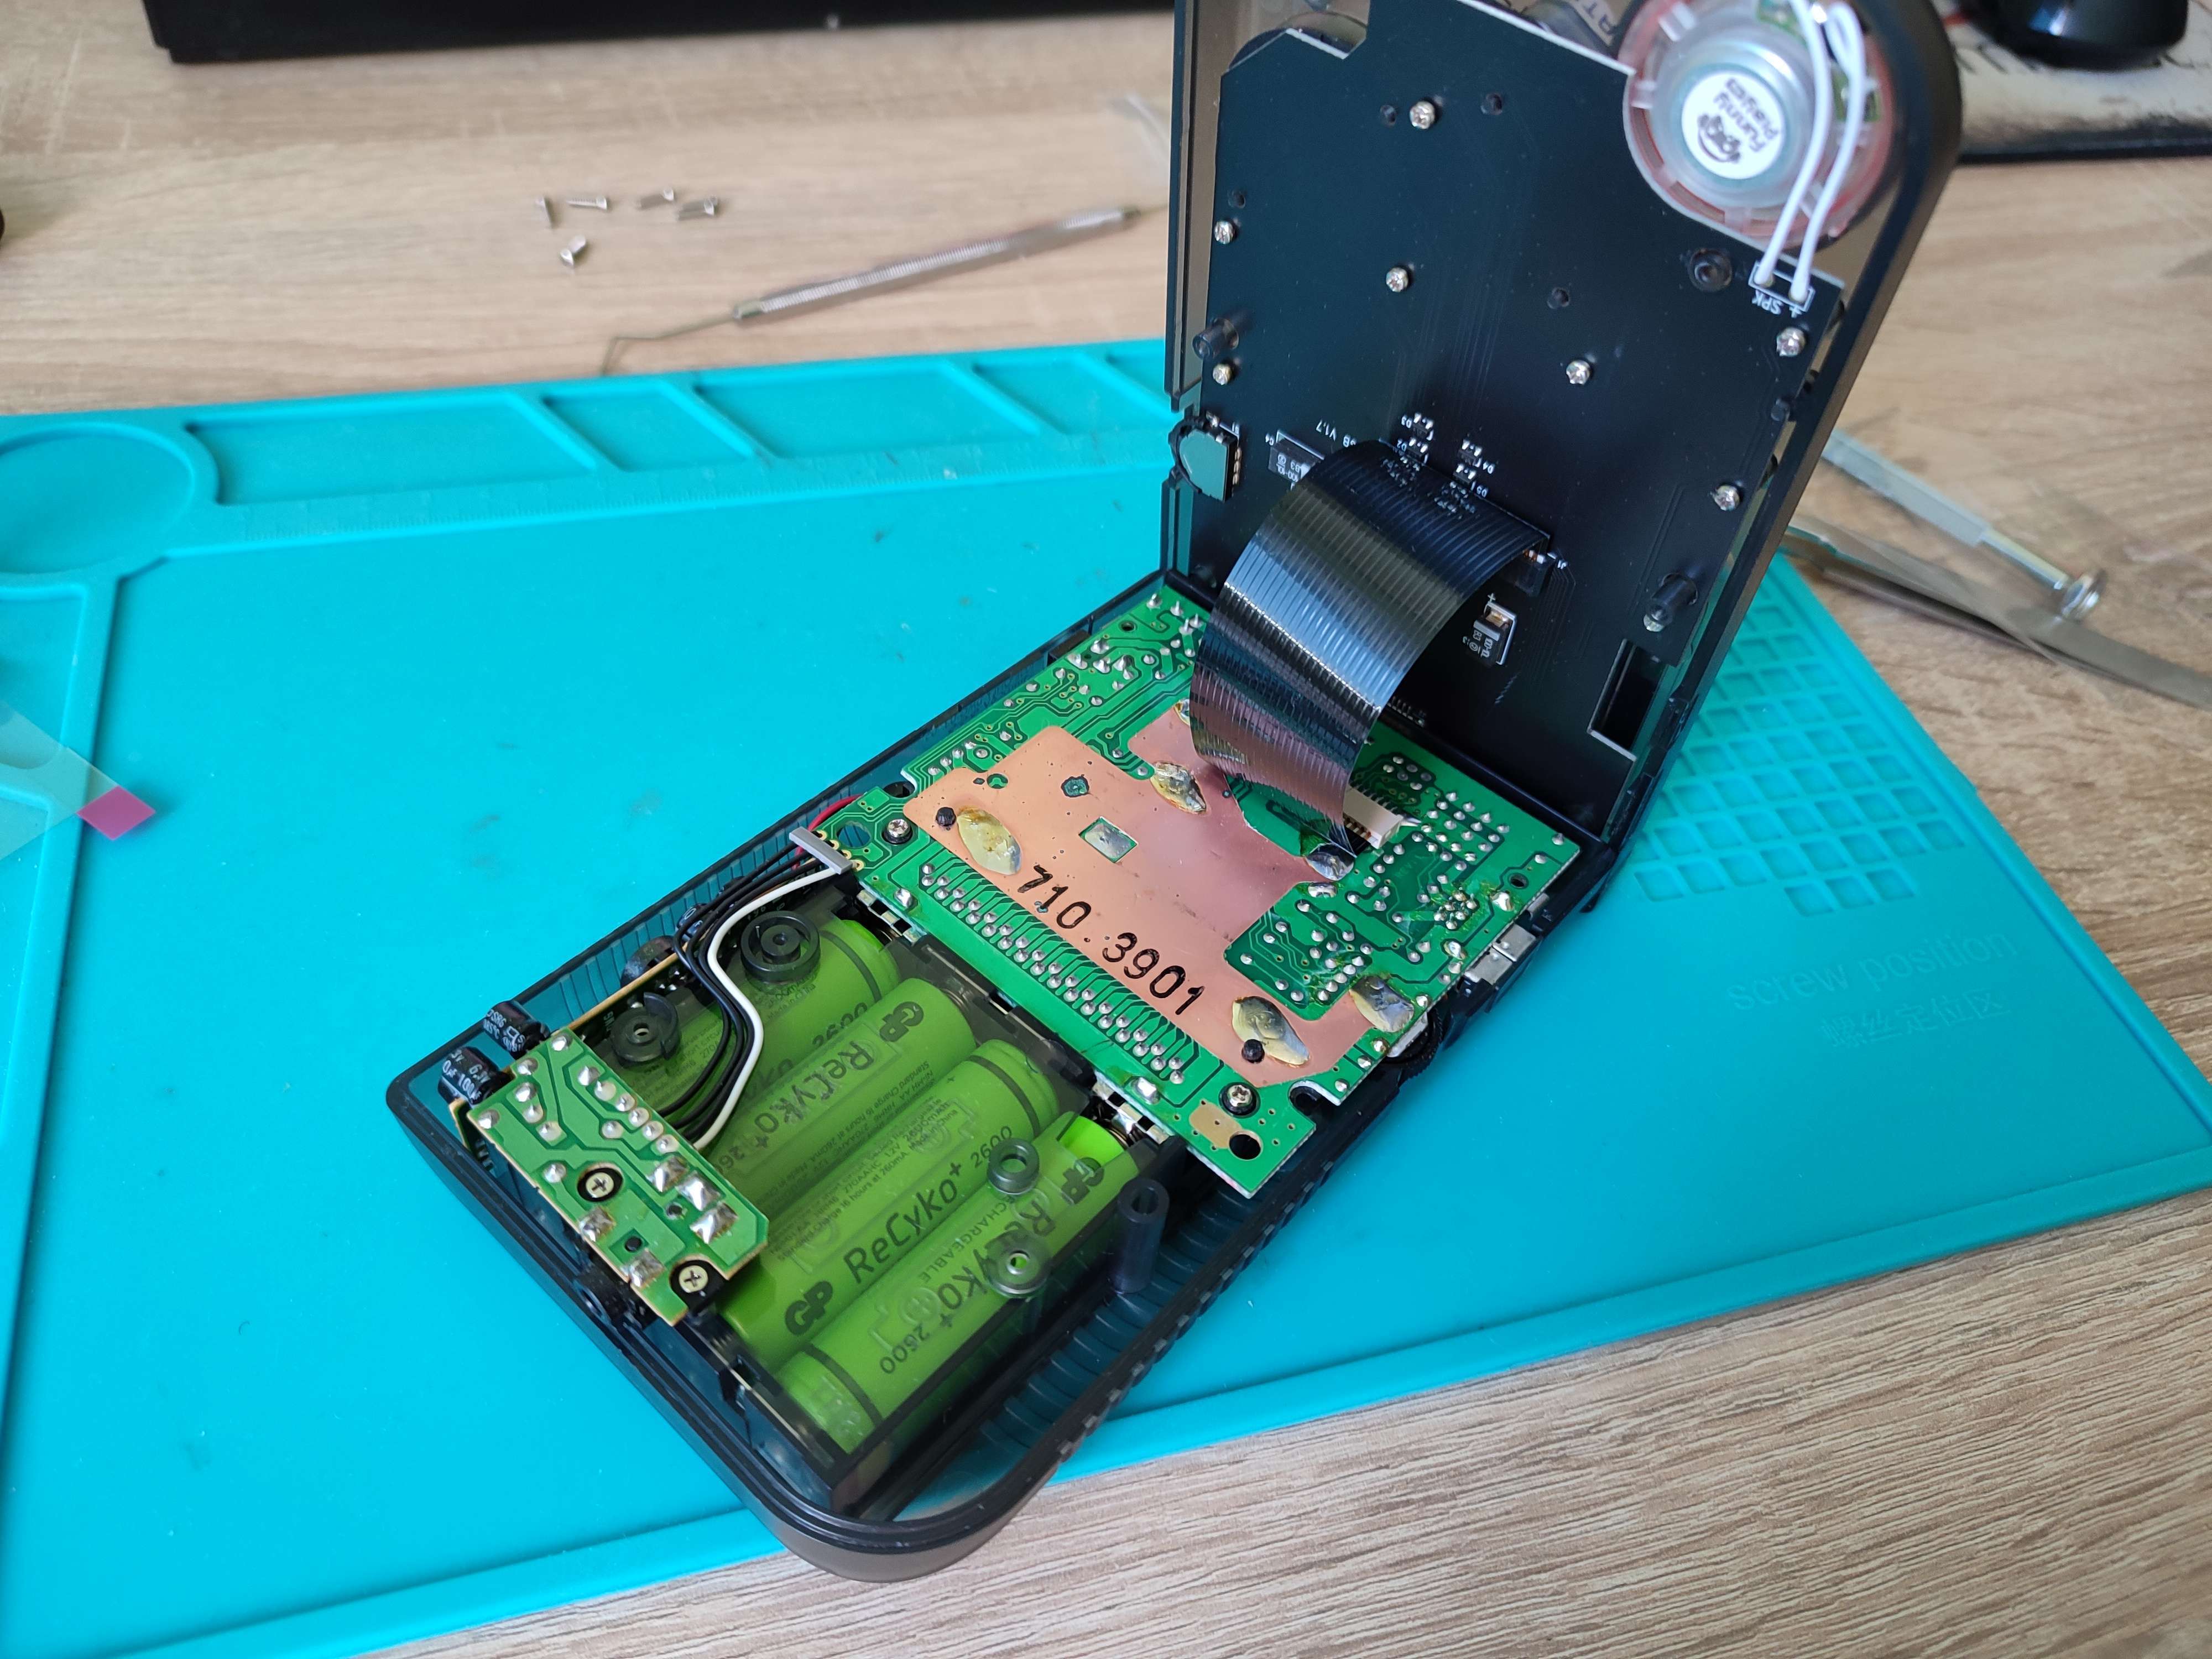
I put in the batteries and - surprise, surprise - it didn’t power on. Well, the seller wasn’t lying. I thought this must have something to do either with corrosion from spilled batteries or the power switch. My first debugging step was to check continuity between the battery contacts.
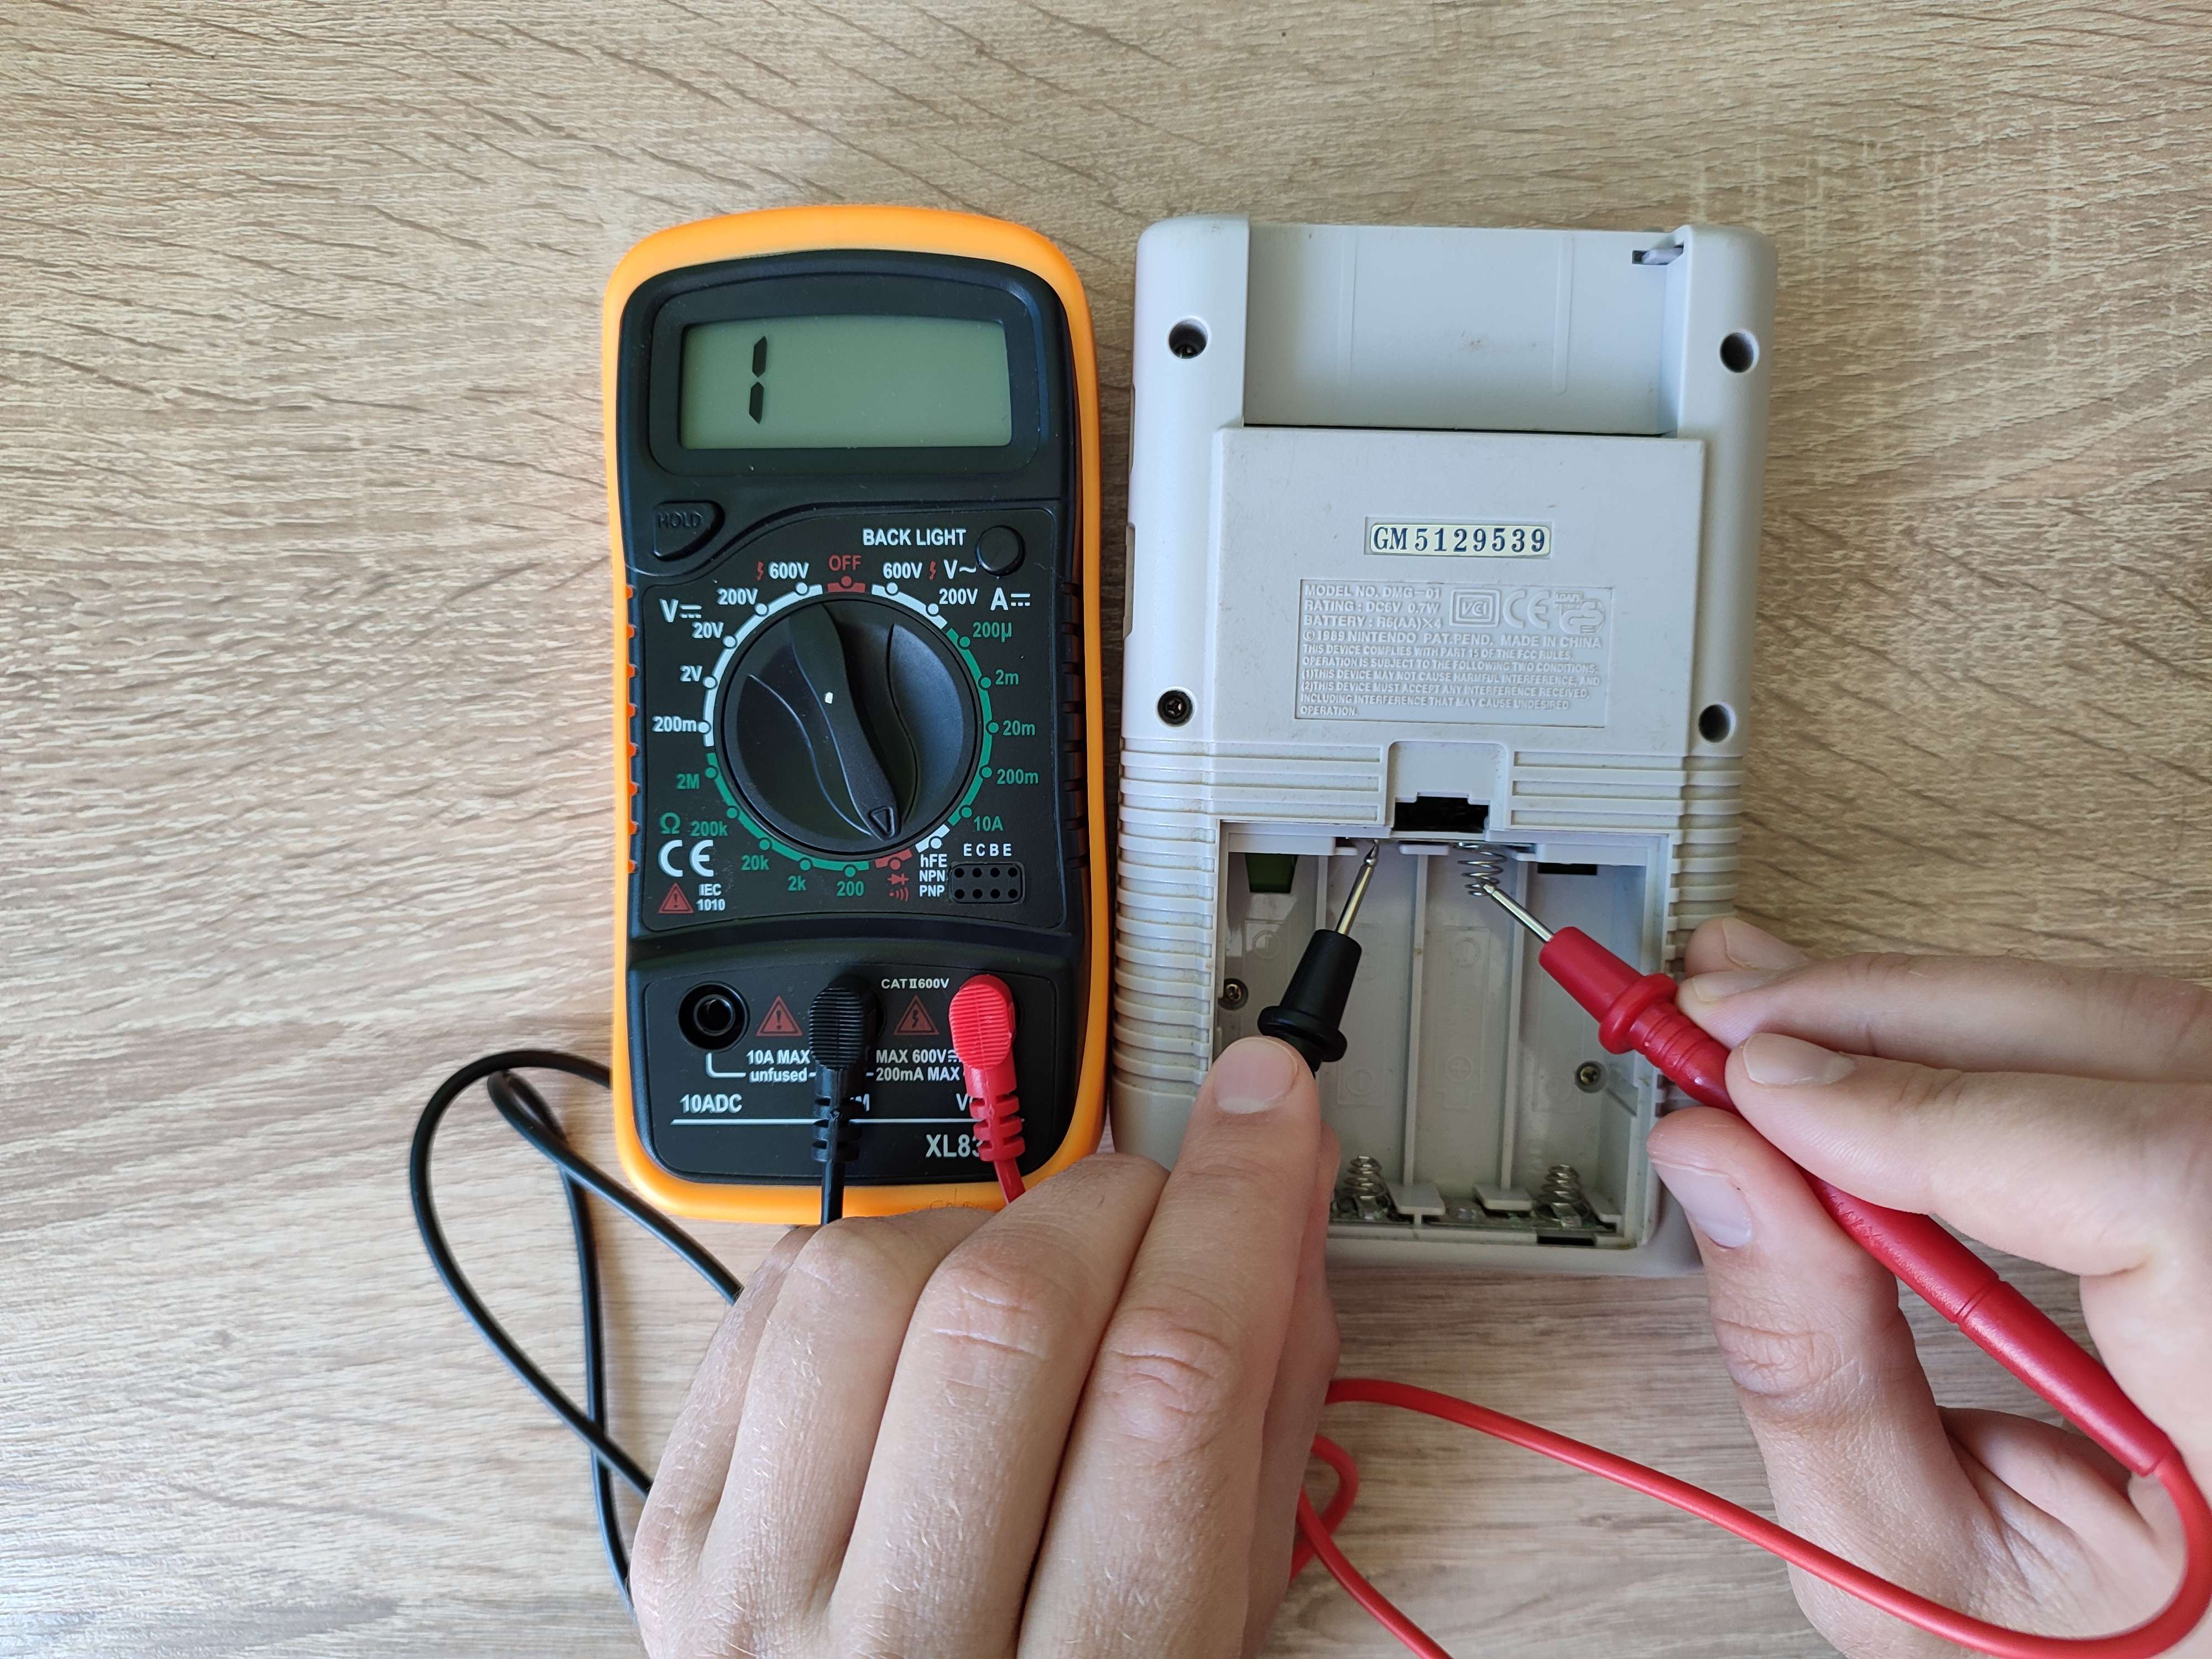
In the photo above my multimeter shows no continuity between the spring and a metal plate that spring is attached to. Looks like the acid must have gotten between the plate and the spring causing corrosion. The easiest way to test whether this is indeed the problem was transferring the main board to a new shell.
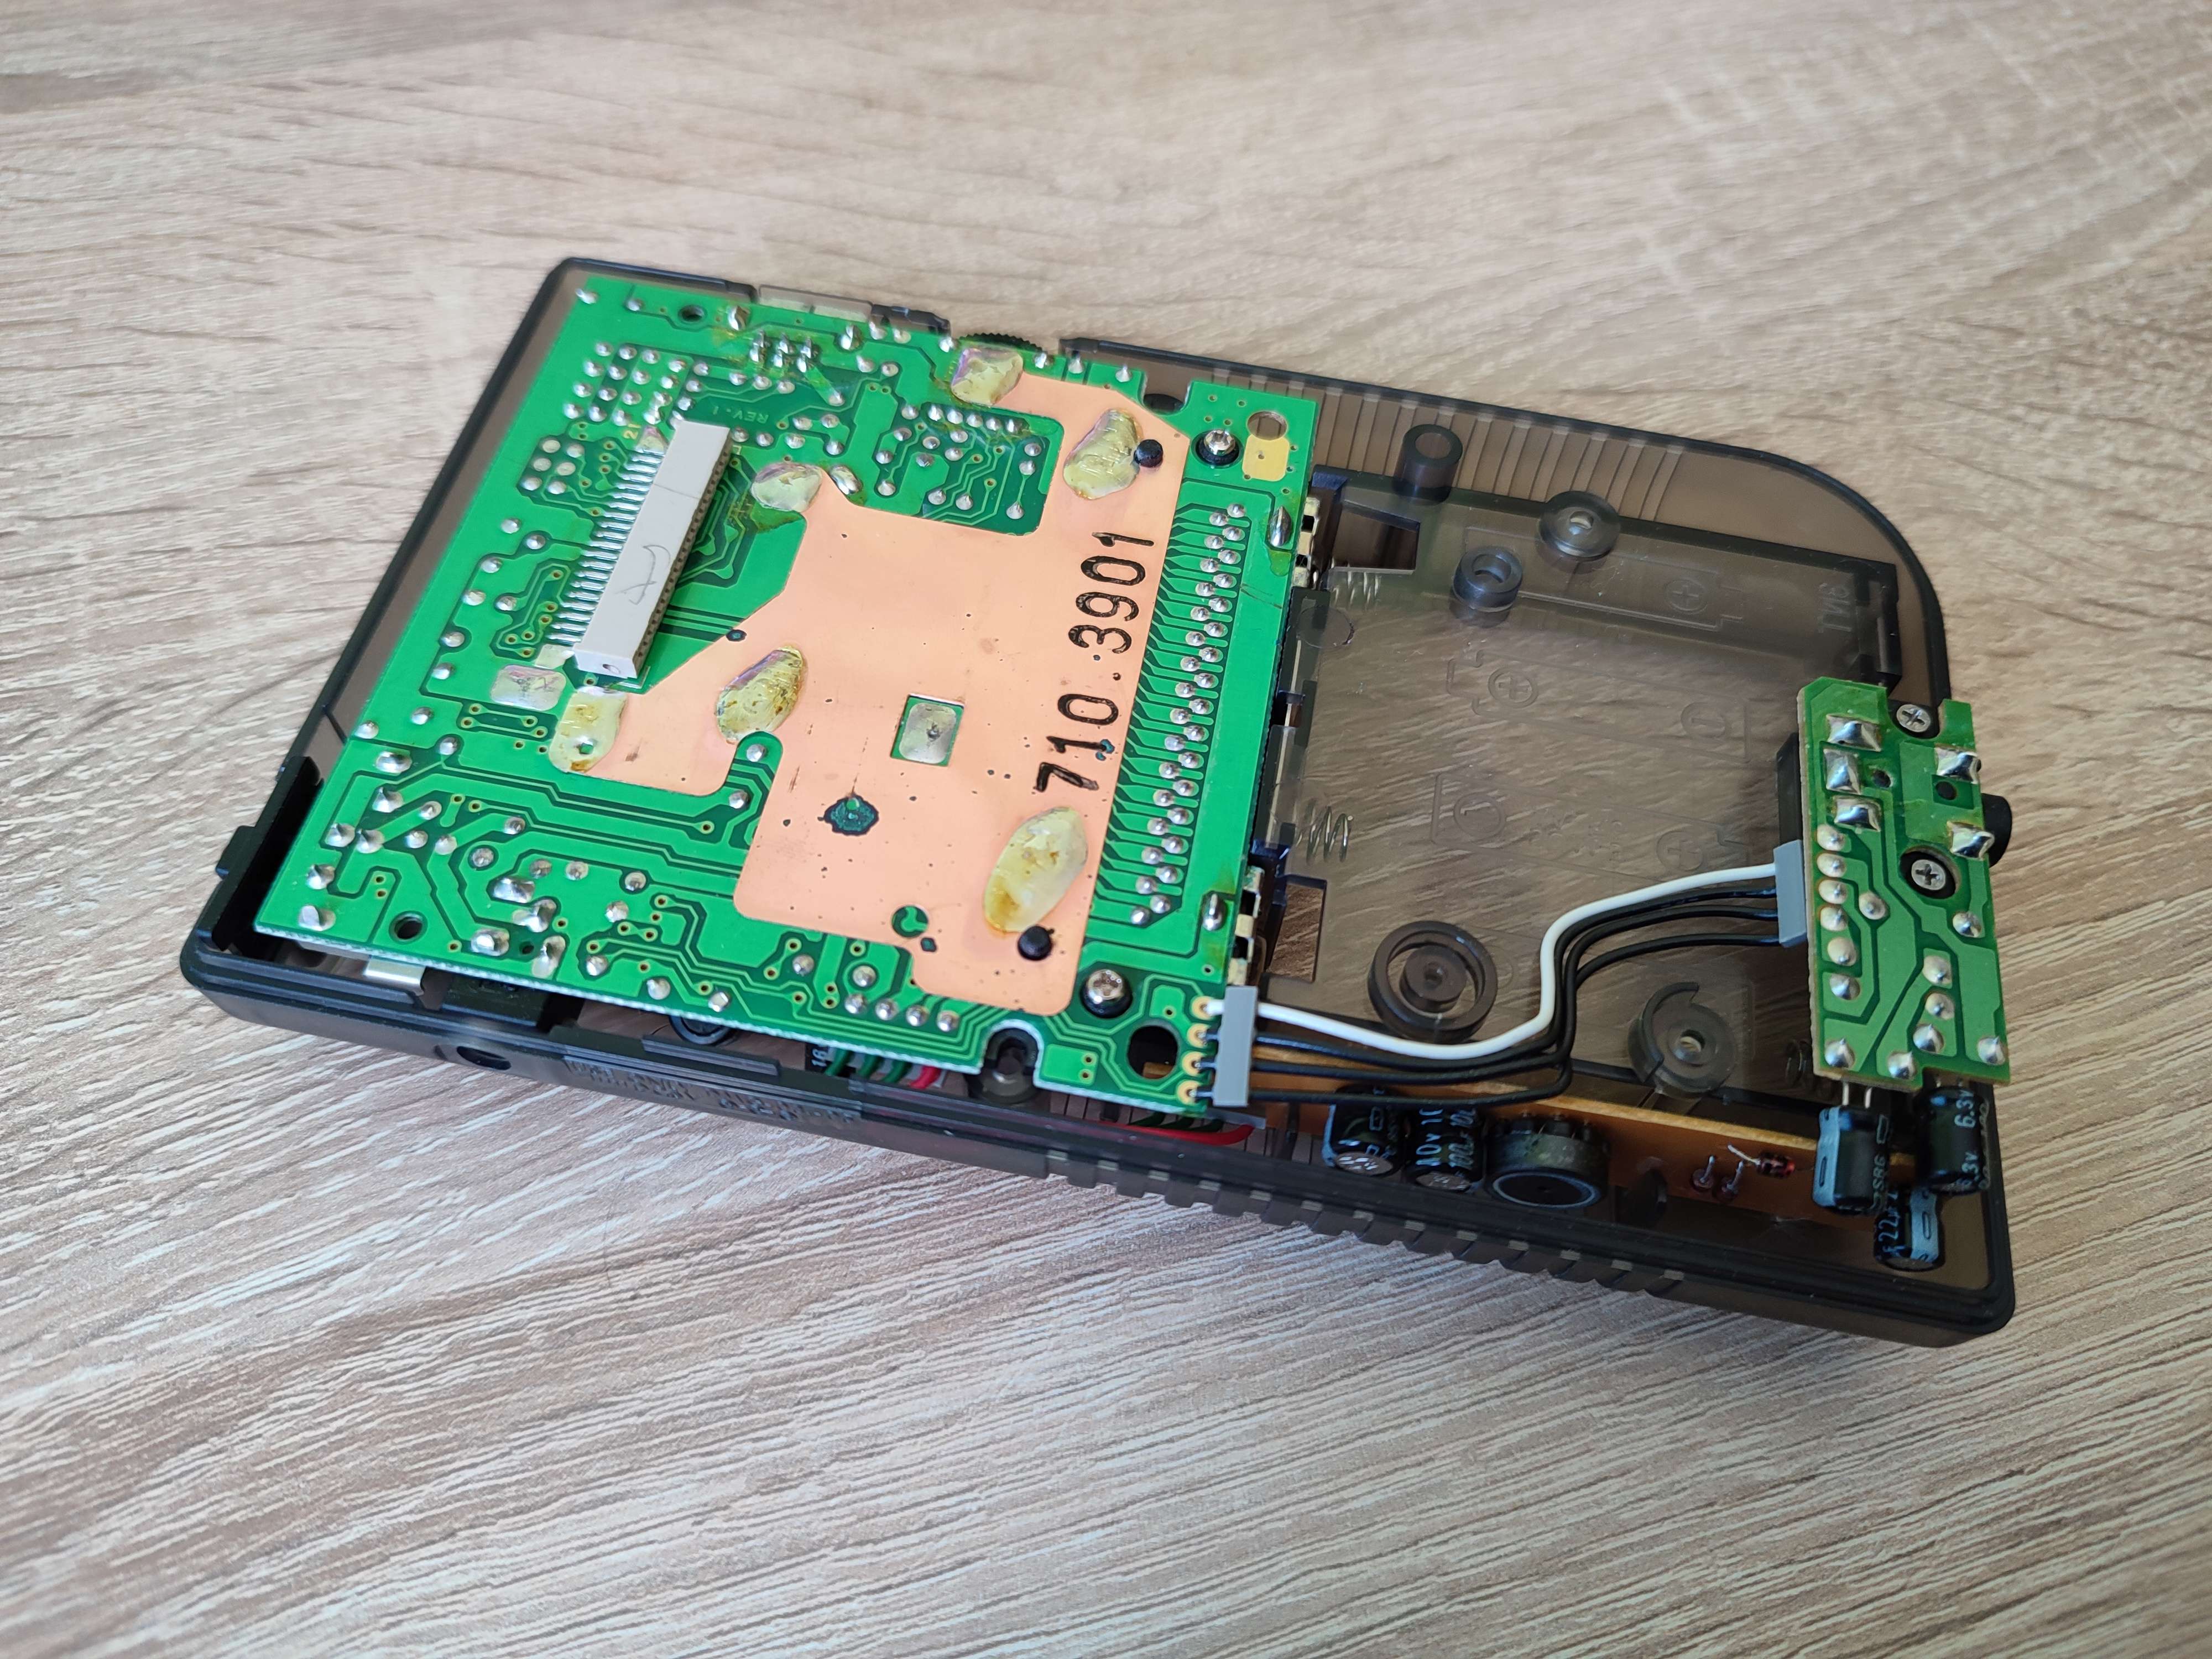
I inserted the batteries, turned the console on, and it Just Worked. So the problem was with the damaged contacts from spilled batteries. I was glad this went so easily. If the problem was with the power switch this repair would have gotten much more difficult.
The DMG actually consists of two boards. One is the main board with a CPU - that’s the one in photo above - while the other connects to the screen and also contains button contacts. Installing a new IPS panel requires replacing the other board with a new one. It also requires soldering a speaker and this is the only soldering required by this mod.
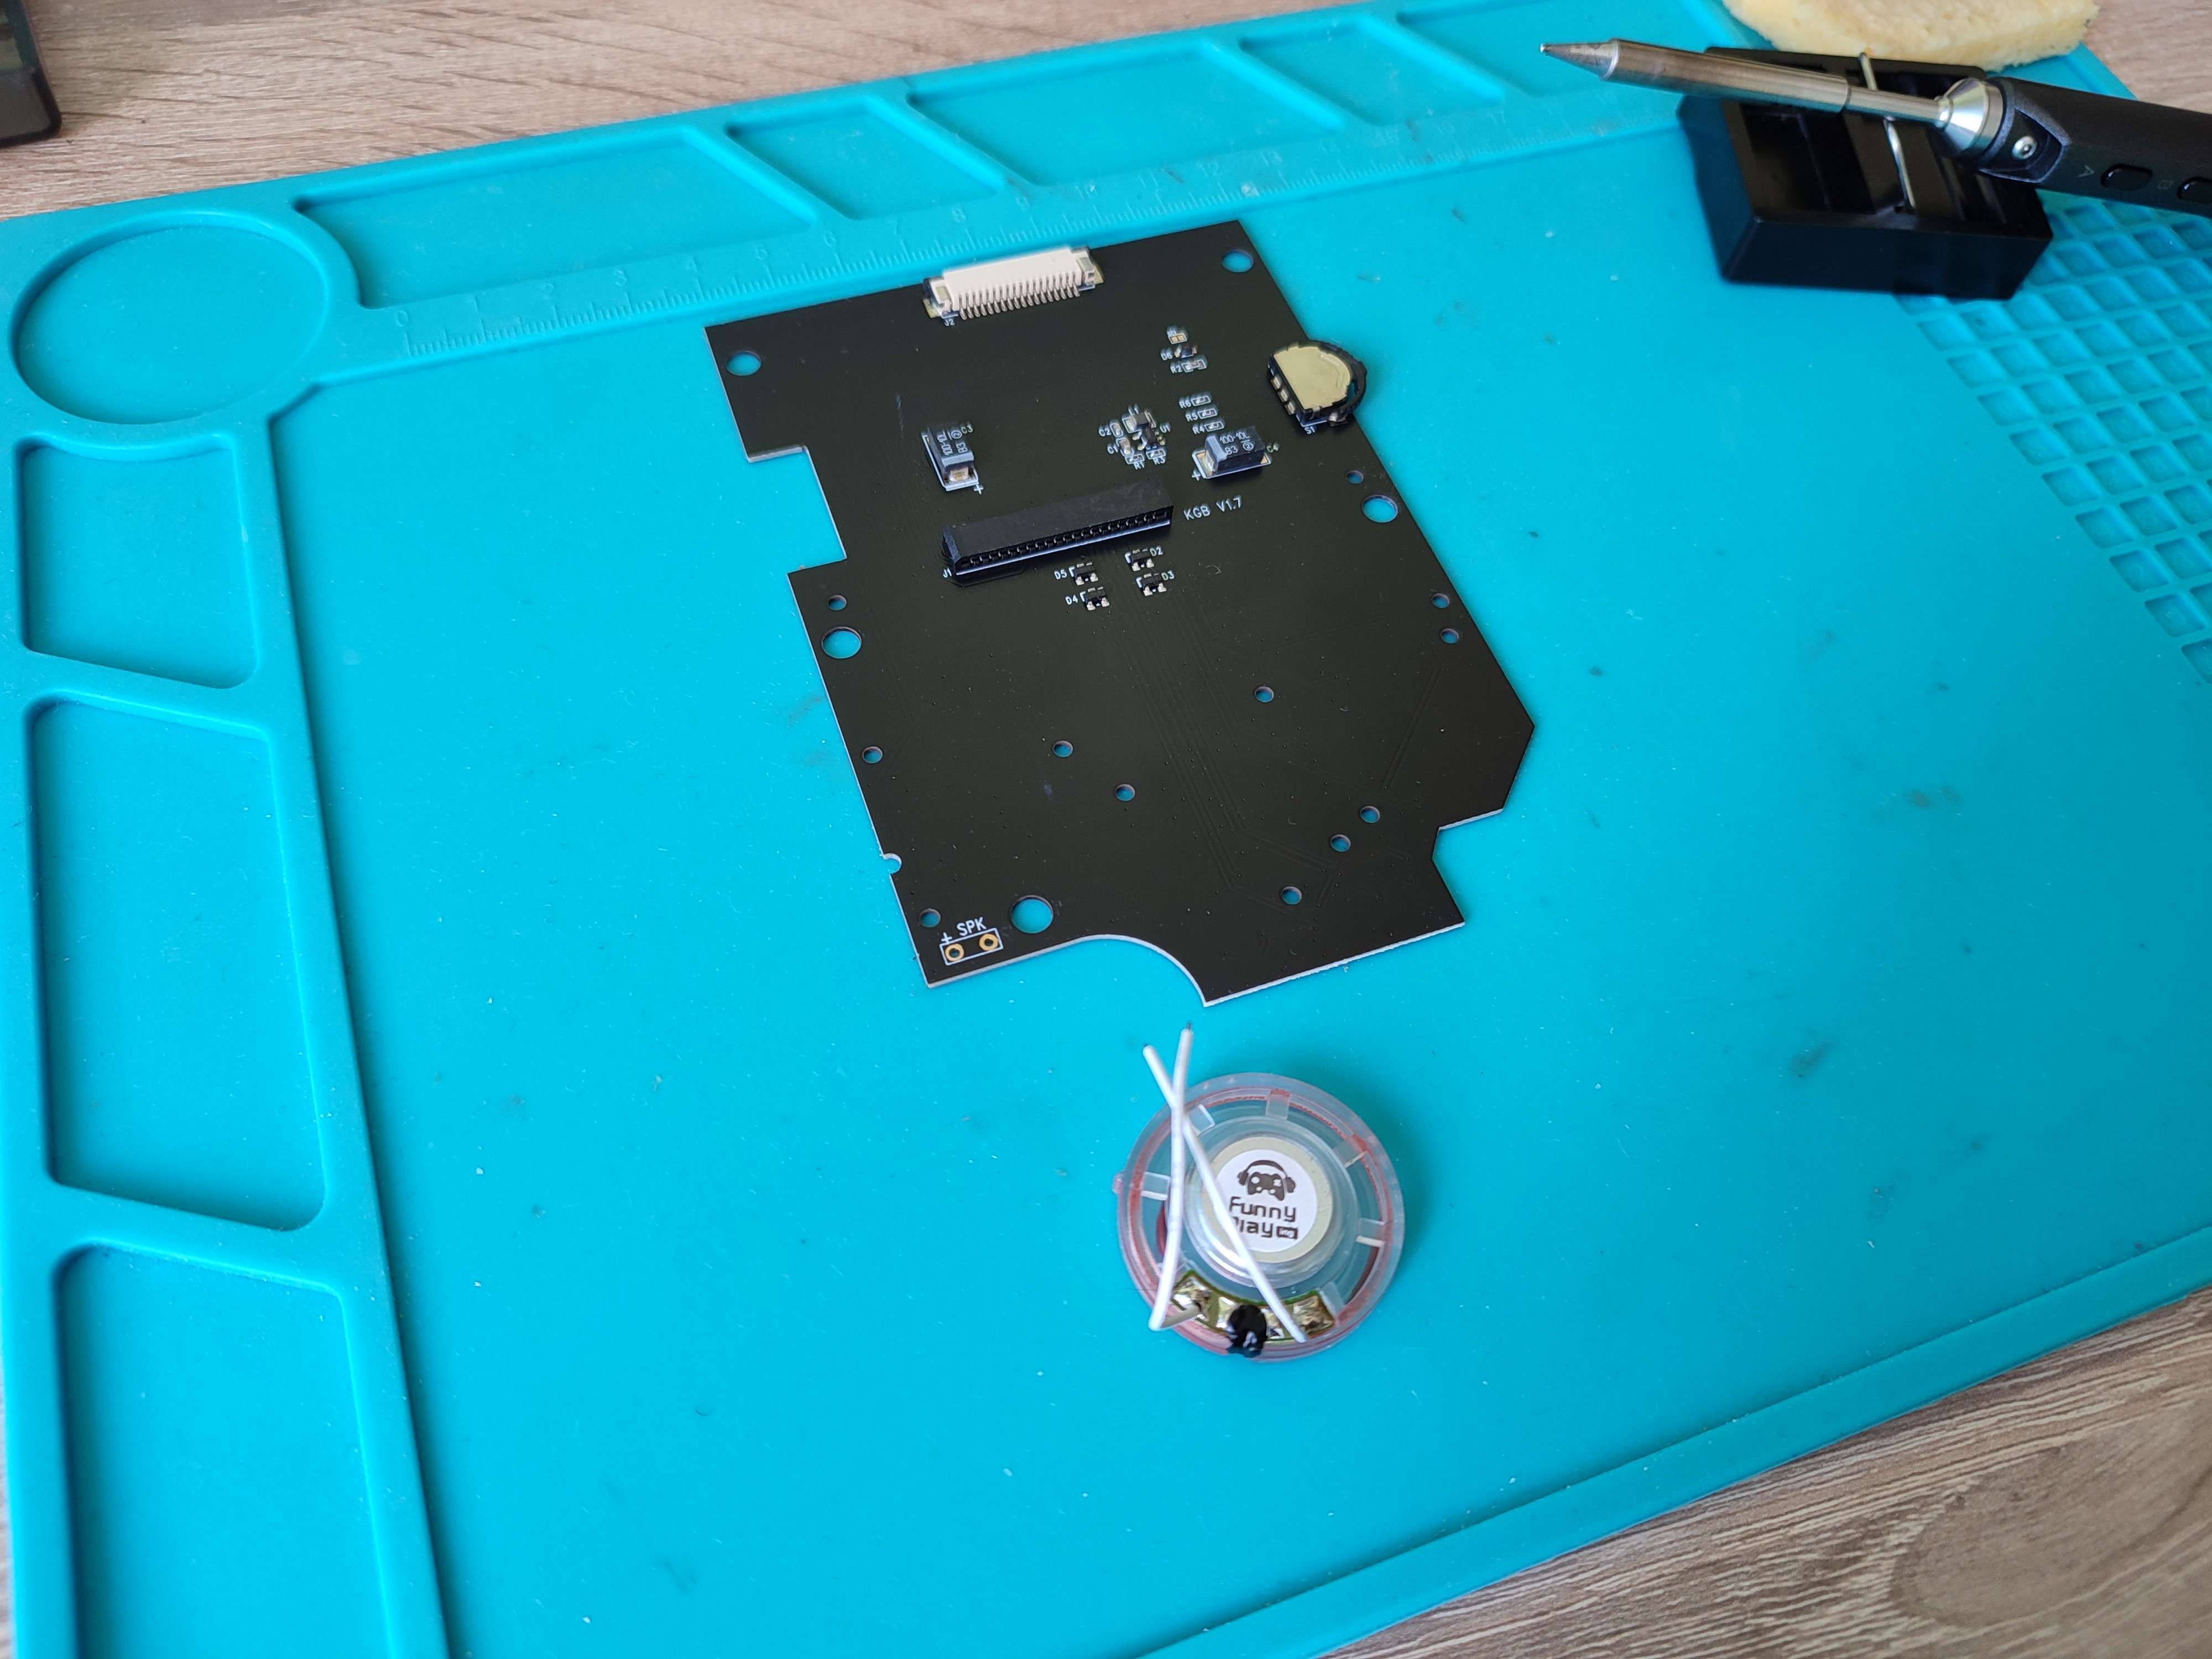
With the speaker in place I tested everything to make sure that both the speaker and the screen work as expected.
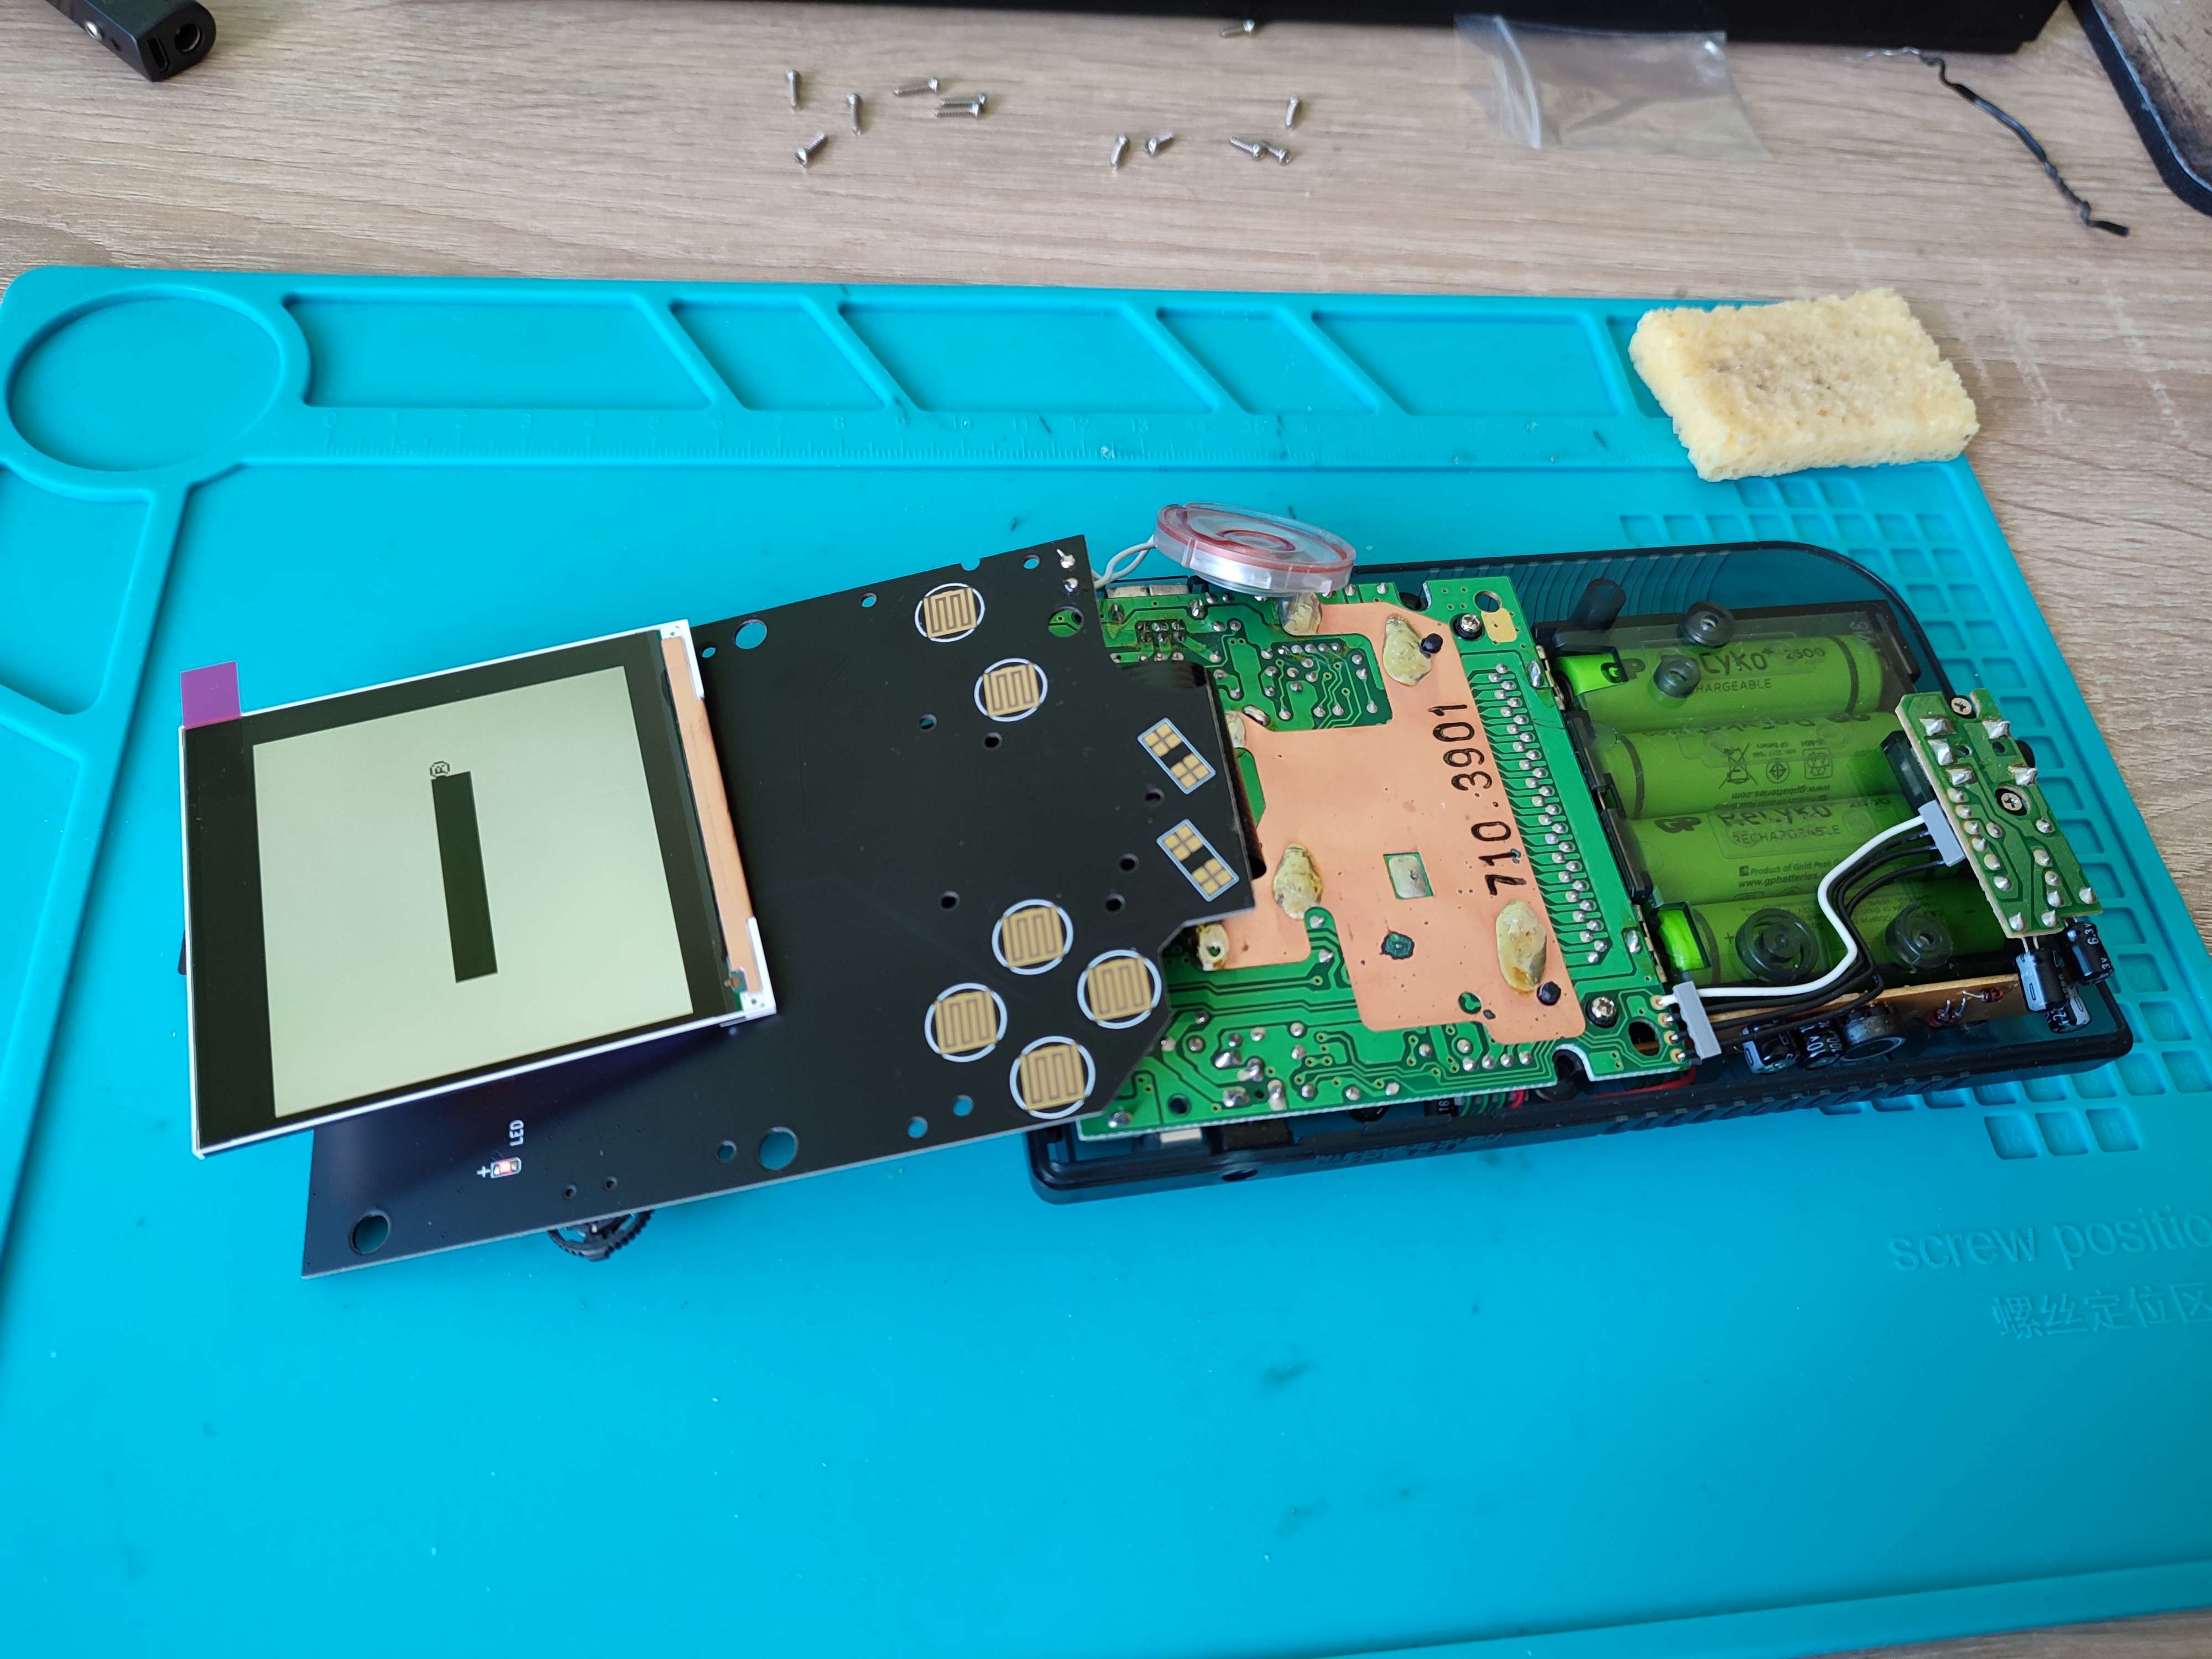
I was now ready to install the screen and the lens, and assemble everything together. This kit comes with a very nice mounting bracket for the screen. It fits very tightly, ensuring that the screen is correctly centred. It also covers components on the ribbon cable so there is no need to secure them with Kapton tape as I did in my other GameBoys.
One minor issue that appeared during the final assembly was insufficient number of screws to attach the screen and button board to the shell. Eight are required but the kit came with only six. My solution was to use the screws from original GameBoy, though these turned out to be slightly too long.
This build was surprisingly quick, taking me less than two hours. I am very happy with the end result, though as usual top and bottom of the IPS panel stand out from under the lens and this is clearly visible in a transparent shell. One other complain I could possibly have with the shell is that it doesn’t have any Nintendo or GameBoy branding.
While doing the final tests I discovered one small issue. With this kit the contrast wheel is repurposed to adjust screen settings: brightness, colour, and retro pixel mode. I realized that the wheel doesn’t have enough clearance and is being pressed against the shell and gets stuck in one position.
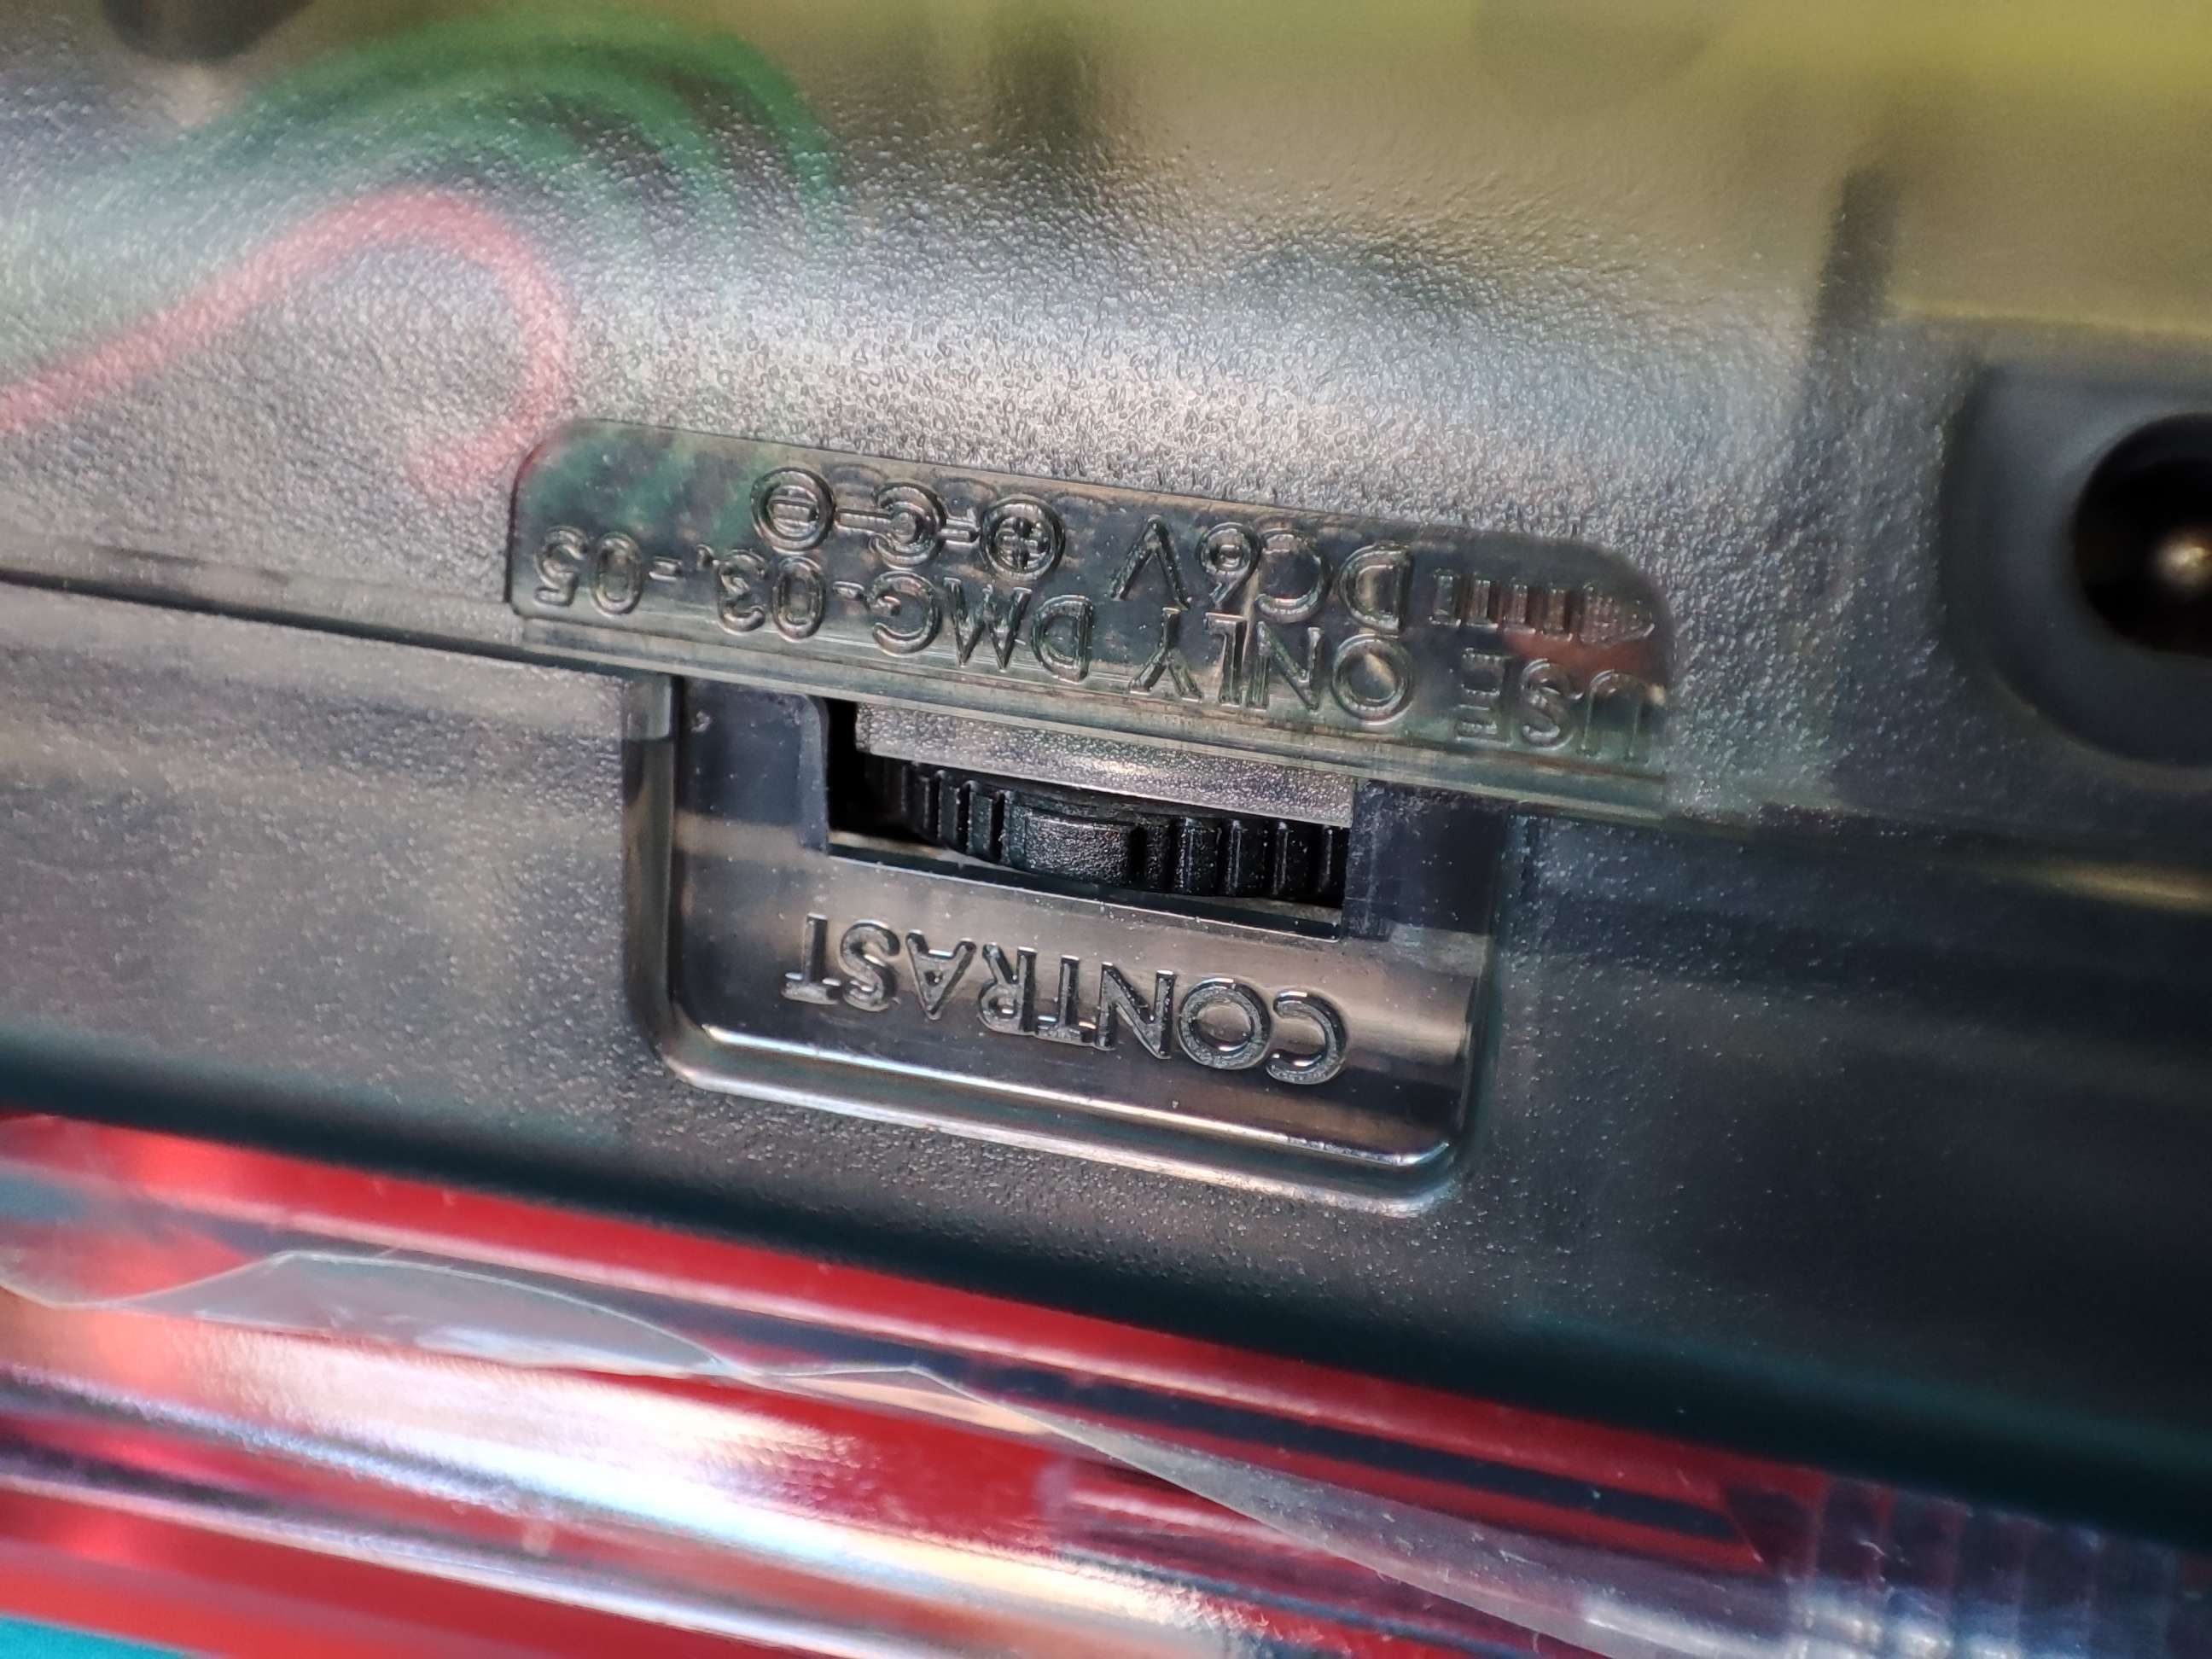
My conjecture is that the problem is caused by the two missing screws mentioned above. I used the six screws provided with the kit around the button contacts. From my experience getting the board to fight tightly around the contacts is crucial for the buttons to work correctly. Two missing screws that I replaced using ones from the original unit were placed below the screen. As already mentioned, these screws were a bit too long and didn’t hold the board as tightly as screws provided with the kit. My guess is that if the board had a tighter fight there it wouldn’t press the contrast wheel against the shell and all would work as expected. My ad-hoc solution was to slightly loosen two of the screws that hold the shell together. Now the contrast wheel can move freely, while the shell still remains nicely fitted.
What’s next?
As mentioned at the beginning of this post, I have also modded a GameBoy Advance using a TFT panel that I have not used before. I want to spend more time testing it before writing a post about it. I also have a GameBoy Advance SP waiting to be modded, but for now I can’t find a shell that I would be happy with, and I can’t decide what kind of screen to use - a TFT panel mentioned above or a regular IPS panel? Once I do more testing with the TFT panel I should be able to decide what components I want to use with the SP. Last but not least, I have a NeoGeo Pocket Color. Recently I managed to buy a flashcart for it and now the only thing it needs to be really usable is a new screen. However, modding GBA SP and NGPC might have to wait for a few months due to financial reasons.
My primary GameBoy Advance does not have a dust seal and it is yet to get any dust under the lens.↩︎